11-33
Cisco Wireless LAN Controller Configuration Guide
OL-17037-01
Chapter 11 Configuring Radio Resource ManagementWireless Device Access
Overriding RRM
Disabling Dynamic Channel and Power Assignment Globally for a Controller
This section provides instructions for disabling dynamic channel and power assignment using the GUI
or CLI.
Using the GUI to Disable Dynamic Channel and Power Assignment
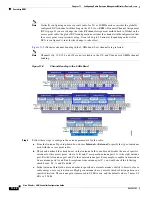
Follow these steps to configure disable dynamic channel and power assignment using the GUI.
Step 1
Click
Wireless
>
802.11a/n
or
802.11b/g/n
>
RRM
>
Auto RF
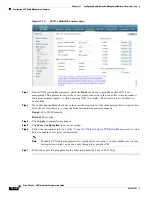
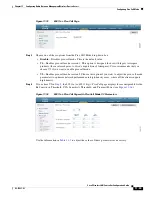
to open the 802.11a (or 802.11b/g)
Global Parameters > Auto RF page (see
Step 2
To disable dynamic channel assignment, choose
OFF
under RF Channel Assignment.
Step 3
To disable dynamic power assignment, choose
Fixed
under Tx Power Level Assignment and choose a
default transmit power level from the drop-down box.
Note
See
for information on transmit power levels.
Step 4
Click
Apply
to commit your changes.
Step 5
Click
Save Configuration
to save your changes.
Step 6
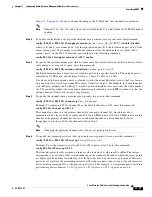
If you are overriding the default channel and power settings on a per radio basis, assign static channel
and power settings to each of the access point radios that are joined to the controller.
Step 7
If desired, repeat this procedure for the network type you did not select (802.11a or 802.11b/g).
Using the CLI to Disable Dynamic Channel and Power Assignment
Follow these steps to disable RRM for
all 802.11a or 802.11b/g radios
.
Step 1
Enter this command to disable the 802.11a or 802.11b/g network:
config
{
802.11a
|
802.11b
}
disable network
Step 2
Enter this command to disable RRM for all 802.11a or 802.11b/g radios and set all channels to the
default value:
config
{
802.11a
|
802.11b
}
channel
global
off
Step 3
Enter this command to enable the 802.11a or 802.11b/g network:
config
{
802.11a
|
802.11b
}
enable network
Note
To enable the 802.11g network, enter
config
802.11b 11gSupport enable
after the
config
802.11b enable network
command.
Step 4
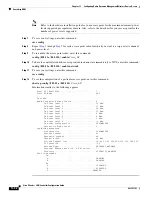
Enter this command to save your settings:
save config

