Equipment Manual
Copyright ©
2016 New Valence Robotics Corporation
Page 1: ...Equipment Manual Copyright 2016 New Valence Robotics Corporation ...
Page 2: ...Table of Contents INTRODUCTION 2 IDENTIFICATION 3 INSTALLATION 4 SAFETY 7 SPECIFICATIONS 8 OPERATION 8 TROUBLESHOOTING 8 ...
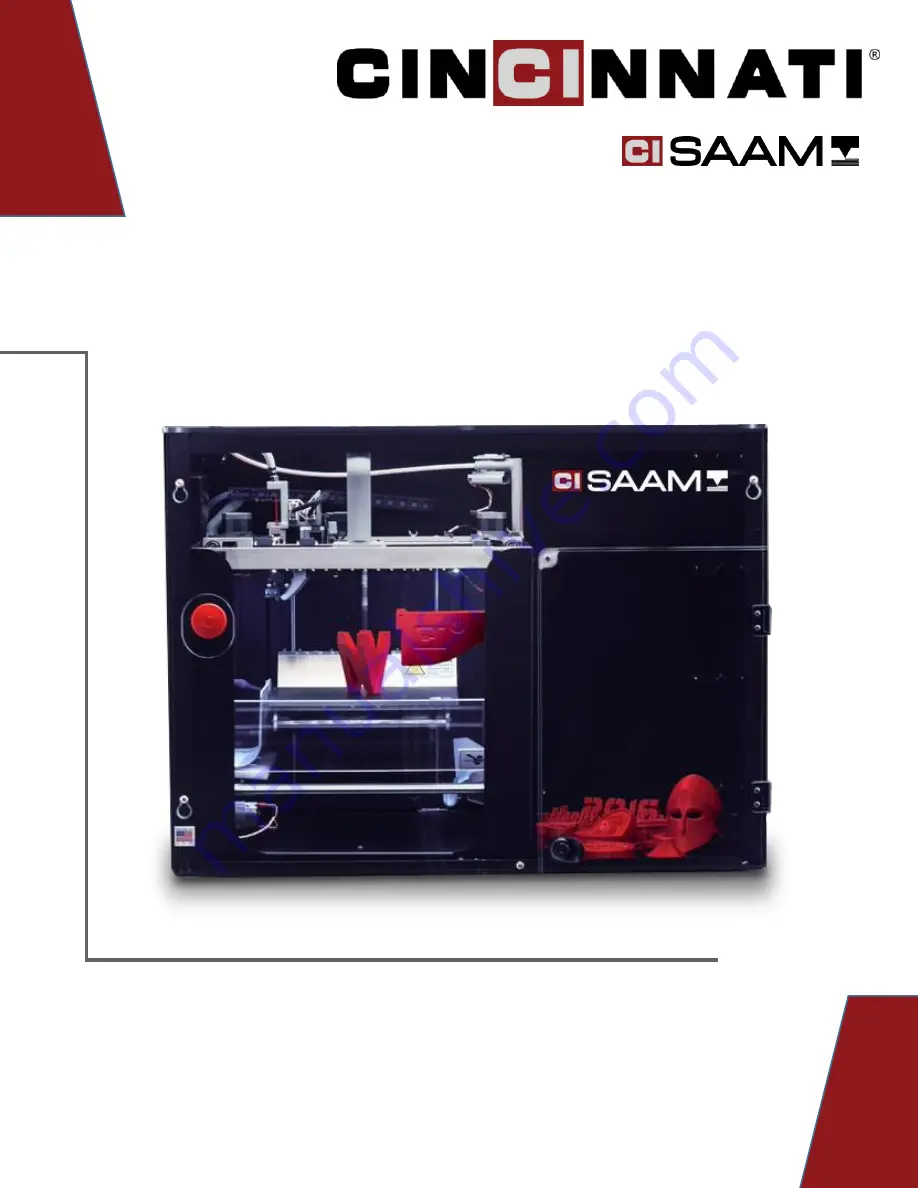
Page 3: ...rinted the part removal mechanism will remove the print job to the part collection bin readying SAAM to begin the next print job SAAM 3D printer is Built to Share It offers the only automated part removal in the industry and is paired with NVCloud software that allows users to print parts anytime from any cloud connected device while providing administrators with full control of print queues and w...
Page 4: ...e 1 1 Camera 2 Emergency Stop 3 Removal Barrier 4 Removal Mechanism 5 Filament Detector 6 Spool Mount 7 Purge Collector 8 Z Carriage Barrier 9 Part Collection Bin Figure 2 1 Filament Guide Tube 2 Extruder 3 Print Plate Figure 3 1 Expansion Board 2 Printer Board 3 Onboard Computer Figure 3 SAAM Electronics Panel ...
Page 5: ...M included supplies Figure 4 1 Filament Spools 2 Buildtak Applicator 3 Z Carriage Cover 4 Purge Collector 5 Buildtak 6 Blower Duct spare 7 Top Lid Key 8 Front Door Key 9 Wire Brushes 10 4mm Allen Key 11 Ethernet Cable 12 Power Supply 13 SAAM not shown 14 Equipment Manual not shown ...
Page 6: ...he top lid by sliding it toward the front of the printer 4 Remove the top lid by lifting upwards Set top lid aside 5 Remove the WHITE FOAM packaging blocks and printer supplies box from the printer 6 Place the Z Carriage Cover on the top back of the Z Carriage as indicated in Figure 8 7 Insert the purge collector into the slot at the front of the printer as indicated in Figure 9 8 Plug in Ethernet...
Page 7: ... Sign in to my NVBOTS com with your account credentials If you do not have an account please contact support NVBOTS com 11 Run the Change Filament routine from the Dashboard page to load a new spool of filament into the printer Click the Maintenance button and then the Change Filament button Follow the on screen instructions 12 Start printing See Operation Figure 11 Change Filament routine is loca...
Page 8: ...omponents The part removal system contains a sharp blade Use caution to avoid cuts Burn Hazards The hot end and the print plate operate at temperatures which may cause burns Only touch surfaces colder than 45 C to avoid burns Figure 12 Print head motion system pinch point hazard Figure 13 Part removal system cutting hazard Figure 14 Hot end burn hazard Figure 15 Print plate burn hazard ...
Page 9: ...ol Power Requirements 240 W Connectivity Ethernet Software NVCloud Operation SAAM is managed and operated through the interface at my NVBOTS com For tips best practices and getting started visit my NVBOTS com support Troubleshooting For troubleshooting information please visit my NVBOTS com support Have the following information ready before making contact with a Support Representative Company Nam...