


81
28.7.5.1 General Settings
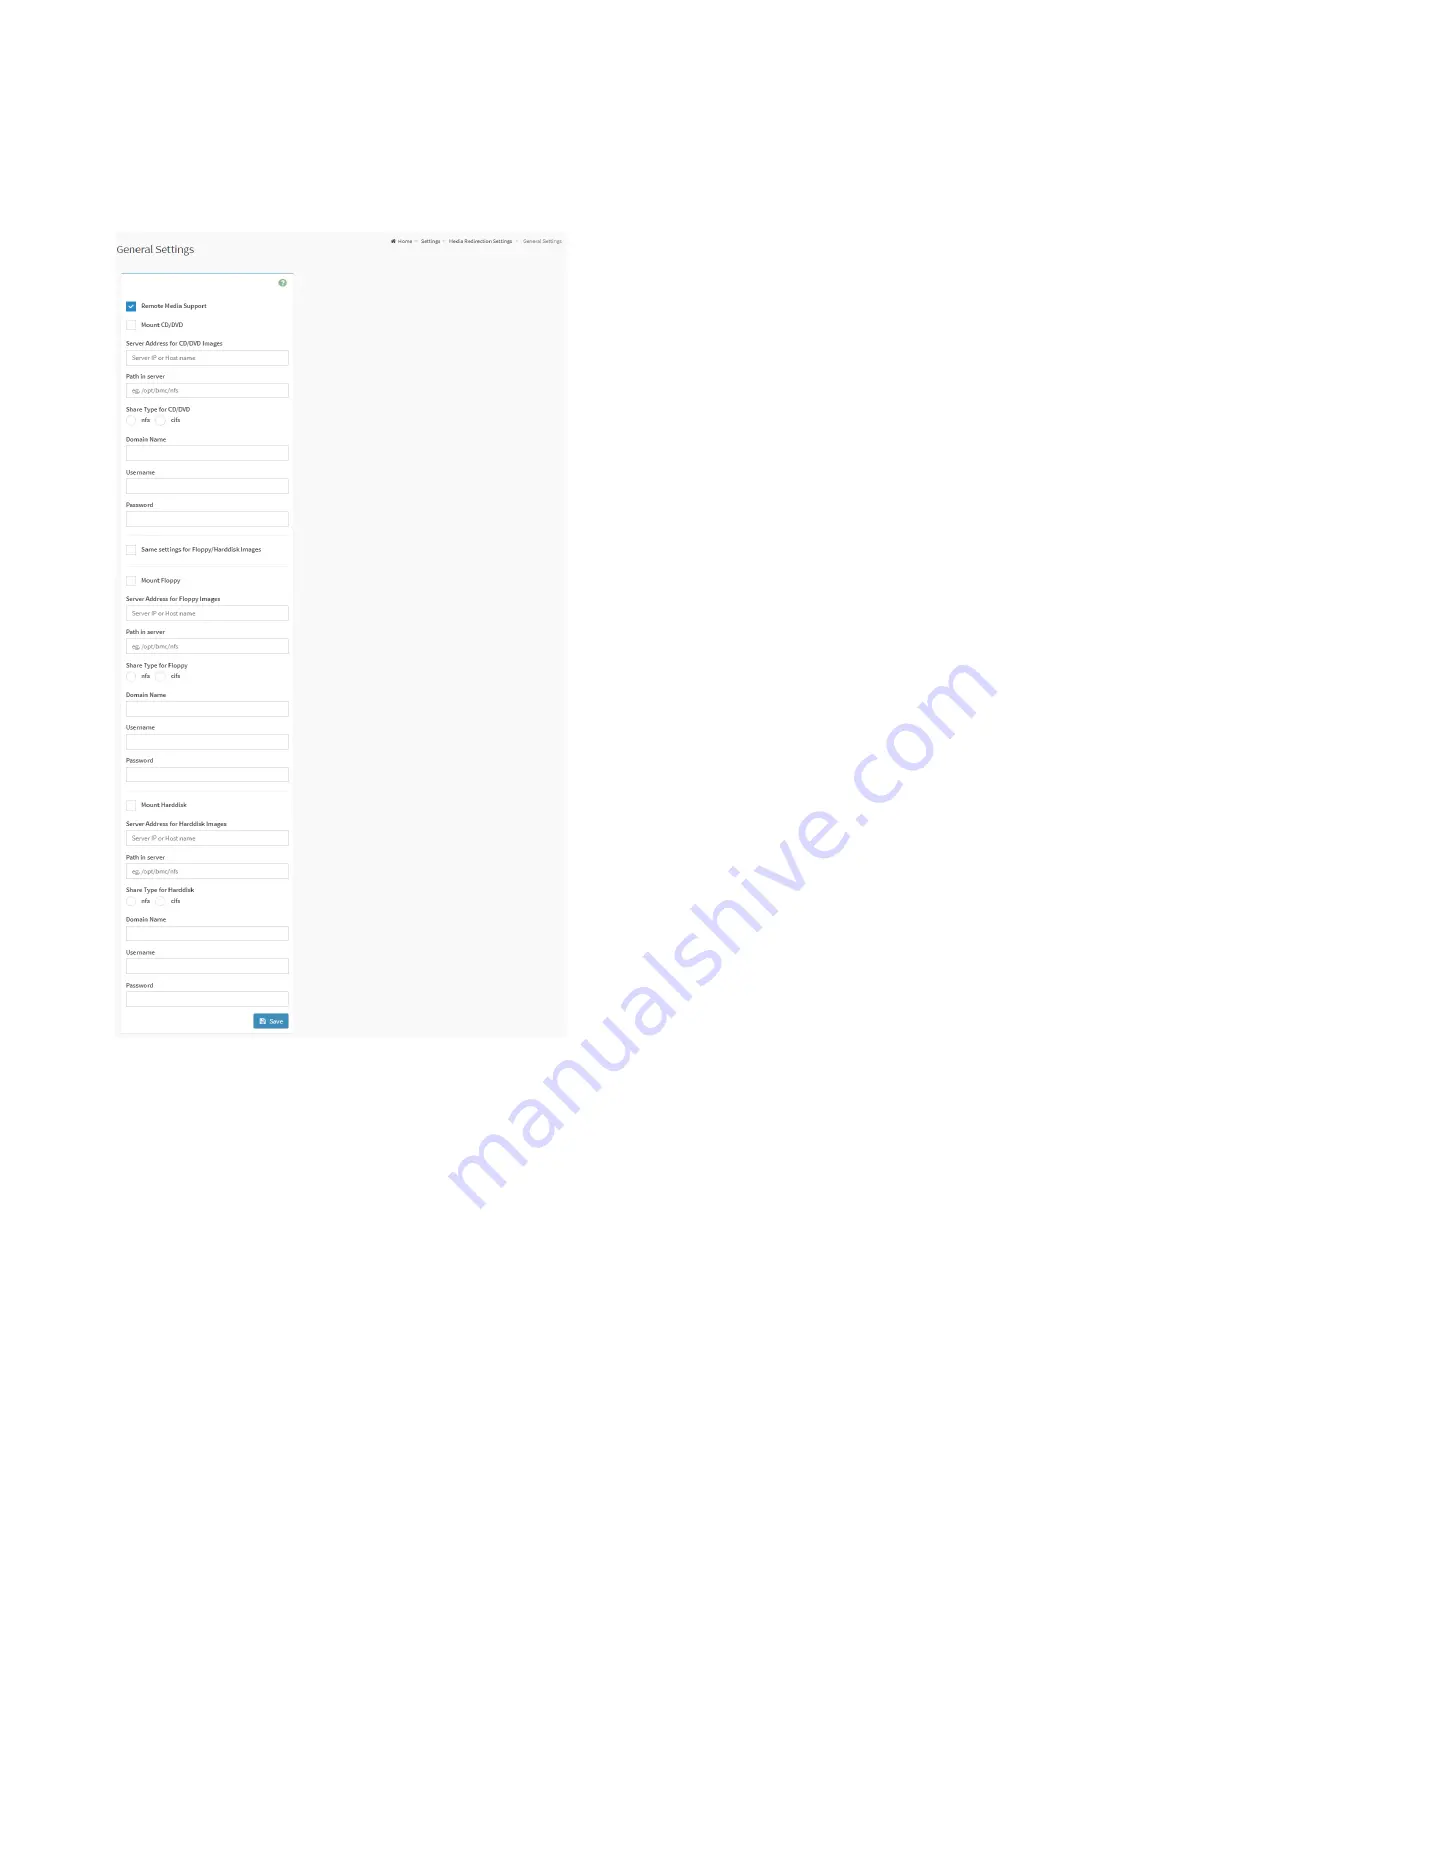
This page is used to configure general media settings.
General Settings Page
Remote Media Support:
Check the box to enable Remote Media support.
Mount CD/DVD:
Check the box to enable Mount CD/DVD support.
Server Address for CD/DVD Images:
Displays the address of the server where the remote media images are stored.
Path in server:
Displays the Source path to the remote media images.
Path in server:
Displays the Share Type of the remote media server either NFS or CIFS.
Domain Name:
If share Type is Samba(CIFS), then enter domain name to authenticate on the server.
Username:
If share Type is Samba(CIFS), then enter username to authenticate on the server.
Password:
If share Type is Samba(CIFS), then enter password to authenticate on the server.
Same settings for Floppy/Harddisk Images
: Enable/Disable to select same media type data configurations for all the remote media types.
Mount Floppy
: Check the box to enable Mount Floppy support.
Server Address for Floppy Images
: Displays the address of the server where the remote media images are stored.
Path in server
: Displays the Source path to the remote media images.
Share Type for Floppy
: Displays the Share Type of the remote media server either NFS or CIFS.
Mount Harddisk
: Check the box to enable Mount Harddisk support.
Server Address for Harddisk Images
: Displays the address of the server where the remote media images are stored.
Path in server
: Displays the Source path to the remote media images.
Share Type for Harddisk
: Displays the Share Type of the remote media server either NFS or CIFS.
28.7.5.2. VMedia Instance Settings
This page is used to configure virtual media device settings.
Summary of Contents for ORION HF210-G5
Page 1: ...ORION HF210 G5 User Manual...
Page 13: ...12 8 4 Support and Certification Labels...
Page 14: ...13 9 Chassis Layout The following illusration shows inside of the ORION HF210 G5 system...
Page 19: ...18 11 2 Jumper Functionality...
Page 20: ...19...
Page 22: ...21 11 4 Block Diagram...
Page 31: ...30 Step 3 Twist the card and remove from chassis...
Page 37: ...36...
Page 39: ...38 Step 3 Turn over the cage and unscrew 4 screws Step 4 Replace the SSD...
Page 44: ...43 Step 9 Rotate and close the PCIe release latch...
Page 68: ...67 FRU File ID Product Extra...
Page 124: ...123 Step 14 Click on OK Step 15 Wait until the Processing Window completes...
Page 125: ...124 Step 16 Click on Proceed Step 17 Click on OK to proceed the BIOS update...
Page 126: ...125 Step 18 Wait until the BIOS update completes and then click on OK...


