background image

Instructions Manual

Manual de Instrucciones
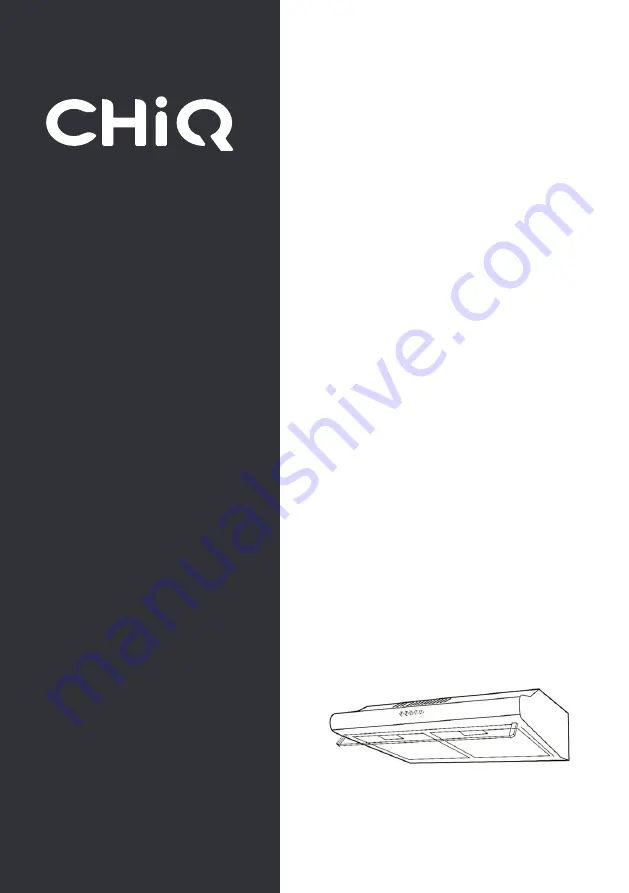
COOKER HOOD

CAMPANA EXTRACTORA

MODELS / 

MODELOS

:

CQHDU30T1T1W

CQHDU30T1T1S

Read this manual before using your device and 

save for future reference.

Lea este manual antes de usar su dispositivo y 

guárdelo para futuras consultas.

Summary of Contents for CQHDU30T1T1S

Page 1: ...trucciones COOKER HOOD CAMPANA EXTRACTORA MODELS MODELOS CQHDU30T1T1W CQHDU30T1T1S Read this manual before using your device and save for future reference Lea este manual antes de usar su dispositivo...

Page 2: ...n the stove as it is damaging for the filters and a fire hazard Constantly check food frying to avoid that the overheated oil may become a fire hazard If the supply cord is damaged it must be replaced...

Page 3: ...ons carefully Unpack the hood and check that all functions are working Ensure that the voltage V and the frequency Hz indicated on the serial plate match the voltage and frequency at the installation...

Page 4: ...nockout A Remove the ducting knockout by inserting a Flat head screwdriver under one end and prying it up Then snip or break the attachment points by tin snips You must make sure that the ducting knoc...

Page 5: ...e the knob Extraction air mode Turn the venting knob to the position of the picture 7 means venting outside Circulating air mode Turn the venting knob to the position of the picture 6means recirculati...

Page 6: ...n Do not discharge the exhaust air into a flue from other appliances burning gas or other fuels Regulations concerning the discharge of air have to be fulfilled The cooker hood must be placed at a min...

Page 7: ...cooker hood on the wall On the wall install 2 screws supplied according to the relative position of 2 key holes on the back of hood The extent of screwing should be convenience to the next installati...

Page 8: ...button MAX on the motor runs at high speed When press the push button 0 on the motor stops running Replacing Bulb Removing the bulb that need to be replaced then reinstall the new bulb The power of b...

Page 9: ...by carrying out the following instruction 1 Remove the metallic filter from the cooker hood and wash it in a solution of water and neutral liquid detergent leaving to soak 2 Rinse thoroughly with warm...

Page 10: ...do no hay ollas en las hornillas Revise constantemente los alimentos que se est n friendo para evitar que el aceite se recaliente y origine incendios Si el cable de energ a est da ado ste deber ser re...

Page 11: ...Aseg rese de que el voltaje V y la frecuencia Hz indicada en la placa serial coincida con el voltaje y la frecuencia en el lugar de instalaci n Revise el rea detr s de la superficie de instalaci n en...

Page 12: ...insertando un destornillador de cabeza plana debajo de un extremo y haciendo palanca Luego corte o rompa los puntos de sujeci n Debe asegurarse de que no se retire el orificio B del conducto DESCARGA...

Page 13: ...ci n de la figura 7 significa ventilar hacia el exterior Modo de circulaci n de aire Girar la perilla hasta la posici n de la figura 6 significa recirculaci n de aire Se necesita suficiente aire para...

Page 14: ...tracci n del aire en la tuber a de escape de otros dispositivos quemadores de gas u otros combustibles Las normas de descarga de aire deben ser cumplidas La campana de cocina debe ser colocada en una...

Page 15: ...En la pared instale 2 tornillos incluidos de acuerdo con la posici n relativa de 2 orificios en la parte posterior de la campana La extensi n del atornillado debe ser conveniente para la pr xima insta...

Page 16: ...l bot n MAX el motor funciona a alta velocidad Al presionar el pulsador 0 el motor deja de funcionar Reemplazo de la bombilla Retire la bombilla que necesita ser reemplazada luego instale la bombilla...

Page 17: ...ado El filtro de carb n debe ser limpiado y remplazado de forma regular El agua de limpieza no debe ingresar en el motor interruptor de control partes el ctricas etc Se recomienda limpiar el filtro me...

Page 18: ...rificio de escape luego inserte el anillo de conexi n en el orificio de escape g relo algunos ngulos aproximadamente 10 Instale el filtro de carb n Empuje el filtro de carb n y luego gire en un ngulo...

Page 19: ......

Page 20: ......

Reviews: