background image


3000 N 29

th

 Ct, Hollywood, FL 33020 U.S.A.  

(800) 762-1084 – (954) 929-1115 

FAX (954) 929-5560 

www.chauvetlighting.com


LEDsplash™ 152B 


User Manual 


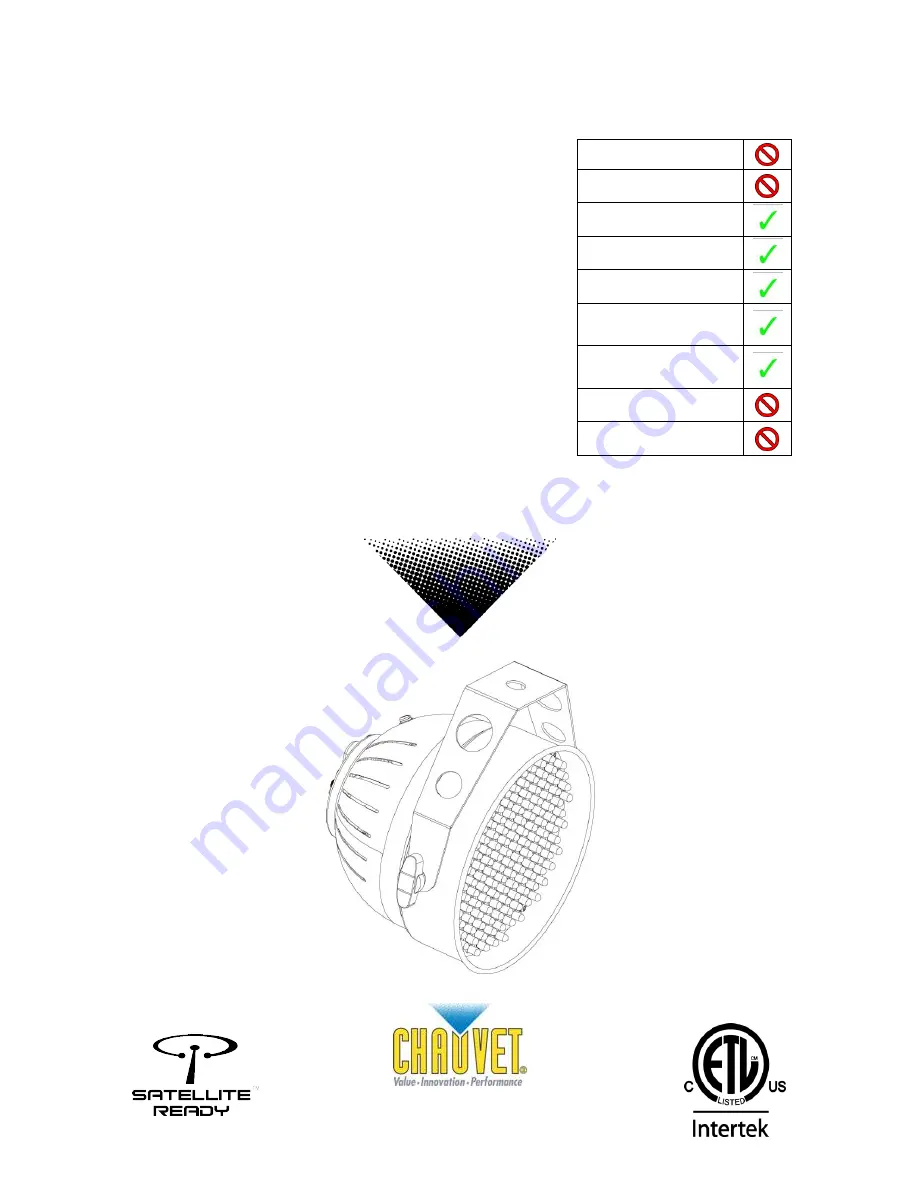
Snapshot 

Use on Dimmer 


Outdoor Use 


Sound Activated 


DMX 


Master/Slave 


115V/230V 

Switch 


Replaceable 

Fuse 


User Serviceable 


Duty Cycle 


Summary of Contents for LEDsplash 152B

Page 1: ...20 U S A 800 762 1084 954 929 1115 FAX 954 929 5560 www chauvetlighting com LEDsplash 152B User Manual Snapshot Use on Dimmer Outdoor Use Sound Activated DMX Master Slave 115V 230V Switch Replaceable Fuse User Serviceable Duty Cycle ...

Page 2: ...ctors 9 3 Pin to 5 Pin Conversion Chart 9 Setting up a DMX Serial Data Link 9 Master Slave Fixture Linking 10 Mounting 10 Orientation 10 Rigging 10 4 Operating Instructions 11 Operation 11 Stand Alone Mode Sound Active Auto Mode 11 Master Slave Mode Master Sound Master Auto 11 Dipswitch Functions 11 DMX Mode 12 DMX Channel Values 12 Setting the DMX starting address 13 DMX Quick Reference Chart 14 ...

Page 3: ... a particular fixture see the label affixed to the back plate of the fixture or refer to the fixture s specifications chart A fixture s listed current rating is its average current draw under normal conditions All fixtures must be powered directly off a switched circuit and cannot be run off a rheostat variable resistor or dimmer circuit even if the rheostat or dimmer channel is used solely for a ...

Page 4: ...e and be sure to replace with same lamp source Secure fixture to fastening device using a safety chain Maximum ambient temperature Ta is 104 F 40 C Do not operate fixture at temperatures higher than this In the event of a serious operating problem stop using the unit immediately Never try to repair the unit by yourself Repairs carried out by unskilled people can lead to damage or malfunction Pleas...

Page 5: ... 255 No Function CONTROL MODES OPTIONS Rows For a detailed view of DMX values turn to the Appendix section in this manual Control mode parameters are set by DMX values in Channel 1 2 INTRODUCTION Features 6 channel DMX 512 LED wash light Blackout static dimmer strobe Selector switch for sound active or automatic programs Static colors and RGB color mixing with or without DMX controller Built in au...

Page 6: ...ction Safety attachment point Fuseholder DMX Master Slave Signal LED Indicator Standalone Auto Sound Selection Switch Bracket Adjustment Knob Power Input Hardwired cable Power LED Indicator Microphone Sensitivity Adjustment Knob Bracket Adjustment Knob DIP Switches DMX Out DMX In ...

Page 7: ...LEDsplash 152B User Manual 7 3 9 2010 3 02 PM Product Dimensions ...

Page 8: ...ne serial data link without the use of a DMX optically isolated splitter may result in deterioration of the digital DMX signal Maximum recommended serial data link distance 500 meters 1640 ft Maximum recommended number of fixtures on a serial data link 32 Data Cabling To link fixtures together you must obtain data cables You can purchase CHAUVET certified DMX cables directly from a dealer distribu...

Page 9: ...art below details a proper cable conversion 3 PIN TO 5 PIN CONVERSION CHART Conductor 3 Pin Female output 5 Pin Male Input Ground Shield Pin 1 Pin 1 Data signal Pin 2 Pin 2 Data signal Pin 3 Pin 3 Not Used Pin 4 Not Used Pin 5 Setting up a DMX Serial Data Link 1 Connect the male 3 pin connector side of the DMX cable to the output female 3 pin connector of the controller 2 Connect the end of the ca...

Page 10: ... the first fixture which will have a female 3 pin connector to the input connector of the next fixture consisting of a male 3 pin connector Then proceed to connect from the output as stated above to the input of the following fixture and so on Mounting ORIENTATION This fixture may be mounted in any safe position provided there is adequate room for ventilation RIGGING It is important never to obstr...

Page 11: ... a controller In this mode the first unit in the daisy chain will automatically command all other units following 1 Connect all LEDsplash 152B units in a daisy chain fashion as described in the section following 2 Dipswitch settings on slave fixtures are not required and will have no effect 3 Set all dipswitches on the Master unit to the Off position and the unit will run its built in color change...

Page 12: ...100 Pulse 100 0 Pulse 100 0 100 No Function No Function No Function Speed 000 255 120 149 Color Macro Color Macros See Table 1 1 No Function 150 179 R G B Chase RGB Chase pattern No Function Speed 000 255 180 209 Automatic Color Change 210 239 Automatic Fade Color Change w fade 240 255 Sound Activated Music Auto switch must be set to Music No Function Table 1 1 MODE CH 2 DESCRIPTION Color Macro Ch...

Page 13: ...es on Do so by doing the following 1 Determine the largest value switch that is less than the start address Turn this switch on 2 Subtract the value of the switch you just turned on from the starting address number 3 Determine the largest value switch that is less than the remainder from the previous subtraction Turn this switch on 4 Subtract the value of the switch you just turned on from the rem...

Page 14: ...2 364 396 428 460 492 1 0 1 1 0 13 45 77 109 141 173 205 237 269 301 333 365 397 429 461 493 0 1 1 1 0 14 46 78 110 142 174 206 238 270 302 334 366 398 430 462 494 1 1 1 1 0 15 47 79 111 143 175 207 239 271 303 335 367 399 431 463 495 0 0 0 0 1 16 48 80 112 144 176 208 240 272 304 336 368 400 432 464 496 1 0 0 0 1 17 49 81 113 145 177 209 241 273 305 337 369 401 433 465 497 0 1 0 0 1 18 50 82 114 ...

Page 15: ...or fixture is overheating Lamp may be at end of its life Light will not come on after power failure Some discharge lamps require a cooling off period before the electronics in the fixture can kick start it again wait 5 to 10 minutes before powering up Loss of signal Use only DMX cables Install terminator Note Keep DMX cables separated from power cables or black lights Moves slow Check 220 110v swi...

Page 16: ... and most direct cabling Connect fixtures using shielded two conductor twisted pair cable with three pin XLR male to female connectors The shield connection is pin 1 while pin 2 is Data Negative S and pin 3 is Data positive S CHAUVET carries 3 pin XLR DMX compliant cables DMX 10 33 DMX 4 5 15 and DMX 1 5 5 General Maintenance To maintain optimum performance and minimize wear fixtures should be cle...

Page 17: ...e right to use its own discretion to repair or replace product s As a suggestion proper UPS packing or double boxing is always a safe method to use Note If you are given an RMA please include the following information on a piece of paper inside the box 1 Your name 2 Your address 3 Your phone number 4 The RMA 5 A brief description of the symptoms Claims Damage incurred in shipping is the responsibi...

Page 18: ...n 50 Blue 100 000 hrs PHOTO OPTIC Luminance 1m 740 lux Beam Angle 37 Field Angle 60 SATELLITE OPERATION Run time 100 output full RGB 8 hrs Maximum Run Time auto program or single color 8 hrs Connection 4 pin DIN connector THERMAL Maximum ambient temperature 104 F 40 C CONTROL PROGRAMMING Data input locking 3 pin XLR male socket Data output locking 3 pin XLR female socket Data pin configuration pin...

Reviews: