background image

79033095 C Rev.  

1-7

Introduction

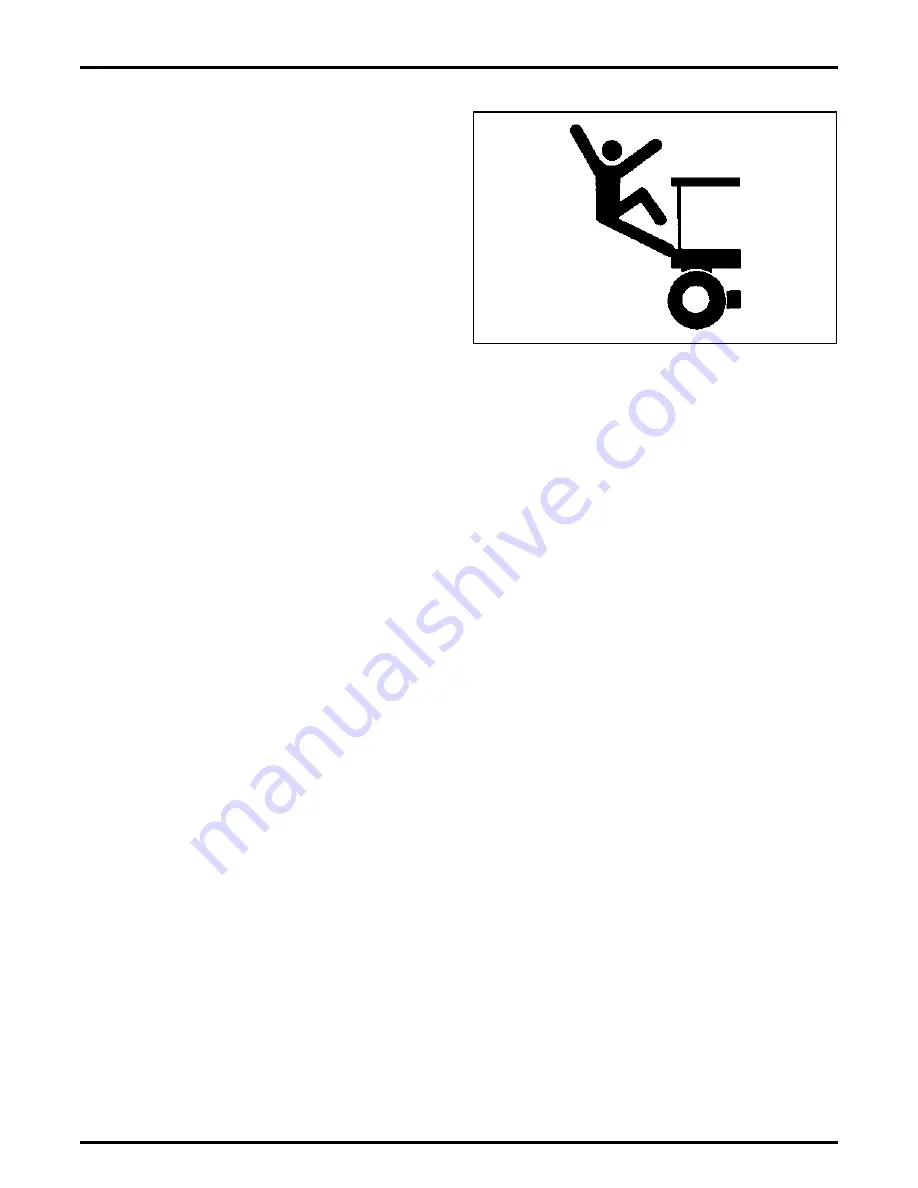
Mounting and Dismounting 

FIG. 8:

Mount and dismount machine only where there

are steps and/or hand holds. Face machine whenever
mounting or dismounting.

Maintain three-point contact with steps and hand holds.
Three-point contact is two feet and one hand or one foot
and two hands.

Never mount or dismount a moving machine. Never jump
off machine except in an emergency.

Do not carry tools or supplies when trying to mount or
dismount machine. Use a hand line to pull equipment
onto platform.

Do not use any controls as hand holds when entering or
exiting operator compartment. 

IMPORTANT: Make sure steps are not adjusted too

close to hood of machine.

Leave a minimum dimension of 75 mm between inside
hand hold and hood so there is enough room for
operator's hand.

Crushing Prevention and Cutting 
Prevention 

Stay clear of center articulation joint area of machine
when engine is running. Connect articulation joint stop
whenever servicing this area.

Support equipment properly when performing work under
equipment. Do not depend on hydraulic cylinders to hold
equipment.

m

WARNING: An implement can fall if a
control lever is moved or if a hydraulic line
breaks.

Never jump across starter solenoid terminals to start
machine. Unexpected machine movement could result.

Never attempt adjustments while machine is moving or
while engine is running.

Whenever there are attachment control linkages,
clearance in linkage area changes with movement of
attachment.

Stay clear of all rotating and moving parts. Keep objects
away from moving fan blades. Fan blades will throw and
cut objects.

Wear gloves to handle wire cable and do not use kinked
or frayed wire cable.

Retainer pins can fly when struck, ensure there are no
personnel in area before striking. Wear protective glasses
to protect eyes. When striking objects, chips or other
debris may fly off. Ensure there will be no injury prior to
striking any object.

FIG. 8

N020903008

Find manuals at http://best-manuals.com/search?&s=CHAL-79033095

Summary of Contents for MT835C

Page 1: ...Service Manual MT835C MT845C MT855C MT865C MT875C...

Page 2: ...5 C Rev Volume 1 CONTENTS Volume 1 INTRODUCTION 01 ENGINE 02 POWERTRAIN 03 FRAME 04 STEERING AND BRAKE SYSTEM 05 IMPLEMENT HYDRAULIC AND THREE POINT HITCH SYSTEMS 06 ELECTRICAL SCHEMATICS 07 AIR SYSTE...

Page 3: ...1 8 Operator Station 1 9 Engine Starting 1 10 Seat Belts 1 10 Shield Removal 1 10 Fluid Precautions 1 11 Battery Disconnect 1 11 Rollover Protective Structure ROPS 1 12 Burn Hazards 1 12 Coolant Preca...

Page 4: ...01 ii 79033095CRev Contents Special Tooling 1 24 INDEX 01 25 Find manuals at http best manuals com search s CHAL 79033095...

Page 5: ...a clearer view Never operate machine with any shields removed Divisions and Page Numbers Service manual is separated into divisions Refer to Master Table of Contents Each division has an identifying p...

Page 6: ...ential hazard can be anticipated Warnings in service manual and on machine are therefore not all inclusive If a tool procedure work method or operating technique not specifically recommended by AGCO i...

Page 7: ...ION are used with safety alert symbol Learn to recognize safety alerts and follow recommended precautions and safe practices m DANGER Indicates an imminently hazardous situation that if not avoided wi...

Page 8: ...d in manuals and on decals affixed to machine and attachments Personal injury and death may result in precautions are not followed Words IMPORTANT and NOTE are not related to personal safety but are u...

Page 9: ...ive equipment as required Wearing loose clothing or not using correct safety equipment for job injury can occur Never wear clothing that will catch on objects Extra safety equipment that can be requir...

Page 10: ...tioner Do not smoke if refrigerant gas may be present Inhaling fumes released from a flame that contacts air conditioner refrigerant can cause bodily harm or death Inhaling gas from air conditioner re...

Page 11: ...e is running Connect articulation joint stop whenever servicing this area Support equipment properly when performing work under equipment Do not depend on hydraulic cylinders to hold equipment m WARNI...

Page 12: ...ottle control lever to LOW IDLE position Run engine at low idle speed for five minutes allowing turbocharger to cool Stop engine turn engine start switch to OFF position and remove engine start switch...

Page 13: ...ct debris and moisture before making high speed maneuvers Belts that are wet and or muddy may impede machine s steering If stability of machine is noticeably reduced reduce travel speed Select a gear...

Page 14: ...while engine is running Any rider in instructor s seat must fasten seat belt Never allow anyone on any part of machine or its attachments except in operator5 s and instructor s seat when engine is run...

Page 15: ...r death Keep machine free of foreign material fuel oil some coolants oily rags and debris Do not weld on lines or tanks containing flammable fluids Use caution when refueling machine and do not smoke...

Page 16: ...ay be hot Allow engine to cool before any maintenance is performed Relieve all pressure in air oil lubrication fuel system or cooling system before any line fittings or related items are disconnected...

Page 17: ...nce testing adjusting and repair of machine Be prepared to collect fluid with suitable containers before opening any compartment or disassembling any component containing fluids Dispose of all fluids...

Page 18: ...oltmeter on a hydrometer improper jumper cable connections can cause an explosion resulting injury Be careful when connecting booster cables to batteries Electrical component damage or battery explosi...

Page 19: ...orrectly Do not weld or flame cut on lines or tanks containing flammable fluids Clean any such lines or tanks thoroughly with non flammable solvent prior to welding or flame cutting Check all electric...

Page 20: ...mentarily disabled if satellite signal is lost it is imperative operator be alert to position and conditions in field at all times Auto Guide system is designed to aid operator with machine steering O...

Page 21: ...uick reference record identification numbers in spaces provided below illustration FIG 26 Machine PIN Plate is located on left side of frame rail Machine PIN _________________________________ FIG 27 E...

Page 22: ...Number Tag 1 is located on rear of operator s seat Seat Serial Number ___________________________ FIG 31 Serial Number for Differential and Axles Plate is located near base of filler tube for hydraul...

Page 23: ...by supplier of component for purposes of shipping and storage Other applications for lubricating components may also be specified in Service Manual Constant Torque Hose Clamps Due to extreme temperat...

Page 24: ...85 to 125 31 to 39 40 to 60 M14 x 2 108 to 132 130 to 190 120 to 140 145 to 205 55 to 65 65 to 95 M16 x 2 160 to 190 200 to 280 180 to 220 230 to 310 80 to 100 105 to 145 M20 x 2 5 305 to 375 400 to 5...

Page 25: ...60 to 190 200 to 280 75 to 95 95 to 135 3 4 10 245 to 305 320 to 420 290 to 350 370 to 490 135 to 165 160 to 240 7 8 9 410 to 510 540 to 700 470 to 570 610 to 790 215 to 265 285 to 365 1 8 590 to 730...

Page 26: ...ervice work both tube and hose connections should be tightened finger tight and wrenched 1 4 turn O ring fittings should be tightened as for initial assembly JIC SWIVEL NUTS 37 degree SEAT The followi...

Page 27: ...366 liters x 4 227 cups bushel x 35 239 liters x 0 02838 bushels bushel x 0 03524 meters m x 28 378 bushels MASS ounces av x 28 35 grams g x 0 03527 ounces av pounds av x 0 4536 kilograms kg x 2 2046...

Page 28: ...stallation disassembly or assembly of components of the machine These parts can be ordered from AGCO Part Number Description 516186D1 Hose AS Tensioner Charge 548008D1 Adapter GP Communications 563181...

Page 29: ...e Extinguisher 1 16 Fluid Precautions 1 11 G General Hazard Information 1 5 I Inch Fasteners 1 21 Informational Messages 1 4 L Lights Reflector and Signs 1 14 M Machine Identification 1 17 Metric Fast...

Page 30: ...01 26 79033095CRev Index NOTES Find manuals at http best manuals com search s CHAL 79033095...

Page 31: ...Axle Cooler Installation 02 59 Cooling Assembly Charge Air Cooler Removal and Installation 02 68 Charge Air Cooler Removal 02 68 Charge Air Cooler Installation 02 73 Cooling Assembly Air Conditioning...

Page 32: ...2 142 Hood Removal 02 142 Hood Installation 02 146 Input Shaft and Input Coupling Removal and Installation 02 149 Input Shaft and Input Coupling Removal 02 149 Input Shaft and Input Coupling Installat...

Page 33: ...n Road Compression Ignition Engines The quality of the fluids used in these engines as well as the servicing schedule must be respected in order to keep pollution emission levels low and to maintain t...

Page 34: ...d the components to cool Serpentine Belt Removal FIG 1 Battery disconnect switch IMPORTANT Park the machine on a hard level surface Location of battery disconnect switch 1 FIG 2 Disconnect battery pow...

Page 35: ...nd remove guard 2 FIG 4 Remove left guard NOTE This guard does not need to be removed if replacing just the fan drive serpentine belt Remove bolts 1 and remove guard 2 FIG 3 1 2 1 1 N011906001 FIG 4 1...

Page 36: ...into a neutral position FIG 6 Accessories serpentine belt removal NOTE Fan drive serpentine belt must be removed to replace accessories serpentine belt Use a ratchet wrench in the square hole 1 on the...

Page 37: ...are properly seated in pulley valleys and slowly allow belt tensioner to release until it makes contact with belt FIG 8 Fan drive serpentine belt install Install serpentine belt 3 over pulleys on fro...

Page 38: ...en Tighten to 55 Nm 40 lbf ft FIG 10 Install left guard NOTE This step can be skipped if the left guard was not removed Install guard 2 and install bolts and washers 1 and tighten Tighten to 55 Nm 40...

Page 39: ...ev 02 7 Engine Component FIG 11 Connect battery at battery disconnect switch Install key 1 and rotate to connect the battery power FIG 11 1 N012206002 Find manuals at http best manuals com search s CH...

Page 40: ...engine allow the engine and the components to cool FIG 12 Battery disconnect switch IMPORTANT Park the machine on a hard level surface Location of battery disconnect switch 1 FIG 13 Disconnect battery...

Page 41: ...need to be removed if replacing just the fan drive serpentine belt Remove bolts 1 and remove guard 2 FIG 15 Remove wiring Mark and remove wiring 1 2 and 3 from alternator 4 FIG 14 1 1 2 1 N012606004...

Page 42: ...Equipment or parts under spring tension can cause bodily injury Use caution in releasing belt tension NOTE Be sure to allow enough room for the swing of the ratchet to allow belt tensioner to relax in...

Page 43: ...on front of engine leaving it off of alternator pulley Ensure that belt ribs are properly seated in pulley valleys Insert square drive of ratchet into square hole 1 on belt tensioner 2 and rotate ten...

Page 44: ...al 2 FIG 22 Install left guard NOTE This step can be skipped if the left guard was not removed Install guard 2 and install bolts and washers 1 and tighten Tighten to 55 Nm 40 lbf ft FIG 23 Connect bat...

Page 45: ...chine Be prepared to collect the fluid with suitable containers before opening any compartment or disassembling any component containing fluids Dispose of all fluids according to local regulations and...

Page 46: ...igarette or other smoking method or inhaling fumes released from a flame contacting air conditioner refrigerant gas can cause bodily harm or death Do not smoke when servicing air conditioners or where...

Page 47: ...128 lb FIG 27 Drain engine coolant Place approved container under drain line 1 Turn valve 2 counter clockwise to open Drain engine coolant into an approved container for storage or disposal When coola...

Page 48: ...rbo hole and hole in the charge air cooler with clean cloth towels to prevent dirt entering the system FIG 31 Remove left side charge air tube Clean dirt off of charge air tube 1 and it connections to...

Page 49: ...nt FIG 32 Remove left guard Remove bolts 1 and remove guard 2 FIG 33 Remove right guard Remove bolts 1 and remove guard 2 FIG 32 1 1 2 1 N012606004 FIG 33 1 2 1 1 N011906001 Find manuals at http best...

Page 50: ...5 Remove fuel lines 1 from fuel cooler core 2 Plug hoses to prevent fuel loss NOTE Mark hoses to ensure that hoses are connected to original location FIG 36 Remove cover plate Remove knobs 1 and remov...

Page 51: ...This as a preview PDF file from best manuals com Download full PDF manual at best manuals com...

Reviews: