User Guide for FibeAir® IP-20 All-Outdoor Products, CeraOS 10.5
Page 194 of 825
Ceragon Proprietary and Confidential
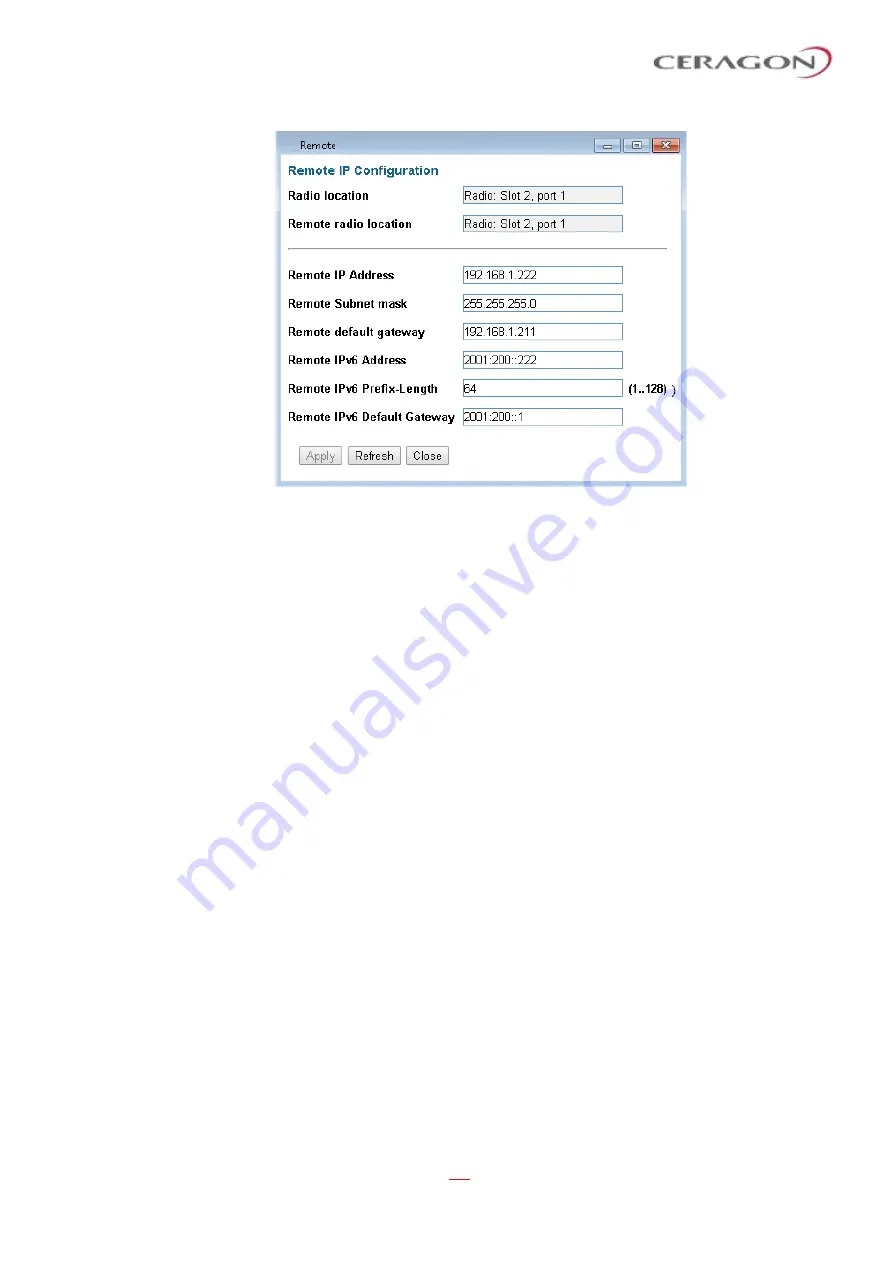
Figure 137: Remote IP Configuration Page Per Carrier
–
IP-20C/IP-20C-HP
3 In the
Remote
IP address
field, enter an IP address for the remote unit. You
can enter the address in IPv4 format in this field, and/or in IPv6 format in the
IPv6 Address
field. The remote unit will receive communications whether they
are sent to its IPv4 address or its IPv6 address.
4 In the
Remote
Subnet mask
field, enter the subnet mask of the remote radio.
5 Optionally, in the
Remote
default gateway
field, enter the default gateway
address for the remote radio.
6 Optionally, in the
Remote
IPv6 Address
field, enter an IPv6 address for the
remote unit. You can enter the address in IPv6 format in this field, and/or in
IPv4 format in the
IP Address
field. The unit will receive communications
whether they are sent to its IPv4 address or its IPv6 address.
7 If you entered an IPv6 address, enter the IPv6 prefix length in the
Remote
IPv6 Prefix-Length
field.
8 Optionally, if you entered an IPv6 address, enter the default gateway in IPv6
format in the
Remote default Gateway IPv6
field.
9 Click
Apply
.
4.2.1
Changing the Subnet of the Remote IP Address
If you wish to change the
Remote IP Address
to a different subnet:
1 Change the address of the
Remote Default Gateway
to 0.0.0.0.
2 Click
Apply
.
3 Set the
Remote IP Address
as desired, and the
Remote Default Gateway
as
desired.
Similarly, if you wish to change the
Remote IPv6 Address
to a different subnet:
1 Change the address of the
Remote IPv6 Default Gateway
to 0:0:0:0:0:0:0:0.
2 Click
Apply
.


