Passionate about style
Customer Care Department • The Group Ltd. • Harby Road • Langar • Nottinghamshire • NG13 9HY
T
: 01949 862 012
F
: 01949 862 003
E
: [email protected]
W
: www.cda.eu
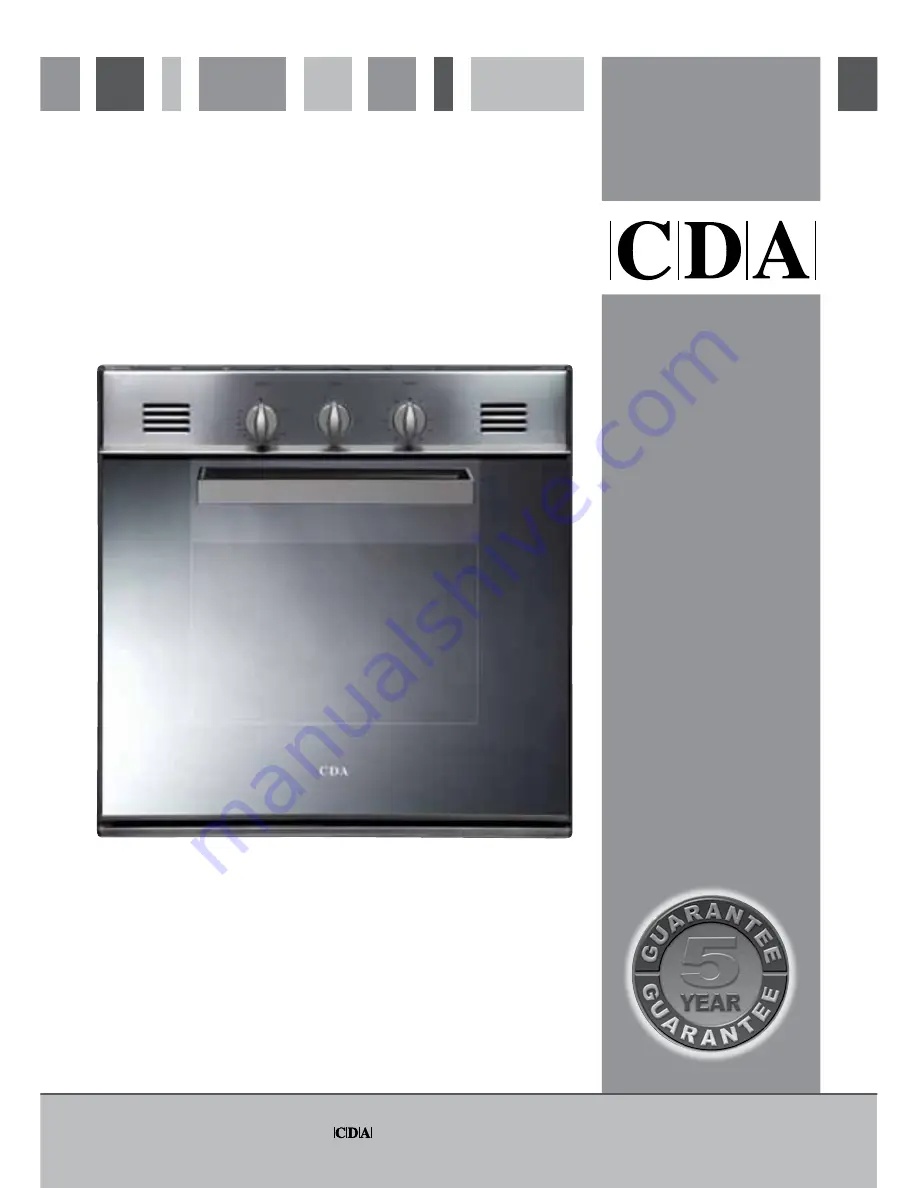
SC309 Gas Oven
Manual for Installation, Use and Maintenance
Page 1: ...out style Customer Care Department The Group Ltd Harby Road Langar Nottinghamshire NG13 9HY T 01949 862 012 F 01949 862 003 E service cda eu W www cda eu SC309 Gas Oven Manual for Installation Use and...
Page 2: ...es carefully designed and built by our specialist staff and thoroughly tested to satisfy your cooking requirements We suggest that you read this Instruction Booklet so that you will understand fully h...
Page 3: ...r accepts no responsibility for any inconvenience caused by failure to comply with this rule DETAILS Connection to the electric power supply must be carried out by a qualified technician and following...
Page 4: ...here is a danger of electric shock if the cut off plug is inserted into any 13 amp socket outlet CONNECTION USING FIXED WIRING Fig 2 It is possible to connect the appliance directly to the mains suppl...
Page 5: ...ric cables on the power point match the appliance s power rating If the supply cord is damaged it must be replaced by a special cord by a qualified elec trical technician in order to avoid a hazard GE...
Page 6: ...competent on the type of product being installed or serviced and holding a valid certificate of competence for the work being carried out Currently the proof of competence is the Accredited Certifica...
Page 7: ...sion from the surrounding kitchen furniture which may be moved in use such as a door or drawer or by being trapped by a stability device 5 The plug in connector should be accessible for disconnection...
Page 8: ...guaranteed if installed in any of the above environments and could affect any third party or public liability insurances you may have The appliance should be installed into a room or space with an air...
Page 9: ...he unit Failure to allow adequate ventilation to the appliance may result in over heating or damage to adjacent units 560 591 594 594 540 20 555 m in 550 560 50 585 Figure 4 Lift the oven carefully in...
Page 10: ...ollows a REPLACEMENT OF THE OVEN BURNER INJECTOR Open the oven door completely Remove the burner cover Fig 5 Remove the burner by unscrewing the two front screws Fig 6 Take care not to damage the wire...
Page 11: ...By pass 1 100 mm GB Cat II 2H3 adjustable Reference value b REPLACEMENT OF THE GRILL BURNER INJECTOR Remove the burner by unscrewing the front screw fig 8 Gently suspend the burner as shown in figure...
Page 12: ...increase or reduce the air aperture in accordance with gas type and the indications in the TABLE FOR THE INJECTORS Light the burner and check the flame Warning The regulation of the flames must only...
Page 13: ...r about 10 minutes then take the knob to position minimum to operate at by pass flow Remove the thermostat knob and by means of a thin screwdriver pass by the hole in the facia panel to unscrew of 3 t...
Page 14: ...t sliding out faces the inside of the oven Fig 14 Before using the oven for the first time we recommend that you clean it with soapy water rinse carefully and heat for 30 minutes at maximum temperatur...
Page 15: ...on and safety device One gas grill 2 30 kW placed on the top providing self ignition and safety device IMPORTANT Ovens are supplied with a cooling device for the control panel The cooling fan switches...
Page 16: ...s well ventilated by opening the natural ventilation grilles or by installing an extractor hood connected to an outlet duct CAUTION If the appliance is used for a prolonged time it may be necessary to...
Page 17: ...the burner has still not ignited wait for about 1 minute prior to repeating the ignition To light the oven manually approach a flame to the hole A of the floor fig 19 then press and turn the thermosta...
Page 18: ...grill manually put a flame to the right and left side of the burner for 2 3 seconds after the thermostat has been opened fig 21 3 Wait about ten seconds after the burner lighting before releasing the...
Page 19: ...exceed 30 minutes Attention the oven door becomes very hot during operation Keep children away OVEN LIGHT The oven provides an interior lamp to allow the visual inspection during the cooking To light...
Page 20: ...y through the cooking process SAFETY NEVER allow fat to build on the oven base As with all ovens clean and empty fat regularly from the trays and oven base to avoid the possibility of fat fires The ov...
Page 21: ...rich plain cakes 325 F slow oven i e Madeira Low temp roasting 4 180 C Warm Plain cakes Victoria 350 F oven sandwich raised meat pies 5 190 C Moderate Small cakes savoury flans 375 F oven fish 6 200...
Page 22: ...as not to damage the surface Never use abrasive cleaning products Do not leave acid or alkaline residues lemon juice vinegar salt tomato etc on the enam elled surfaces NOTE Any cleaners such as spray...
Page 23: ...el with abrasive cleaners or abrasive cloths or scouring pads ONLY SOAP WARM WATER MUST BE USED TO CLEAN THE STAINLESS STEEL SURFACES INSIDE OF OVEN The oven should always be cleaned after use when it...
Page 24: ...witch off and isolate the power 2 When the oven is cool reach back and upwards inside the oven the bulb is in the top left corner 3 Unscrew the light glass cover replace the bulb with a new one of the...
Page 25: ...g information available when booking a service call 1 Model type make and model see the front of this manual 2 Evidence of installation purchase date 3 Retailer where appliance was purchased 4 Clear a...
Page 26: ...e must be produced before a service call will be booked The appliance must be used for domestic purposes only Appliances used for com mercial or professional purposes are not covered by the guarantee...
Page 27: ...27...
Page 28: ...s booklet are given as simply indicative The manufacturer reserves the right considering the characteristics of the models described here at any time and without notice to make eventual necessary modi...