MD220
5.8GHz Digital Cordless Phone with Basic
Caller ID Type 2.0/2.5
User’s Guide
Page 1: ...MD220 5 8GHz Digital Cordless Phone with Basic Caller ID Type 2 0 2 5 User s Guide...
Page 2: ...wiring and telephone network must comply with the applicable FCC Part 68 rules and requirements adopted by the ACTA A compliant telephone cord and modular plug is provided with this product It is desi...
Page 3: ...nce and 2 This device must accept any interference received including interference that may cause undesired operation This equipment has been tested and found to comply with the limits for a Class B d...
Page 4: ...ted warranty HEARING AID COMPATIBILITY HAC This telephone system meets FCC standards for Hearing Aid Compatibility FCC RF Radiation Exposure Statement This equipment complies with FCC RF radiation exp...
Page 5: ...ION SERVICES NUMBER VIBRATE CALL ALERT HANDSET REGISTRATION DEFAULT TELEPHONE OPERATION CHARGE INDICATOR VOICE MAIL WAITING INDICATOR MAKING A CALL ANSWERING A CALL REDIAL FLASH VOLUME MUTE PAGE PAGIN...
Page 6: ...5 DISPLAY MESSAGES TROUBLESHOOTING TIPS CORDLESS PHONE SOLUTIONS CALLER ID SOLUTIONS GENERAL PRODUCT CARE CAUSES OF POOR RECEPTION SERVICE INDEX LIMITED WARRANTY LIMITATION OF WARRANTY...
Page 7: ...memory This telephone has been designed to be simple to use however you can reach its full potential more quickly by taking a few minutes to read this instruction book This telephone is a multifuncti...
Page 8: ...of the cordless telephone should not be placed near or on top of a TV microwave oven or VCR If such interference continues move the cordless telephone further away from these appliances Certain other...
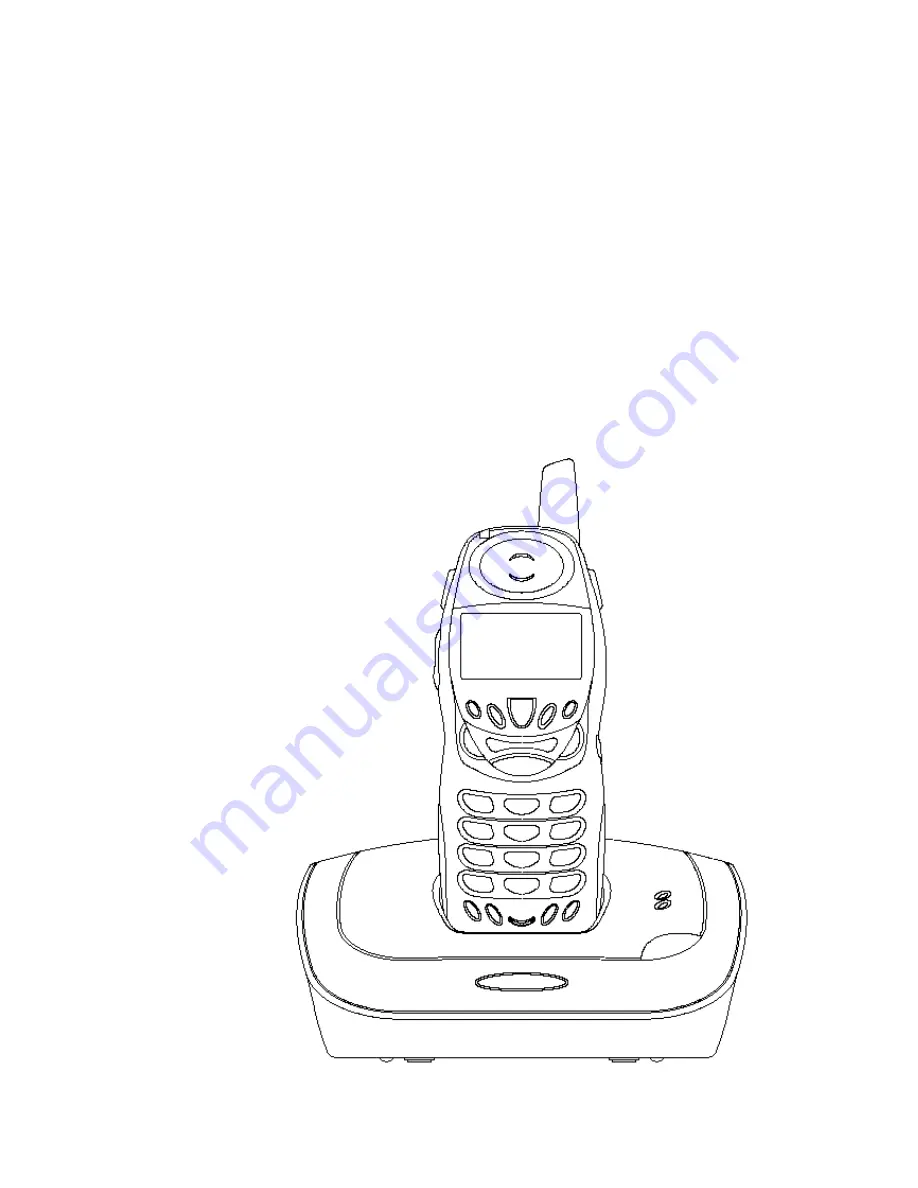
Page 9: ...ercom Button Charge Page LED In Use Voice Mail LED BEFORE YOU BEGIN PARTS CHECKLIST Make sure your package includes the items shown here Handset Base Wall Mount Belt Clip Handset Battery AC Power Supp...
Page 10: ...nals unless the telephone line has been disconnected at the network interface Use caution when installing or modifying telephone lines Temporarily disconnect any equipment connected to the phone such...
Page 11: ...z Output DC9V 700mA power supply that came with this unit Using other power supplies may damage the unit CONNECTING THE TELEPHONE LINE On the base plug the one end of the telephone line cord into the...
Page 12: ...tery door at the bottom of the base 2 Insert four AA size batteries 3 Close the battery door Battery Door WALL MOUNTING THE BASE NOTE For the best result leave the phone on a flat surface during initi...
Page 13: ...LANGUAGE 3 Press the PROG MUTE button again to go into the LANGUAGE sub menu 1 ENGLISH 2 FRA 3 ESP shows in the display 4 Press 1 2 3 or to choose the preferred language The icon will point to the la...
Page 14: ...urrent setting and return to the standby screen NOTE If the Local Area Code matches with the CID number then the unit will only dial the last seven digits of the CID during redial NOTE The Local Area...
Page 15: ...red in each of the number keys For example to enter Bill Smith press the 2 key twice for the letter B Press the 4 key 3 times for the letter I Press the 5 key 3 times for the letter L Wait for 1 secon...
Page 16: ...ress the FLASH 3 WAY EXIT button inside sub menu will keep the current setting and return to program menu NOTE Press the FLASH 3 WAY EXIT button inside program menu will keep the current setting and r...
Page 17: ...s the PROG MUTE button to go into the program menu 2 Press or button until is pointing to VIP MELODY 3 Press the PROG MUTE button again to go into the VIP MELODY sub menu SET VIP MELODY shows in the d...
Page 18: ...isplay 13 Press or key to choose which ringer to be used for this VIP Melody Press the PROG MUTE button again to confirm 14 The setup for one VIP Melody is finished It returns to the program menu NOTE...
Page 19: ...VICES NUMBER sub menu SET INFO SVCS shows in the display 4 You can enter the information services number Max 11 digits 5 Press the PROG MUTE button again You can hear a confirmation tone NOTE Press th...
Page 20: ...ss the PROG MUTE button again to go into the REGISTRATION sub menu REGISTRATION shows in the display 4 Press 1 2 or to choose between YES and NO The icon will point to the latest selection 5 If YES is...
Page 21: ...m menu NOTE Press the FLASH 3 WAY EXIT button inside program menu will keep the current setting and return to the standby screen NOTE Default is NO TELEPHONE OPERATION For hands free operation and con...
Page 22: ...ton 2 When you hear a dial tone dial a telephone number 3 When finished press the TALK button again to hang up OR 1 Dial the phone number first then press the TALK button 2 When finished press the TAL...
Page 23: ...any TIP Don t use the TALK button to activate custom calling services such as call waiting or you will hang up the phone VOLUME When the phone is ON press or buttons to adjust the volume of the handse...
Page 24: ...o cancel the page press the TALK or FLASH 3 WAY EXIT button on the handset or the PAGE INTERCOM button on the base CALLER ID CID Caller ID CID is a service available from your local telephone company...
Page 25: ...IEW CID RECORDS As records are received and stored the display is updated to let you know how many calls you have received 1 Make sure the phone is not in talk mode 2 Press the button to scroll throug...
Page 26: ...igit area code 7 digit telephone number 11 digit long distance code 1 3 digit area code 7 digit telephone number 1 Make sure the phone is not in TALK mode 2 Use the or buttons on the handset to scroll...
Page 27: ...ENTER TEL NUMBER 6 Use the handset keypad to enter the area code followed by the telephone number up to 20 digits including pause s and press the MEMORY button again to save your selection The unit b...
Page 28: ...on the screen 3 Press the TALK button to return to standby screen INFO BUTTON 1 Press the INFO button on the handset will automatically dial to the Information Service Number entered in program menu...
Page 29: ...handset will automatically dial the Voice Mail Number entered in program menu 2 VOICE MAIL displays on the screen 3 Press the TALK button to return to standby screen AUTO REDIAL BUTTON 1 Press the AUT...
Page 30: ...e waiting party 2 Hold state is available Detail description in other section 3 ANSWER displays on the screen 4 Return to normal display screen after 3 seconds BUSY 1 Press the INFO button to connect...
Page 31: ...sting party 2 TO VOICEMAIL displays on the screen 3 Return to normal display screen after 3 seconds HOLD 1 Press the 7 10 11 REDAIL PAUSE button to connect the waiting party to a HOLD announcement 2 H...
Page 32: ...NCE Press 3 to connect the on hold party and the far end party in a 3 way conference call DROP Press 7 to connect to the on hold party and disconnect the far end party CONFERENCE CALL STATE Below sub...
Page 33: ...ation unplug the headset from the jack CHANGING THE BATTERY CAUTION To reduce the risk of fire or personal injury use only the battery that is compatible with this unit 1 Make sure the telephone is no...
Page 34: ...erase all Caller ID records DELETE CALL ID Prompt asking if you want to erase a Caller ID record DELETED Prompt confirming the Caller ID record is erased END OF LIST Indicates that there is no additi...
Page 35: ...E setting is not OFF The handset may be out of range of the base Move closer to the base You may have too many extension phones on your line Try unplugging some phones Check for dial tone You experien...
Page 36: ...rect sunlight or moisture Avoid dropping the unit and other rough treatment Clean with a soft cloth Never use a strong cleaning agent or abrasive powder because this will damage the finish Retain the...
Page 37: ...y is limited to the repair or replacement of this product only and does not extend to consequential or incidental damage to other products that may be used with this unit This warranty is in lieu of a...
Page 38: ...CONNECTING THE TELEPHONE LINE CORDLESS PHONE SOLUTIONS D DEFAULT DELETE A CID RECORD DELETE ALL CID RECORDS DISPLAY MESSAGES DROP E EQUIPMENT APPROVAL INFORMATION F FLASH G GENERAL PRODUCT CARE H HAN...
Page 39: ...VOLUME S SERVICE SHORT CUT KEYS FOR TELCO FEATURES STORING A NAME AND NUMBER IN MEMORY T TELEPHONE JACK REQUIREMENTS TELEPHONE OPERATION TELEPHONE SETUP TROUBLESHOOTING TIPS V VIBRATE CALL ALERT VIP...
Page 40: ...ness for a particular purpose are hereby disclaimed No verbal or written information given by Market Direct it s agent or employees shall create a guaranty or in any way increase the scope of this war...