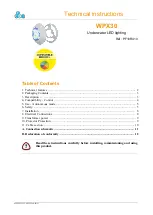


Technical instructions
WPX30
v2.0EN
2. Packaging Contents
1 BRIO WPX30 light with 3m cable and:
• 3 fixing 3 wall plugs
• 1 wall support
• cable gland kit ref. MPPE0021
• O-ring kit
• Technical manual (this document)
3. Description
The WPX30 power LED lights are designed to replace pool projectors, traditionally fitted with
300W PAR56 incandescent bulbs. They are installed directly on the pool wall, with no niche being
required.
They come with powerful LED to improve the quality and reli-
ability of the lighting of your pool while reducing your energy
consumption.
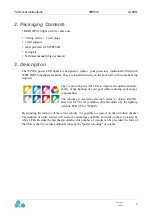
The colours are created by mixing 3 primary colours: Red (R),
Green (G for "Green") and Blue (B) and adjusted by the lighting
of white LED (W for "White").
By adjusting the intensity of these four colours, it is possible to create more than 4 billion shades!
The addition of white sources will retain the advantages of RGB, and adds on those provided by
white LEDs. Besides the fact that an unbelievable number of colours can be provided, the forte of
the white is that it provides additional tones by the "pastel colouring" of colours
www.c-
cei.fr
3


