Click the button and follow the
instructions.
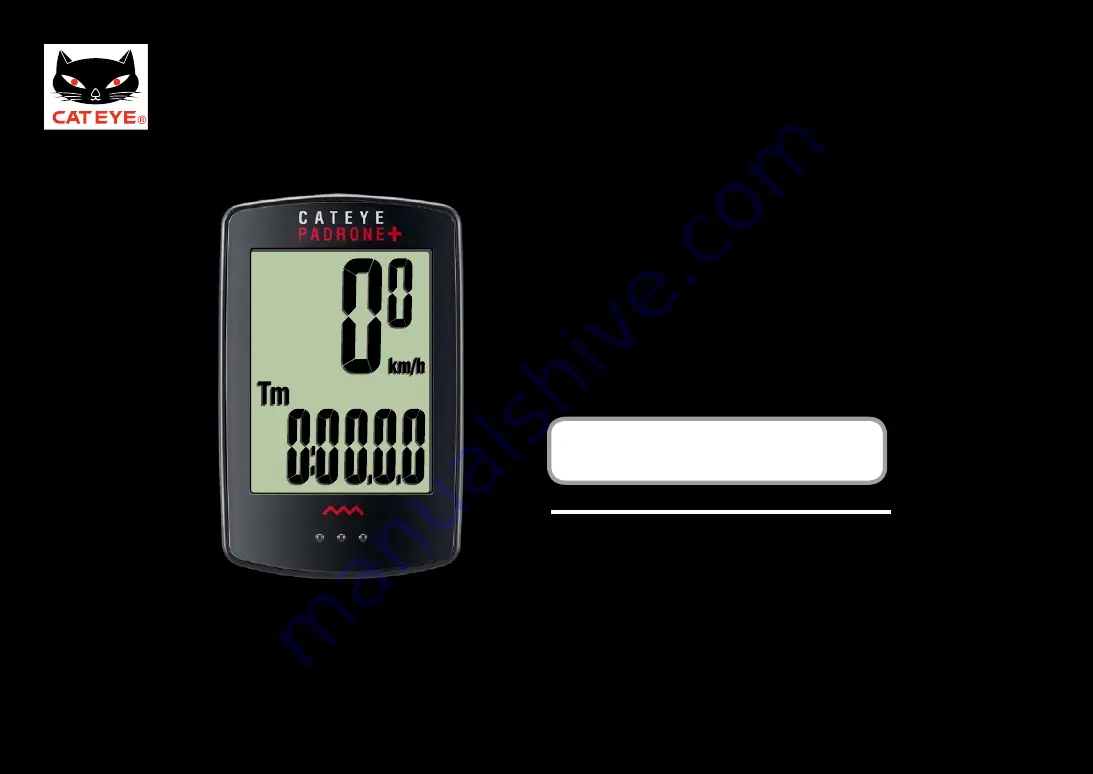
CATEYE
PADRONE
+
CC-PA110W
Quick Start
START
Page 1: ...Click the button and follow the instructions CATEYE PADRONE CC PA110W Quick Start START ...
Page 2: ...how to install the unit on your bicycle Please set up the unit according to the specified procedure then it will be ready for use as a cyclocomputer Before use read the instruction manual that comes with the product thoroughly to the end to understand the functions of this unit and to use it safely in a correct manner Next ...
Page 3: ...PDF contains a movie file When you click on the movie screen a message regarding security appears Click the Trust in the text or Play button to close the message Click the screen again to play the movie Next ...
Page 4: ...EYE PADRONE Quick Start Manual Contents Click the item you wish to view Setting up the computer How to install the speed sensor movie How to install the bracket movie Backlight Night Mode Return to a Cover ...
Page 5: ... Operation of buttons Set up the computer by operating the buttons as follows Check the button position before you start setting up Back Press the MENU button and the MODE button on the back of the computer Next ...
Page 6: ...lization Measuring screen Setup completed Setting the hour Setting the minute Clear all data initialization AC Clear all data initialization Press the AC button on the back of the computer After full lighting of the screen the computer switch es to the speed unit setting screen to start setup Full lighting Setting the speed unit Return to Contents Next Return ...
Page 7: ...the hour Setting the minute Setting the speed unit Clear all data initialization MENU MODE km h mph Setting the speed unit Setting the speed unit When the MODE button is pressed either km h or mph is selected for the speed unit display Select the unit of your choice After selecting press the MENU button to proceed to the next step Entering the tire circumference To the next step Return Return to C...
Page 8: ...NU MODE Entering the tire circumference Enter the tire circumference mm of your bicycle with 4 digits using the tire circumference reference table 0100 3999 mm Pressing the MODE button increases the value flashing and pressing and holding the MODE button moves to the next digit After entering press the MENU button to proceed to the next step Setting the clock display Entering the tire circumferenc...
Page 9: ...etting the clock display Entering the tire circumference Setting the speed unit Clear all data initialization 24h 12h MODE MODE Setting the clock display When the MODE button is pressed either 12h or 24h is selected for the clock display Select the display of your choice After selecting press and hold the MODE button to pro ceed to the next step Setting the hour Clock display To the next step Pres...
Page 10: ...ference Setting the speed unit Clear all data initialization 12h format MODE MODE Setting the hour A a m P p m Setting the hour Pressing the MODE button increases the value flashing Hour of the clock Enter any value When 12h mode is selected check whether A a m or P p m is displayed before entering the value After entering press and hold the MODE button to pro ceed to the next step Setting the min...
Page 11: ...e Setting the clock display Entering the tire circumference Setting the speed unit Clear all data initialization MODE MENU Setting the hour Setting the minute Setting the minute Pressing the MODE button increases the value flashing Minute of the clock Enter any value After entering press the MENU button to switch to the measuring screen Minute Setup is completed To the measuring screen Increase th...
Page 12: ...ence Setting the speed unit Clear all data initialization Measuring screen Setup completed Setting the hour Setting the minute Now setup of the computer is completed If the bracket and speed sensor are not installed on your bicycle return to Contents click the movies of how to install the bracket and speed sensor and install them according to the instructions Measuring screen Return Return to Cont...
Page 13: ... If the video does not play please click here YouTube movie CATEYE PADRONE Quick Start Manual How to install the bracket Return to Contents ...
Page 14: ...CATEYE PADRONE Quick Start Manual How to install the speed sensor If the video does not play please click here YouTube movie Return to Contents ...
Page 15: ...button is pressed When the remaining battery power is low when turns on the backlight will not turn on 1 Pressing the MODE button will turn the backlight ON but the button function will be disabled 2 Pressing the button again while the backlight is ON will enable the button function and extend the illumination time by 5 seconds Dot MODE Dot MODE Backlight off Backlight ON 1 Backlight ON 2 Night Mo...
Page 16: ... Full time is selected the backlight will come ON while the bicycle is in motion and will turn OFF 30 seconds after the bicycle has stopped When the remaining battery power is low when turns on the backlight will not turn on Backlight off Bicycle begins moving Backlight off 30 seconds after stopping Backlight ON Night Mode How to use Full time How to use Full time How to use Part time Setting meth...
Page 17: ...After changing settings make sure to press the MENU button to confirm changes 1 When the display format is set to 12h A a m or P p m will be displayed MODE MENU MODE Press and hold Press and hold Press and hold 1 1 Press and hold Press and hold MODE MODE MODE Measuring screen Night Mode setting Menu screen Night Mode ON OFF Start time Confirm End time MODE Switch between ON OFF or increase the val...
Page 18: ... 8 1970 37 590 26x1 3 8 2068 37 584 26x1 1 2 2100 650C Tubular 26x7 8 1920 20 571 650x20C 1938 23 571 650x23C 1944 ETRTO Tire size L mm 25 571 650x25C 26x1 571 1952 40 590 650x38A 2125 40 584 650x38B 2105 25 630 27x1 630 2145 28 630 27x1 1 8 2155 32 630 27x1 1 4 2161 37 630 27x1 3 8 2169 40 584 27 5x1 50 2079 54 584 27 5x2 1 2148 57 584 27 5x2 25 2182 18 622 700x18C 2070 19 622 700x19C 2080 20 622...