®
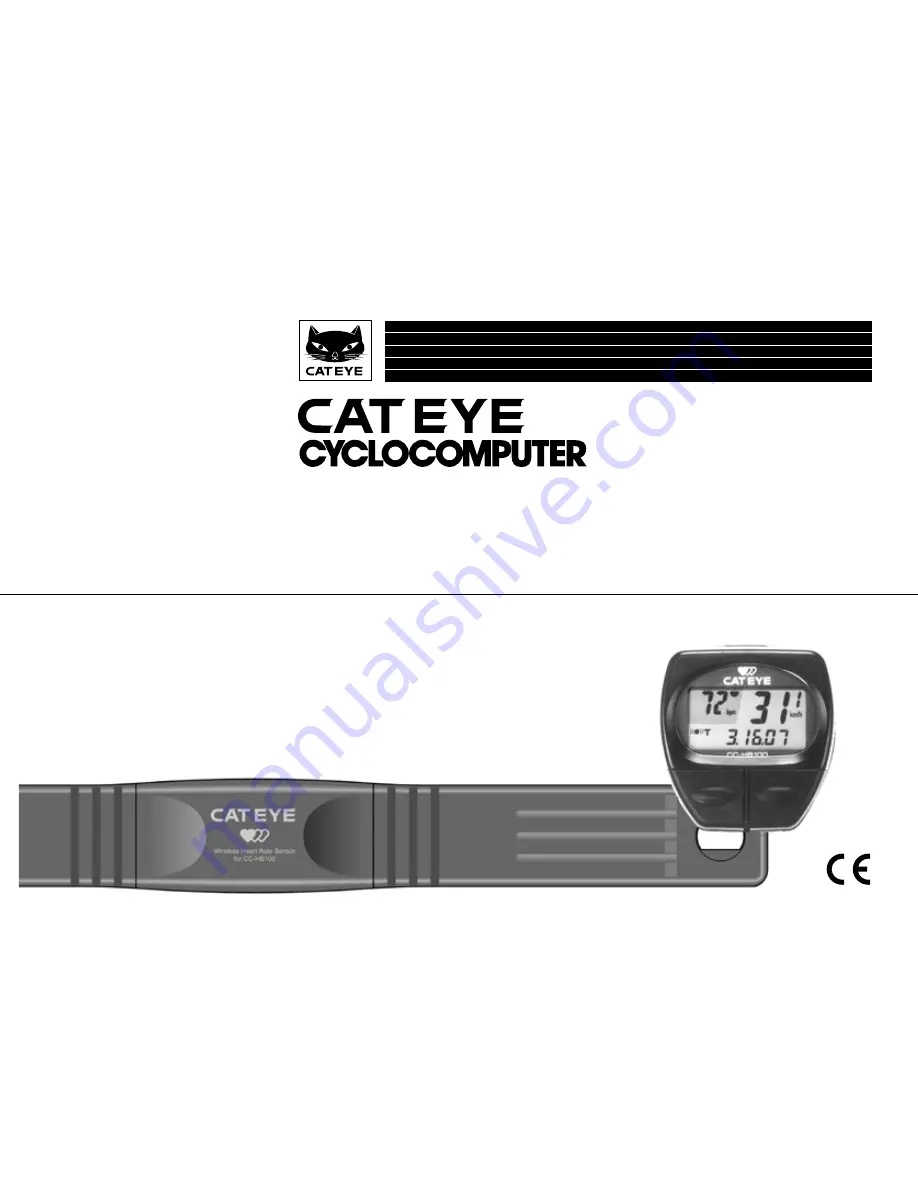
CC-HB1OO
WITH HEART RATE MONITOR FUNCTION
Page 1: ... CC HB1OO WITH HEART RATE MONITOR FUNCTION ...
Page 2: ...xercise programs The features are as follows Heart Rate Monitor Functions Measures current heart rate with a Wireless Heart Rate Sensor Gives target zone training by setting upper lower heart rate limits with flashing alarm symbols Measures average heart rate in conjunction with the elapsed time of riding Estimates and totals calorie consumption calculated from the heart rate Cyclocomputer Functio...
Page 3: ... a Heart Rate Monitor 1 Wireless Heart Rate Sensor 10 2 Before Attaching 10 3 Attaching Wireless Heart Rate Sensor 10 4 Setting Upper Lower Heart Rate Limit 11 Measuring and Display 11 Heart Rate Training 13 Troubleshooting 14 Replacing Battery 1 Main Unit 16 2 Wireless Heart Rate Sensor 16 Replacing Electrode Belt 17 Spare Accessories 17 Specifications 18 Limited Warranty 19 Setting Values Cross ...
Page 4: ...op Mode Symbol B Battery Cover C Contact D Mode Button E Start Stop Button F AC All Clear Button G Set Button Accessories Attachments K Bracket L Wire M Sensor N Sensor Band A Large Small O Sensor Band B P Sensor Screw Q Magnet R Sensor Band Rubber Pad S Bracket Rubber Pad 2 pcs T Wire Securing Tape Wireless Heart Rate Sensor H Transmitter I Electrode Belt J Attachment Belt H I I J K L S R M O N T...
Page 5: ... or impact the main unit transmitter Always keep the Wireless Heart Rate Sensor clean by wiping off sweat with mild soap Don t bend twist or pull hard at the electrode belt The electrode belt is expendable It may deteriorate and present function error after a long term use Replace with a new one when you notice a sign of deterioration Main Unit Don t leave the main unit exposed to direct sunlight ...
Page 6: ...mference press this button in O mode but in stop state For setting clock time press this button in display but in stop state For setting the upper lower heart rate limit press this button in M mode but in stop state AC Button on the back This button erases all the data stored in memory Don t press this button except after replacing the battery or when irregular display occurs Since all the memorie...
Page 7: ...When using 2155mm without revision press Set button and this value is set For revision press the right button to increase the number and the left button to decrease when the number is blinking To increase decrease the number rapidly hold down the button When the desired number appears press the Set button and the value is set 4 How to Reset or Change Wheel Circumference Get the stop state in O dis...
Page 8: ...ork along with the sen sor by temporarily tightening the screw Fig 10 3 Align the magnet s center and the sensor s marking line Fig 11 and make sure of 2mm clearance between the magnet and sensor Fig 12 Then tighten the screw se curely Cut off the excess of sensor band B Secure the wire with tape as in Fig 13 Wind the wire round the outer cable upto the handlebar When adjusting the length be caref...
Page 9: ...ed in T D or A mode symbol appears and Auto function is on To clear this function off press SET button again and symbol disappears In this function it starts stops by perceiving revolutions of the wheel so it stops measuring the elapsed time when the wheel ceases moving While this function is on 2 seconds may be elapsed at the moment when the main unit is mounted onto the bracket When using this u...
Page 10: ...curate heart rate measurements Fig 18 Maximum transmitting distance about 80 cm 2 Before Attaching The wireless heart rate sensor should be placed at the center of your chest The electrode belts must make skin contact For best results moisten the electrode areas or smear electrolytic cream which is utilized for electrocardiograph before wearing If skin irritation occurs the Wireless Heart Rate Sen...
Page 11: ...lashes on the upper display Fig 23 so get your desired number of the upper limit by pressing the right button to increase and the left to decrease To increase decrease rapidly hold down the button By pressing the Set button this upper limit is set and then the figure on lower display flashes Again get your desired number of the lower limit by the same process By pressing the set button again the s...
Page 12: ... 27 46 39 or the trip distance exceeds 999 99 mile km it stops calculation of average speed and displays E 0 0 65 9 mile h 0 0 105 9 km h D Trip Distance Displays the distance from the start to the current point With Reset operation it returns to zero 0 00 999 99 mile km T Elapsed Time Displays the time from the start to the current point in units of hours minutes and seconds With Reset operation ...
Page 13: ... correlation between the heart rate and train ing level For beginners the level of 30 or so is recommended from this point gradually increase according to your experience For the highest goal the level of 70 or so is enough to reach Meanwhile for the purpose of losing weight train at the comparatively lower level for a longer time for more than one hour if possible PULSE RATE bpm AGE 200 180 160 1...
Page 14: ...raining level x 100 Maximum heart rate Resting heart rate Training level Target heart rate Maximum heart rate Resting heart rate x Resting heart rate 100 Resting heart rate Your resting heart rate is measured when awakening in the morning Maximum heart rate As a standard the following calculations are generally used 220 age or 204 0 69 x age For the precise figure please consult a book which speci...
Page 15: ...nsmission signal loss in damp or wet conditions Water or condensation may collect between the bracket sensor and the computer causing an interruption in the data transmission Wipe the contacts with dry cloth Contacts can also be treated with a water repellent silicon jell from an automotive parts or hardware store Do not use industrial water repellent it may damage the bracket The right button doe...
Page 16: ... the following instruc tion Caution Safely dispose of the old battery and don t place it within children s reach If swal lowed by mistake consult a doctor immediately 1 Main Unit Battery Life approx 2 years if used for 1 hour per day Remove the battery cover on the back with a coin or similar opener Fig 26 Insert a new lithium battery CR2032 with the pole upward as illustrated Close the cover secu...
Page 17: ...rd which are placed on the right and left of the transmitter 3 Fix the new belts onto the transmitter with the electrode part downward 4 Fix the packing carefully into the cover and place it back on the transmitter body Fasten the screws securely Caution If the packing is not fixed correctly it will deteriorate waterproof system Spare Accessories 169 9820 Electrode Belt 169 9835 Wrist Band 169 656...
Page 18: ...uid crystal Sensor No contact magnetic sensor The length of the wire 70cm Transmitting system Directional electromagnetic induction Double pulse system Transmitting distance About 80 cm Power supply service life Main unit Lithium battery CR2032 x 1 approx 2 years use time 1 hr day Wireless heart rate sensor Lithium battery CR2032 x 1 approx 2 years use time 1 hr day Operating temperature range 0 t...
Page 19: ...oshi ku Osaka 546 0041 Japan Attn CATEYE Customer Service Section Phone 81 6 6719 7781 FAX 81 6 6719 2362 CO LTD Service Research Address for United States Consumers CATEYE Service Research Center 1705 14th St 115 Boulder CO 80302 Phone 303 443 4595 Toll Free 800 5CATEYE Fax 303 473 0006 e mail CatEyeUSA aol com TIRE SIZE 16 x 1 3 8 20 x 1 75 24 x 1 24 x 3 4 Tubular 24 x 1 1 8 Tubular 24 x 1 1 4 2...
Page 20: ...636769 4642606 5236759 5226340 and Design Patented CO LTD 2 8 25 Kuwazu Higashi Sumiyoshi ku Osaka 546 0041 Japan TEL 81 6 6719 7781 FAX 81 6 6719 2362 Copyright 1994 CAT EYE Co Ltd CCMWHB1 981119 Printed in Japan 0687370 5 ...