25
To start projection of files that are on a memory device
connected via USB
1.
Connect the memory device where files you want to project are stored to the
projector’s USB-A port.
z
If the File Viewer main screen appears automatically, advance to step 5 of this procedure. If it
doesn’t, go to step 2. Note that the File Viewer main screen will appear automatically if “On” is
selected for the “Plug and Play” setting on the projector’s Setup Menu.
2.
Press the [INPUT] key. This will display the “Input” dialog box.
3.
Use the [
T
] and [
S
] keys to select “Viewer” and then press the [ENTER] key.
4.
On the dialog box that appears, confirm that “File Viewer” is selected and then
press the [ENTER] key.
z
This will start up File Viewer and display the File Viewer main screen.
5.
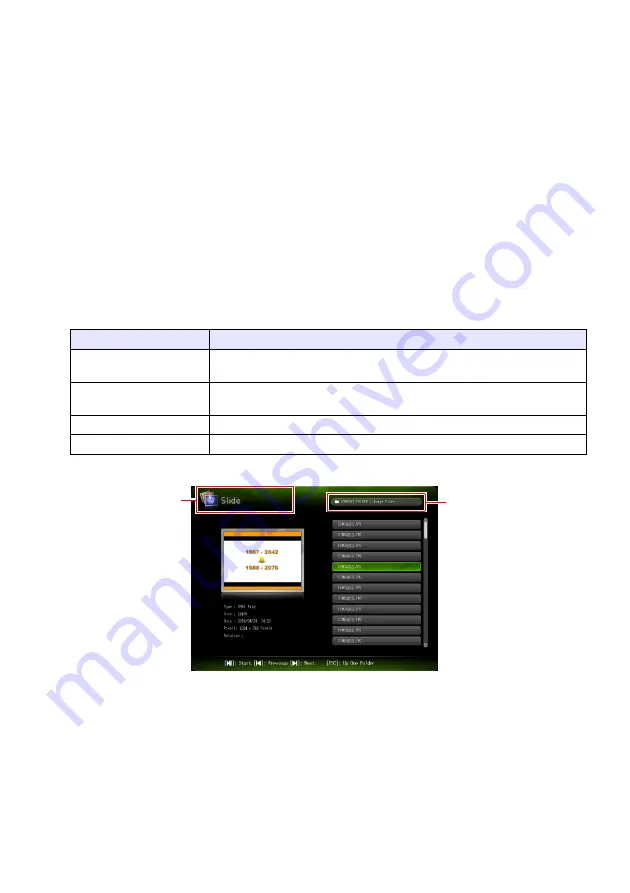
Depending on the type of file you want to project, perform one of the operations
below.
z
The screen that will appear depends on the function you selected.
6.
Use the file list displayed on the screen to check the contents of the USB flash
drive you connected in step 1 of this procedure or the contents of internal
memory.
z
If the file list shows the contents of a USB flash drive, go to step 8 of this procedure. If the file
list shows the contents of internal memory, go to step 7.
7.
Press the [FUNC] key. On the menu that appears, select “Drive Switching” and
then press the [ENTER] key.
To project this type of file: Perform this operation:
Presentation File
Use the [
T
] and [
S
] keys to select “Presentation” and then press the [ENTER]
key.
PDF File
Use the [
T
] and [
S
] keys to select “PDF Viewer” and then press the [ENTER]
key.
Image File
Use the [
T
] and [
S
] keys to select “Slide” and then press the [ENTER] key.
Movie File
Use the [
T
] and [
S
] keys to select “Movie” and then press the [ENTER] key.
Function name
Folder path
Summary of Contents for XJ-A Series
Page 103: ...MA2008 D...


