1
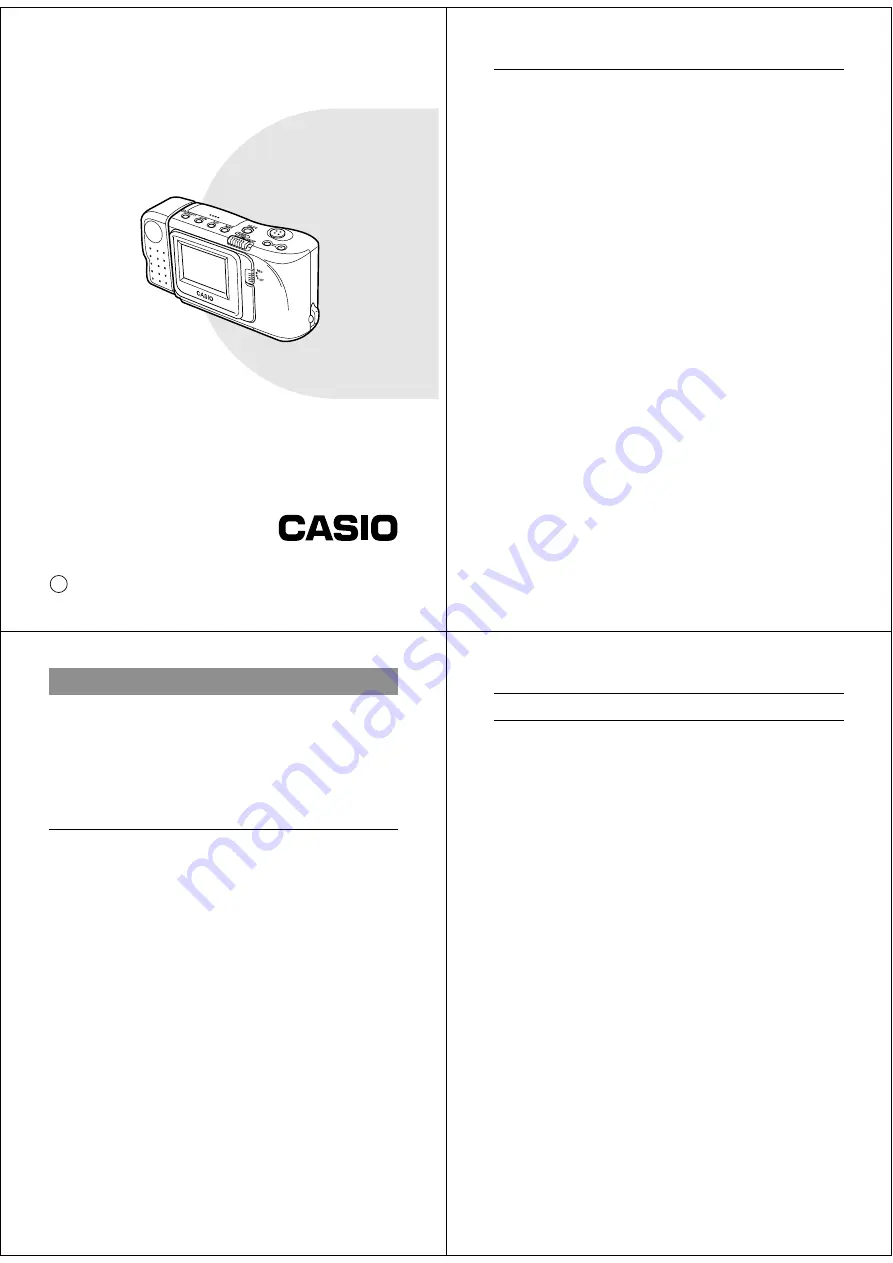
Liquid Crystal Digital Camera
QV-10
B
Owner’s Manual
英
Introduction
Congratulations upon your se-
lection of the QV-10 Liquid Crys-
tal Digital Camera. The QV-10
comes with its own built-in liquid
crystal color monitor that let’s
you instantly view the pictures
you take.
To get the most out of the QV-
10, be sure to carefully read this
manual and follow the instruc-
tions contained in it.
Please refer to this manual for the QV-10, QV-10A & QV-11 models
Liquid Crystal Digital Camera QV-10
2
■
Before using the QV-10...
Note the following precautions before attempting to use the QV-10.
• CASIO COMPUTER CO., LTD. assumes no responsibility for any
damage or loss resulting from the use of this manual.
• CASIO COMPUTER CO., LTD. assumes no responsibility for any
loss or claims by third parties which may arise through the use of
the QV-10.
• CASIO COMPUTER CO., LTD. assumes no responsibility for any
damage or loss caused by deletion of data as a result of malfunc-
tion, repairs, or battery replacement. Be sure to back up all impor-
tant data on other media to protect against its loss.
Windows is a trademark of Microsoft Corporation.
Apple and Macintosh are registered trademarks of Apple Computer, Inc.
3
QV-10 Features ..................................................... 6
General Precautions ............................................ 8
Other Precautions .............................................. 10
FCC Guidelines .................................................. 12
Getting Acquainted
13
Unpacking ........................................................... 14
General Guide .................................................... 15
Opening the Terminal Panel Cover ............................... 16
Connecting the Wrist Strap ............................................ 17
Using the Lens Cloth ..................................................... 17
Using the Soft Case ....................................................... 17
Operation Reference .......................................... 18
To record an image ............................................................. 18
To view images stored in memory ...................................... 19
To delete images stored in memory ................................... 20
Function Referense ........................................... 21
Record Functions ................................................................ 21
Playback Functions ............................................................. 23
Power Supply ..................................................... 25
To load batteries ................................................................. 25
Standard Battery Life ..................................................... 27
Low Battery Indicator ..................................................... 28
Flash Memory ................................................................ 28
Auto Power Off .............................................................. 29
Using AC Power ................................................................. 30
Contents
Liquid Crystal Digital Camera QV-10
4
Operation
33
Recording Image ................................................ 34
To record an image ............................................................. 34
How to avoid hand movement... ......................................... 36
Flourescent Lighting ........................................................... 36
Infrared Light ....................................................................... 37
Changing the Lens Orientation ........................................... 38
NORMAL/MACRO Switch .................................................. 40
Exposure Adjustment .......................................................... 41
Changing the Aperture Setting ........................................... 42
Record Mode Displays ........................................................ 43
Image Display ................................................................ 43
Displaying the Image Number ....................................... 43
Exposure Warning Indicators ......................................... 45
Low Battery Indicator ..................................................... 46
Memory Full Message ................................................... 46
Using the Self-Timer ........................................................... 47
Playing Back Images ......................................... 49
Displaying Images on the Camera's LCD ........................... 49
Displaying Images on a TV Screen .................................... 51
Displaying the Memory Page Number ................................ 52
Producing a Multi-Page Display .......................................... 53
Using the Zoom Function .................................................... 57
Using Auto Play .................................................................. 59
Protecting Memory Pages .................................................. 67
Deletting Memory Pages ................................... 70
To delete a single memory page ........................................ 70
To delete all unprotected memory pages ........................... 73


