


Operation Guide
Issue V1.0 (2019-03-29)
7
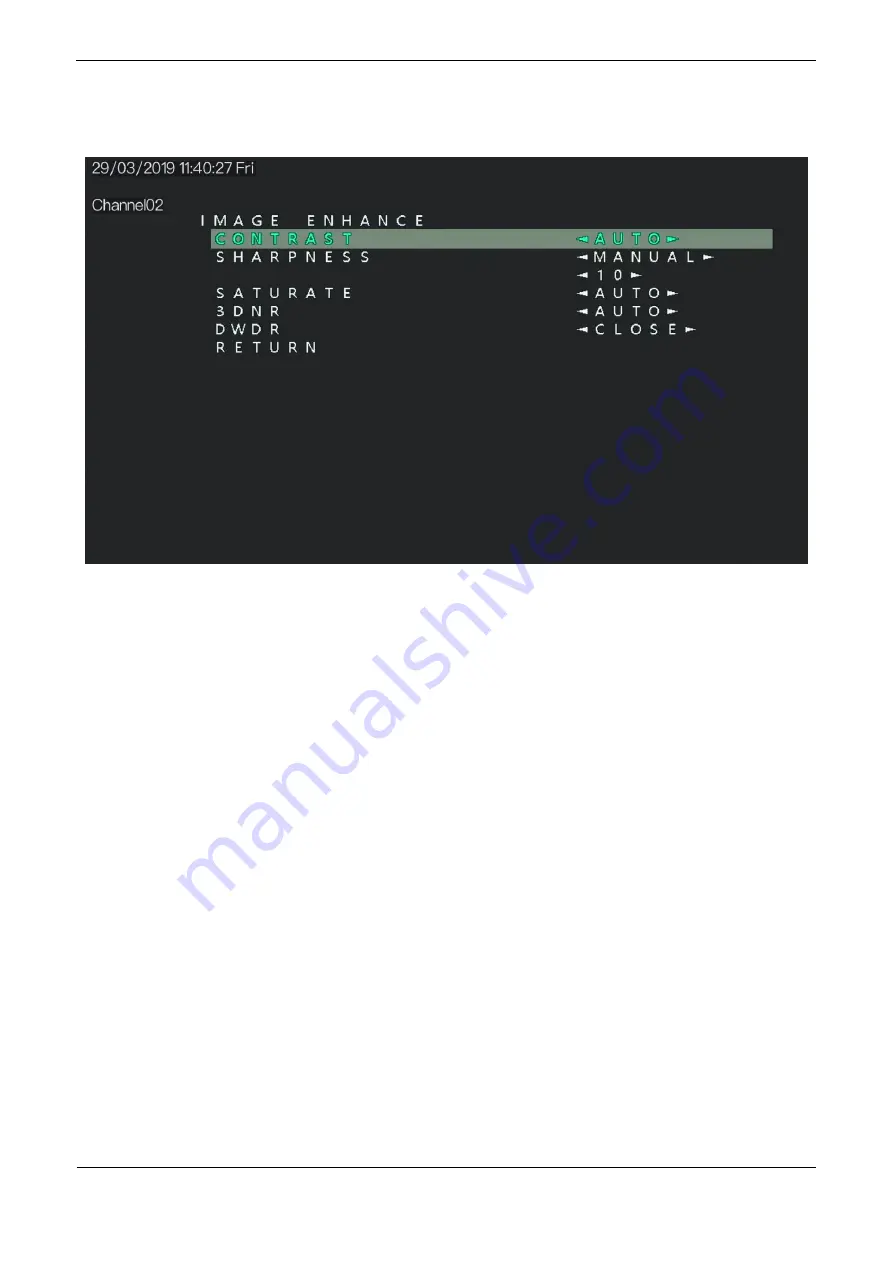
Figure 2-5
Image enhance
Procedure
Step 1
Press the
UP
or
DOWN
button to select
IMAGE ENHANCE
. Press the
SET
button to open
the
IMAGE ENHANCE
interface.
Step 2
Press the
UP
or
DOWN
button to select
CONTRAST
. Press the
LEFT
or
RIGHT
button to
choose manual or auto , manual mode need press
DOWN
button to go next one, press the
LEFT
or
RIGHT
button set the
CONTRAST
value. The default contrast is 5 and the setting
range is 0-10.
Step 3
Press the
UP
or
DOWN
button to select
SHARPNESS
. Press the
LEFT
or
RIGHT
button to
choose manual or auto , manual mode need press
DOWN
button to go next one, press the
LEFT
or
RIGHT
button set the
SHARPNESS
value. The default sharpness is 10 and the
setting range is 0-10.
Step 4
Press the
UP
or
DOWN
button to select
SATURATE
. Press the
LEFT
or
RIGHT
button to
choose manual or auto , manual mode need press
DOWN
button to go next one, press the
LEFT
or
RIGHT
button set the
SATURATE
value. The default color gain is 5 and the
setting range is 0-10.
Step 5
Press the
UP
or
DOWN
button to select
3DNR
. Press the
LEFT
or
RIGHT
button to choose
manual or auto , manual mode need press
DOWN
button to go next one, press the
LEFT
or
RIGHT
button set the
3DNR
value. The default DNR is 0 and the setting range is 0-10.
Step 6
Press the
UP
or
DOWN
button to select
DWDR
. Press the
LEFT
or
RIGHT
button to
choose CLOSE or OPEN.
Step 7
Press the
UP
or
DOWN
button to select
RETURN
and press the
SET
return to the OSD
main menu interface.


