Contact Caple on 0117 938 7420 or for spare parts www.caple.co.uk
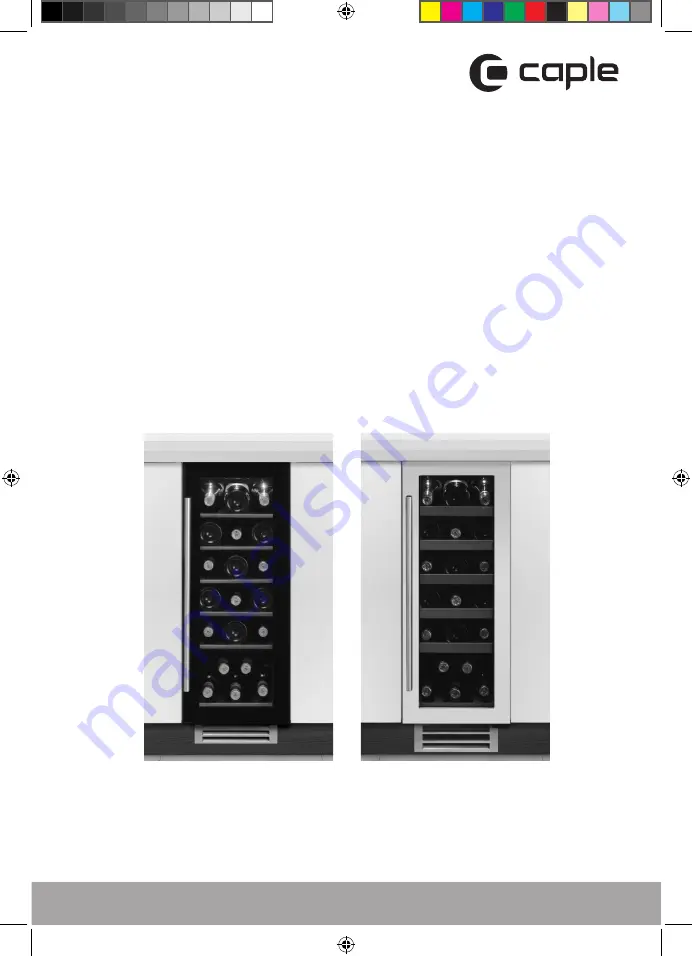
undercounter wine cabinet
instruction manual
WI3122 & WI3122WH
Wi3122_Wi3122WH Wine Cabinet manual.indd 1
24/10/2016 10:05
Page 1: ...Contact Caple on 0117 938 7420 or for spare parts www caple co uk undercounter wine cabinet instruction manual WI3122 WI3122WH Wi3122_Wi3122WH Wine Cabinet manual indd 1 24 10 2016 10 05 ...
Page 2: ...e shelves 12 How to change the door opening 13 Installing the bar handle 14 Fitting a kitchen plinth 15 Wine bottle stacking 16 Installation dimensions 17 Fixing the top fixing bracket 17 Using the foot sliders 18 Care and maintenance 19 Troubleshooting guide 21 Defrosting condensation 22 The humidity system 22 Recommended storage temperatures 22 Recommended drinking temperatures 22 Technical data...
Page 3: ...e best results from your new purchase we strongly suggest that you read this instruction manual thoroughly before use This manual contains installation advice usage instructions and other important facts about your Caple Wine Cabinet If treated with care your Caple Wine Cabinet will give you many years of trouble free use Wi3122_Wi3122WH Wine Cabinet manual indd 3 24 10 2016 10 05 ...
Page 4: ...n a suitable place in order to avoid touching the compressor After unpacking make sure that the appliance is in perfect order If you have any doubt do not use it and contact your retailer If the supply cord is damaged it must be replaced by a Caple service agent or a similarly qualified person in order to avoid a hazard This product is not designed for commercial use it is a household appliance on...
Page 5: ...ons before using the wine cabinet DANGER or WARNING Risk of child entrapment Before you throw away your old wine cabinet Take off the door leaving the shelves in place so that children cannot easily climb inside Never allow children to operate play with or crawl inside the appliance Never clean appliance parts with flammable fluids The fumes can create a fire hazard or explosion Do not store or us...
Page 6: ...an be used by children aged from 8 years and above and persons with reduced physical sensory or mental capabilities or lack of experience and knowledge if they have been given supervision or instruction concerning use of the appliance in a safe way and understand the hazards involved Children shall not play with the appliance Cleaning and user maintenance shall not be made by children without supe...
Page 7: ...ste handling of this product The symbol on the product indicates that this product may not be treated as household waste Instead it shall be handed over to the applicable collection point for the recycling of electrical and electronic equipment Disposal must be carried out in accordance with local environmental regulations for waste disposal For more detailed information about treatment recovery a...
Page 8: ... wish to speed up the process you can gently warm the seal with a hair dryer on a low temperature setting This can help relax the seal helping it return to normal thickness a little faster INSTALLATION OF YOUR WINE CABINET Place your wine cabinet on a floor that is strong enough to support it when it is fully loaded To level your wine cabinet adjust the front levelling leg at the bottom of the cab...
Page 9: ...oor unless necessary Do not cover shelves with aluminium foil or any other shelf material which may prevent air circulation Should the wine cabinet be stored without use for long periods it is suggested after careful cleaning to leave the door ajar to allow air to circulate inside the cabinet in order to avoid possible formations of condensation mould or odours Keep ventilation openings in the app...
Page 10: ...e setting can be adjusted from 5 C to 18 C To view the actual temperature at anytime press and hold the temperature adjustment button up or down for approximately 5 seconds the actual temperature will temporarily flash in the LED display for 5 Seconds After this it will revert back to the set temperature Flashing LED Cabinet temperature Steady LED Set temperature NOTE If the unit is unplugged powe...
Page 11: ... the temperature adjustment button approximately 5 seconds the actual temperature will temporarily flash in the Seconds After this it will revert back to the set temperature Cabinet temperature minates to signify the cooling mode is currently in operation e internal light on off liance on off press and hold this buttons for approximately 3 seconds temperature in 1ºC increments e temperature by in 1...
Page 12: ...until it sits on the support brackets securely Visit our Caple website to view a How to video on this www caple co uk Internal light In order to reduce energy consumption the LED light within this wine cabinet will automatically switch off after 10 minutes If you would prefer the LED light to remain on continuously this is possible Please press and hold the LIGHT button for 5 seconds the display w...
Page 13: ...ive nail 8 from left top of cabinet and install spare top hinge Left 7 at left top of cabinet with 3 screws Fig D 5 According above procedure install spare lower hinge left 9 Fig E 6 The door revolves 180 degrees install the door with same way it was removed and fix it with door aligned 7 Block the hole at right top of cabinet with spare decorative plugs 8 7 1 Open the door to 90 degrees take out ...
Page 14: ...n the drilling holes side to install the handle Once the gasket een removed screw the handle into place see below drawing the handle is fixed replace the gasket by pushing back into place ng a kitchen plinth model is recessed to fit a kitchen plinth A H75mm vent slot is required in the plinth to ensure able to ventilate correctly See diagram below Failure to include this vent slot will invalidate t...
Page 15: ...luded with a decorative plinth grille which slots onto the kitchen plinth Once the handle is fixed replace the gasket by pushing back into place Fitting a kitchen plinth This model is recessed to fit a kitchen plinth A H75mm vent slot is required in the plinth to ensure air is able to ventilate correctly See diagram below Failure to include this vent slot will invalidate the guarantee The appliance...
Page 16: ...les 750ml Please note if you wish to store other style bottles i e champagne the removal of some shelves is recommended to be able to accommodate these Full shelf Half shelf With humidity tank Without humidity tank With humidity tank Wi3121 Wi3122 Wi3122WH bottle stacking guide www caple co uk Wi3122_Wi3122WH Wine Cabinet manual indd 16 24 10 2016 10 05 ...
Page 17: ...vent it moving when in use min 825mm 10 Installation dimensions Fixing the top fixing bracket After installing th open the door ad and fix this in pos using a screwdriv surface kitchen ca a Top fixing b Kitchen C c Screw d Screwdriv This bracket will k and help prevent min 825mm 10 Installation dimensions After installing the wine cabinet please open the door adjust the fixing bracket a and fix th...
Page 18: ...ching on the floor when sliding the applia into the aperture Place the back foot in the location marked Back below and the front foot in location marked Front Once fitted to both sides of the wine cabinet the appliance can be ge positioned into the aperture taking care not to place excess pressure on the feet when locating cabinet Back Front Front Back Foot slider 11 Using the foot sliders If you ...
Page 19: ... wipe dry with a clean soft cloth NOTE Please take care when cleaning the plinth grille as this may contain sharp edges Power failure Most power failures are corrected within a few hours and should not affect the temperature of your appliance if you minimise the number of times the door is opened If the power is going to be off for a longer period of time you need to take the proper steps to prote...
Page 20: ...able legs up to the base to avoid damage Tape the door shut Be sure the appliance stays secure in the upright position during transportation Also protect outside of appliance with a blanket or similar item Energy saving tips The wine cabinet should be located in the coolest area of the room away from heat producing appliances and out of the direct sunlight Wi3122_Wi3122WH Wine Cabinet manual indd ...
Page 21: ...ht button is OFF Vibrations Check that the appliance is level and installed on a flat even surface The wine cabinet seems to make too much noise The rattling noise may come from the flow of the refrigerant which is normal As each cycle ends you may hear gurgling sounds caused by the flow of refrigerant in your wine cabinet Contraction and expansion of the inside walls may cause popping and crackli...
Page 22: ...mall plastic reservoir on to the top shelf Fill this reservoir 3 4 full with water Check the water level occasionally and refill as necessary Recommended storage temperatures For storing ALL TYPES OF WINES 12 C to 14 C Recommended drinking temperatures Champagne NV Sparkling 6 C Champagne Vintage 10 C Dry White Semillon Sauvignon Blanc 8 C Dry White Gewürztraminer Riesling 10 C Dry White Chardonna...
Page 23: ...y per annum calculated on the basis of the result obtained for 24h in standard test consumption The actual energy consumption will depend on use and the location of the device Useful volume of the compartments l 56L Defrosting Automatic defrost Climate class Climate class N This unit is designed to be used at an ambient temperature between 16 C the lowest temperature and 32 C the highest Acoustic ...
Page 24: ...22WH Please keep this instruction manual for future reference 24 Caple Service Fourth Way Avonmouth Bristol BS11 8DW t 0117 938 7420 e service caple co uk www caple co uk Wi3122_Wi3122WH Wine Cabinet manual indd 24 24 10 2016 10 05 ...