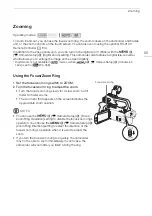


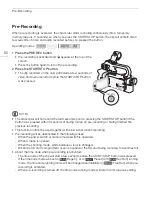

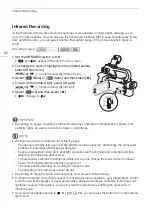
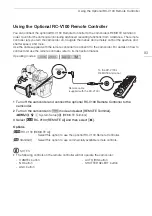
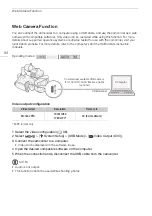

Setting the Time Code
69
Selecting Drop Frame or Non-Drop Frame
You can select between a drop frame (DF) or non-drop frame (NDF) time code, depending on how you
plan to use your recordings. However, when the frame rate is set to 23.98P, the time code is set to
non-drop frame (NDF) and cannot be changed.
1 Select [DF/NDF].
>
[
3
#
Recording Setup]
>
[DF/NDF]
2 Select [
DF] or [
NDF] and then select [
X
].
• The time code display will differ depending on the setting. When you select [
DF], the time
code will appear as [00:00:00.00]; when you select [
NDF], it will appear as [00:00:00:00].
NOTES
• When you mix drop frame and non-drop frame time codes, there might be a discontinuity in the time
code at the point where the recording starts.
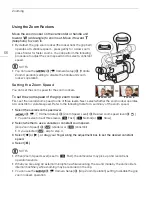
Overlaying the Time Code/Date/Time on the Recorded Image
You can overlay the time code/date/time on the image and record it with the recorded clips. You can
also select the overlay's position on the screen (
A
1 Select the data to be displayed.
>
[
3
Recording Setup]
>
[OSD Recording]
>
Desired option.
2 Select the position of the selected data.
>
[
3
Recording Setup]
>
[OSD Recording Position]
>
Desired option.
• Once set,
will be displayed.
NOTES
• Noise levels may rise on the image.
• When a custom picture file is enabled, the [
/
Custom Picture]
>
[Noise Reduction]
>
[Frame
Correlation] setting is not available.
• This setting cannot be used when slow & fast motion recording is activated.
• This setting cannot be used in MEDIA mode.