


Installation-Related Menu Settings
161
Inst
alla
tio
n
an
d Main
te
nan
ce
Inst
allation
2
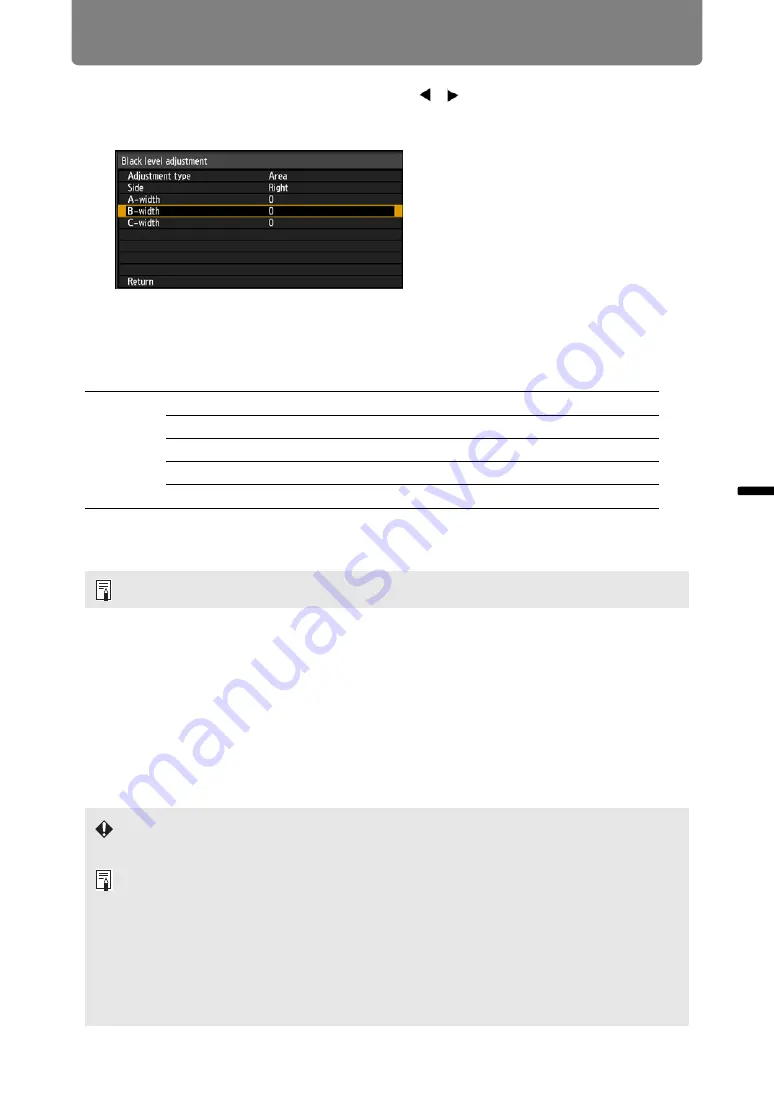
Select [B-width], and use the remote’s [ ] [ ] buttons to specify the width
of area B.
This will make the width of area D narrower.
3
Adjust the width of area B to roughly match the area where the black level
is noticeable, and then use the following edge-blending settings to adjust
the black level of area B.
Adjust the black level of area B the same way as you adjusted it for area D.
For adjustment instructions, see “Advanced Instructions: Black Level
Adjustment,” step 3.
4
Fine-tune the position and width of area B.
5
As you watch the image, adjust the width of areas A, B, and C.
6
Readjust the black level of area B, as needed.
7
When you have completed the adjustment, press the MENU or EXIT
button.
• [Off] is the factory default.
Black level
B-area base
Adjust the area B black level.
B-area red
Adjust the red component of the area B black level.
B-area green Adjust the green component of the area B black level.
B-area blue
Adjust the blue component of the area B black level.
Results of adjusting the black level of area B are applied to all sides.
However, adjusting [Contrast], [Screen color], or other settings may not eliminate
distractions in image boundaries.
• To simplify adjustment, use the same lens shift position and image mode (ideally,
[sRGB]) on each projector.
• For best edge-blending results, perform the following adjustments.
(1) Black and white adjustment by adjusting R/G/B gain and offset (
)
(2) Gamma adjustment by fine-tuning gamma (
)
(3) Color adjustment by using 6-axis color adjustment (
)
• To reduce distracting colors or differences in brightness where images overlap, try
darkening images by adjusting [Contrast] (or other [Image adjustment] menu settings)
or [Screen color].
Summary of Contents for WUX450
Page 30: ...30 ...
Page 46: ...46 ...
Page 47: ...47 MULTIMEDIA PROJECTOR Operation ...
Page 48: ...48 ...
Page 72: ...72 ...
Page 122: ...122 ...
Page 162: ...162 ...
Page 201: ...201 MULTIMEDIA PROJECTOR Networked Multi Projection NMPJ ...
Page 202: ...202 ...
Page 216: ...216 ...
Page 250: ...250 ...
Page 264: ...Using Layout Functions 264 Meeting Mode window Classroom Mode window starting a session ...
Page 273: ...273 MULTIMEDIA PROJECTOR Appendix ...
Page 274: ...274 ...


