


71
Connecting GPS Devices
7
Using
GPS Devices
5
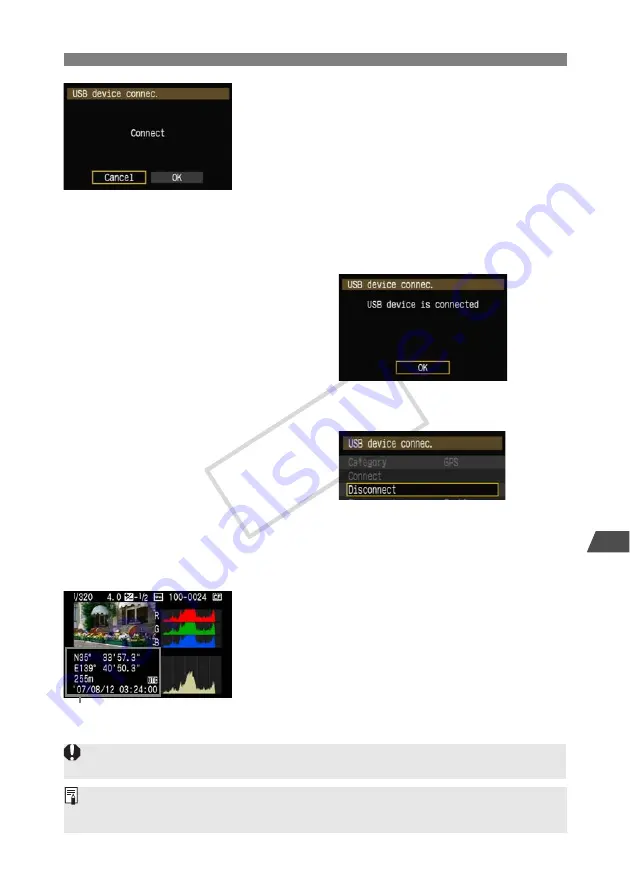
Select [OK].
After selecting [
OK
], turn the GPS device on.
It may take a few minutes to establish a connection
with the GPS device.
Camera operations such as
shooting, menu display, or image playback are
not possible until the connection is established.
When the transmitter is connected to the GPS
device, the transmitter’s <
USB
> lamp is lit in green
and a message is displayed indicating that a
connection has been established.
When the confirmation message is displayed, select
[
OK
].
X
At this point, the menu option [
Disconnect
]
becomes available. Select this option before
disconnecting the GPS device.
6
Take the picture.
Make sure the transmitter’s <
USB
> lamp is lit in
green before shooting.
If the <USB> lamp is not lit in green when you shoot,
correct GPS data will not be added to images.
7
Check the GPS data.
View an image.
Press the <
6
> button to display the shooting
information screen with GPS data.
From top to bottom: latitude, longitude,
altitude, and Coordinated Universal Time
The date and time indicated is the Coordinated Universal Time (UTC) as obtained by the GPS device,
which is nearly the same as Greenwich Mean Time (GMT). In some cases, the date and time of the
zone specified on the GPS device is indicated.
If the camera is turned off and on or recovering from auto power off, do not shoot until the <
USB
> lamp remains
lit in green. If you shoot while the lamp is blinking, the correct GPS information may not be added to images.
COP
Y
Summary of Contents for WFT-E3
Page 16: ...16 COPY ...
Page 42: ...42 COPY ...
Page 51: ...51 5 Managing Settings Information COPY ...
Page 73: ...73 8 Troubleshooting COPY ...
Page 89: ...89 9 Reference COPY ...
Page 95: ...95 9 Reference COPY ...
Page 96: ...96 COPY ...
Page 101: ...101 Index 9 Reference T Troubleshooting 73 U USB connection 57 69 COPY ...


