99
1
2
3
4
5
6
7
8
9
Cover
Before Use
Common Camera
Operations
Advanced Guide
Camera Basics
Auto Mode
Other Shooting
Modes
P Mode
Playback Mode
Setting Menu
Accessories
Appendix
Index
Basic Guide
Tv, Av, and M
Mode
3
Turn the TV on and switch to
video input.
z
z
Switch the TV input to the video input you
connected the cable to in step 2.
4
Turn the camera on.
z
z
Press the <
1
> button to turn the camera
on.
z
z
Images from the camera are now
displayed on the TV. (Nothing is
displayed on the camera screen.)
z
z
When finished, turn off the camera and
TV before disconnecting the cable.
•
Correct display is not possible unless the camera video output
format (NTSC or PAL) matches the TV format. To change the
video output format, press the <
n
> button and choose [Video
System] on the [
3
] tab.
Still Images
Movies
Powering the Camera with Household Power
Powering the camera with AC Adapter Kit ACK-DC40 (sold separately)
eliminates the need to monitor the remaining battery level.
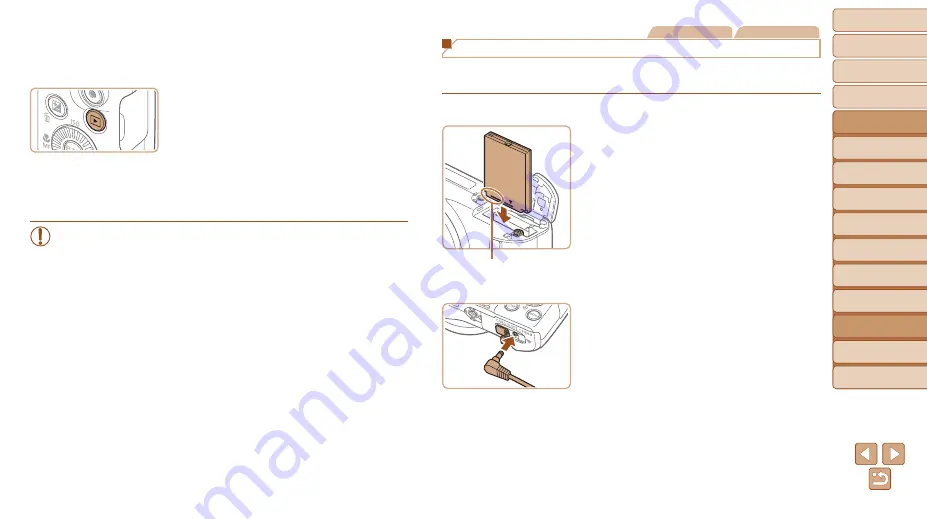
1
Make sure the camera is off.
2
Insert the coupler.
z
z
Follow step 2 in “Inserting the Battery
Pack and Memory Card” (
open the cover.
z
z
Insert the coupler facing the direction
shown, just as you would a battery pack
(following step 3 in “Inserting the Battery
Pack and Memory Card” (
z
z
Follow step 5 in “Inserting the Battery
Pack and Memory Card” (
close the cover.
3
Connect the adapter to the
camera.
z
z
Open the cover and insert the adapter
plug fully into the camera.
Terminals


