

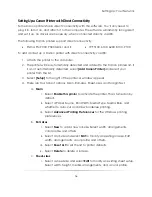


Setting Up: Your Network
61
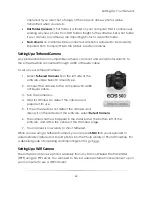
To set up your WiFi camera:
Select
WiFi Camera
from the left side of the software under
Select Camera Type.
1.
Make sure the Canon WFT is connected to your
camera.
2.
Turn the camera on.
3.
Use the WFT connection wizard through the camera
menu. For more details on finding the WFT wizard, refer to the camera manual.
4.
Select
FTP
as the communication method in the camera wizard.
5.
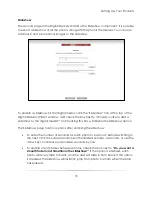
Enter your wireless network & router settings in the camera wizard.
6.
Once the
FTP Server
settings appear on your camera, enter the FTP Address and
FTP Port listed on the Cameras page in the software.
You must have Auto-Detect
Address checked for this option
.
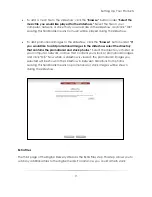
7.
Once
Login Method
appears on your camera, use either ―Anonymous‖ or match
the username and password that you entered on the Cameras page.
You must
have Anonymous Username checked to login anonymously without a password
.
8.
Once
Target Folder
appears on your camera, select
Root Folder
.
9.
Complete the Wizard.
10.
Your WiFi camera is now ready.
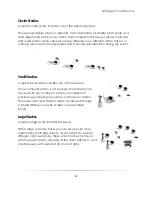
A WiFi camera is essentially a tethered camera without a cable. While you are using a
WiFi camera, you can press
SPACE
on your keyboard to automatically capture and
import photos into the Photo Library or Photo Workshop. For a detailed guide of
capturing and importing photos, go here.
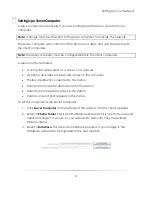
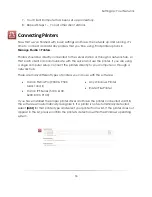
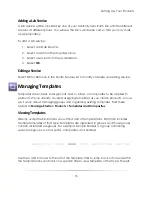
Setting Up a Hot Folder
You can set up a folder to automatically import all new photos added to that folder.
The software will continuously monitor this folder for any photos added by you or a
camera.
To set up a hot folder:
1.
In
Local Folder
, browse to or type in the folder to monitor.
Summary of Contents for Studio Solution
Page 1: ...User Guide ...
Page 366: ...Index 366 Zoom 296 ...