Using: Photo Library
131
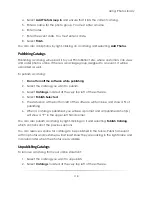
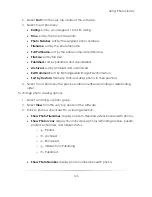
2.
Select
Attributes
from the very top center of the software.
3.
Select
Save Attributes to
.
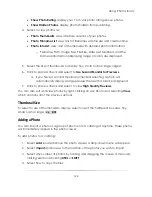
4.
Select to:
Copy the attribute settings to the clipboard. This is only temporary and will
be overwritten if you use the clipboard again, so use this setting only if you
will be applying the attributes immediately. Press
*
as a hotkey for this
option.
Set the photo attributes as the system attributes. Every new photo in the
software will now have these attributes as a default.
Set the photo attributes as the catalog attributes. Every new photo in the
catalog will now have these attributes as a default.
Set the attributes to Custom 1 – 4. These attributes will be saved in the
software until you manually save over them.
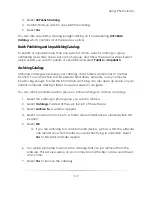
Create a
New
custom setting. With a new custom attribute setting, you
can leave out specific attributes or only save one or two different
attributes of a photo. For example, you could copy over the Services and
a Vignette, but leave the Color Correction and Color Mode the same.
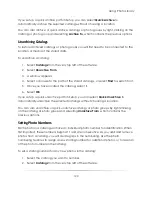
Applying Attributes
To apply attributes:
1.
Select any number of photos to apply the attributes to.
2.
Select
Attributes
from the very top center of the software.
3.
Select to:
a.
Apply Attributes from
if you want to apply the attributes only to your
selected photos.
b.
Apply to All from
if you want to apply the attributes to the entire event.
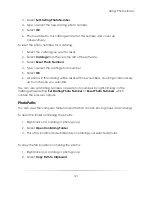
4.
Select to:
a.
Use the attribute settings on the clipboard. Press
/
as a hotkey for this
option.
b.
Use the default system attributes.
Summary of Contents for Studio Solution
Page 1: ...User Guide ...
Page 366: ...Index 366 Zoom 296 ...


