177
Installation Manual
Connecting to a Networ
k
Configuring the Network From the Computer
■
Displaying and Configuring the Network Configuration Screen
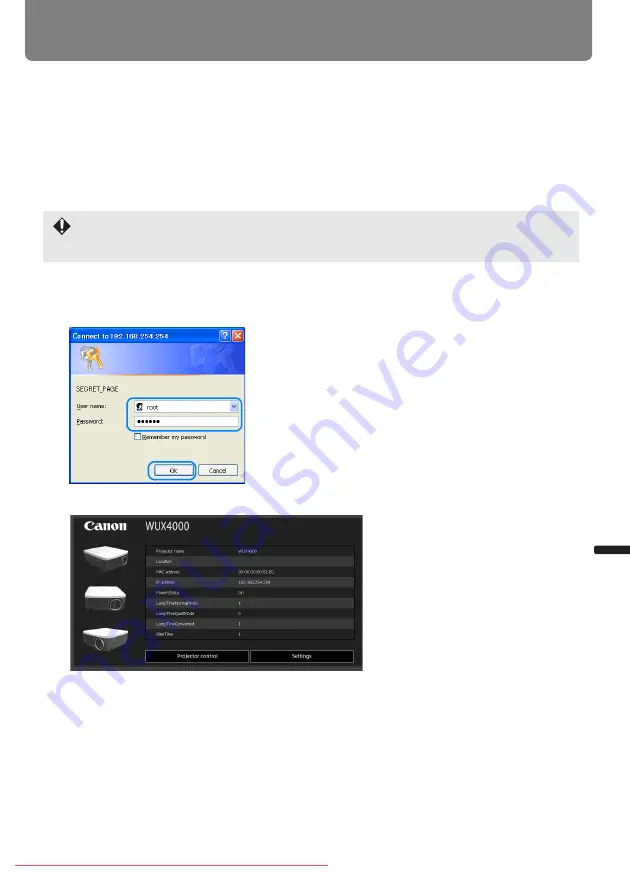
The web browser screen shown below is for the WUX4000.
1
Turn on the computer and projector.
2
Launch a web browser, enter “http://(projector IP address)” in the address bar, and
press the Enter key.
The password input screen appears.
3
Enter the user name and password on the password input screen, then click OK.
The factory default user name is “root” and the password is “system”.
The projector web screen appears in the web browser.
The factory default IP address is “192.168.254.254”. If DHCP settings are used, ask the net-
work administrator for the projector IP address. It is possible to check the IP address from
the projector menu.
Summary of Contents for REALiS WUX5000
Page 42: ...42 Downloaded From projector manual com Canon Manuals ...
Page 44: ...44 Downloaded From projector manual com Canon Manuals ...
Page 86: ...86 Downloaded From projector manual com Canon Manuals ...
Page 142: ...142 Downloaded From projector manual com Canon Manuals ...
Page 144: ...144 Downloaded From projector manual com Canon Manuals ...
Page 199: ...199 MULTIMEDIA PROJECTOR Appendix Downloaded From projector manual com Canon Manuals ...
Page 200: ...200 Downloaded From projector manual com Canon Manuals ...
Page 239: ...239 Menu Configuration Downloaded From projector manual com Canon Manuals ...


