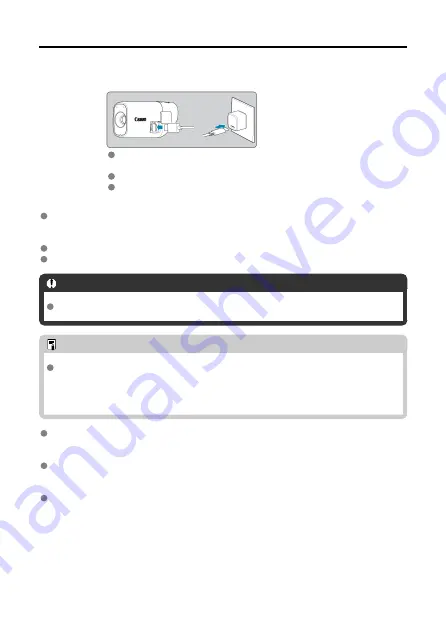
Charging the Camera
1.
Charge the camera.
Use the interface cable provided to connect the digital terminal on the
camera to the power adapter (sold separately) to charge the camera.
After charging begins, the indicator lamp turns orange.
The indicator lamp goes off after charging is finished.
Charging the camera when it is fully depleted takes approx. 1 hr. and 50 min. at
room temperature (23°C/73°F).
The time required to charge the battery will vary greatly
depending on the ambient temperature and the battery’s remaining capacity.
For safety, charging in low temperatures (5–10°C/41–50°F) takes longer.
The camera can also be used while plugged in for charging.
Caution
Charging and powering may stop if the camera becomes hot.
Note
For charging and powering the camera, an optional USB Power Adapter PD-E1 is
recommended. Some commercially available power adapters (USB Type-C Power
Delivery, with an output voltage/current of at least 9V DC/2A) have also been
confirmed to work with the camera. For details, check the Canon website.
The camera is not fully charged when you receive it.
Charge the battery before use.
Charge the camera on the day you will use it or the day before.
The built-in battery will gradually lose its charge, even if it is not used.
Use the camera where the temperature is 0–35°C (32–95°F).
For optimal camera performance, use where the ambient temperature is 0–35°C (32–
95°F). Lower temperatures may temporarily reduce the performance and life of the built-
in battery. Higher temperatures may prevent continuous shooting if the camera becomes
hot.
20
Summary of Contents for PowerShot ZOOM
Page 1: ...Advanced User Guide E CT2 D116 A CANON INC 2020 ...
Page 9: ...Review the picture Press the button then select the Play menu 9 7 ...
Page 18: ...Attaching the Strap Attach the included wrist strap to the camera strap mount 18 ...
Page 26: ...Changing the Interface Language To change the interface language see Language 26 ...
Page 27: ...Basic Operations Adjusting the Viewfinder Holding the Camera Zoom Button Shutter Button 27 ...
Page 31: ...Zoom Button Each press of the button switches between three zoom levels 31 ...
Page 33: ...Menu Operations and Settings Menu Screen Menu Setting Procedure 33 ...
Page 42: ...Note Audio is recorded in stereo 42 ...
Page 47: ...1 point AF The camera focuses in a single AF point in the center 47 ...
Page 62: ...Erasing All Images on a Card You can erase all the images on a card at once 62 ...
Page 72: ...Steps on the camera 2 9 Select OK 72 ...
Page 95: ...2 Set the time zone Press the or button to select Time zone Press 95 ...
Page 122: ...3 Pry the card terminal cover up swing it open 90 and remove it 4 Remove the five screws 122 ...


