140
Setting Menu
Accessories
Appendix
Before Use
Index
Basic Guide
Advanced Guide
Camera Basics
Auto Mode /
Hybrid Auto Mode
Other Shooting Modes
P Mode
Tv, Av, M, and C Mode
Playback Mode
Wi-Fi Functions
z
Choose your country or region, and
then follow the instructions displayed to
prepare for downloading.
z
The compressed software is now
downloaded to your computer.
2
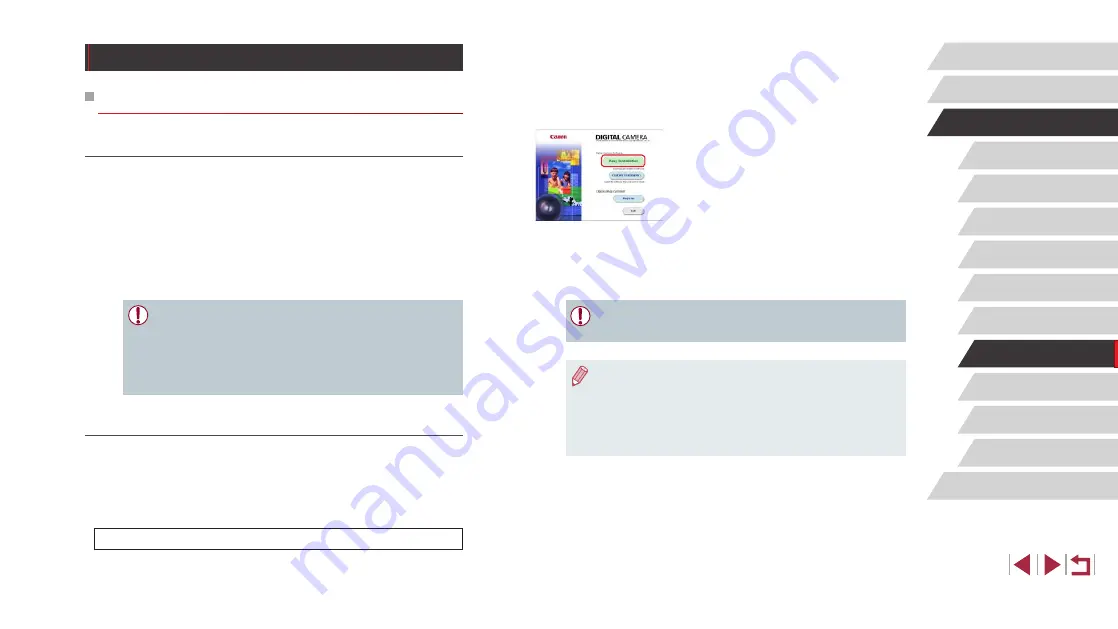
Begin the installation.
z
Double-click the downloaded file, and
when the screen at left is displayed, click
[Easy Installation]. Follow the on-screen
instructions to complete the installation
process.
z
Installation may take some time,
depending on computer performance and
the Internet connection.
z
Click [Finish] or [Restart] on the screen
after installation.
●
Internet access is required, and any ISP account charges and
access fees must be paid separately.
●
To uninstall the software, follow these steps.
-
Windows: Select [Start] menu ► [All Programs] ► [Canon
Utilities], and then choose the software for uninstallation.
-
Mac OS: In the [Canon Utilities] folder within the [Applications]
folder, drag the folder of the software for uninstallation to the
Trash, and then empty the Trash.
Saving Images to a Computer
Preparing to Register a Computer
Checking Your Computer Environment
The camera can connect via Wi-Fi to computers running the following
operating systems. For detailed system requirements and compatibility
information, including support in new operating systems, visit the Canon
website.
●
Windows 8/8.1
●
Windows 7 SP1
●
Mac OS X 10.9
●
Mac OS X 10.8.2 or later
●
Windows 7 Starter and Home Basic editions are not supported.
●
Windows 7 N (European version) and KN (South Korean version)
require a separate download and installation of Windows Media
Feature Pack.
For details, check the following website.
http://go.microsoft.com/fwlink/?LinkId=159730
Installing the Software
Windows 7 and Mac OS X 10.8 are used here for the sake of illustration.
1
Download the software.
z
Visit the following site from a computer
connected to the Internet.


