Changing the WPA or WPA2 Detailed Settings
Note
• This screen is not available depending on the printer you are using.
To change the wireless network settings of the printer, connect the printer and the computer with a USB
cable temporarily. If you modify the wireless network settings of the computer over wireless connection
without USB connection, your computer may not be able to communicate with the machine after modifying
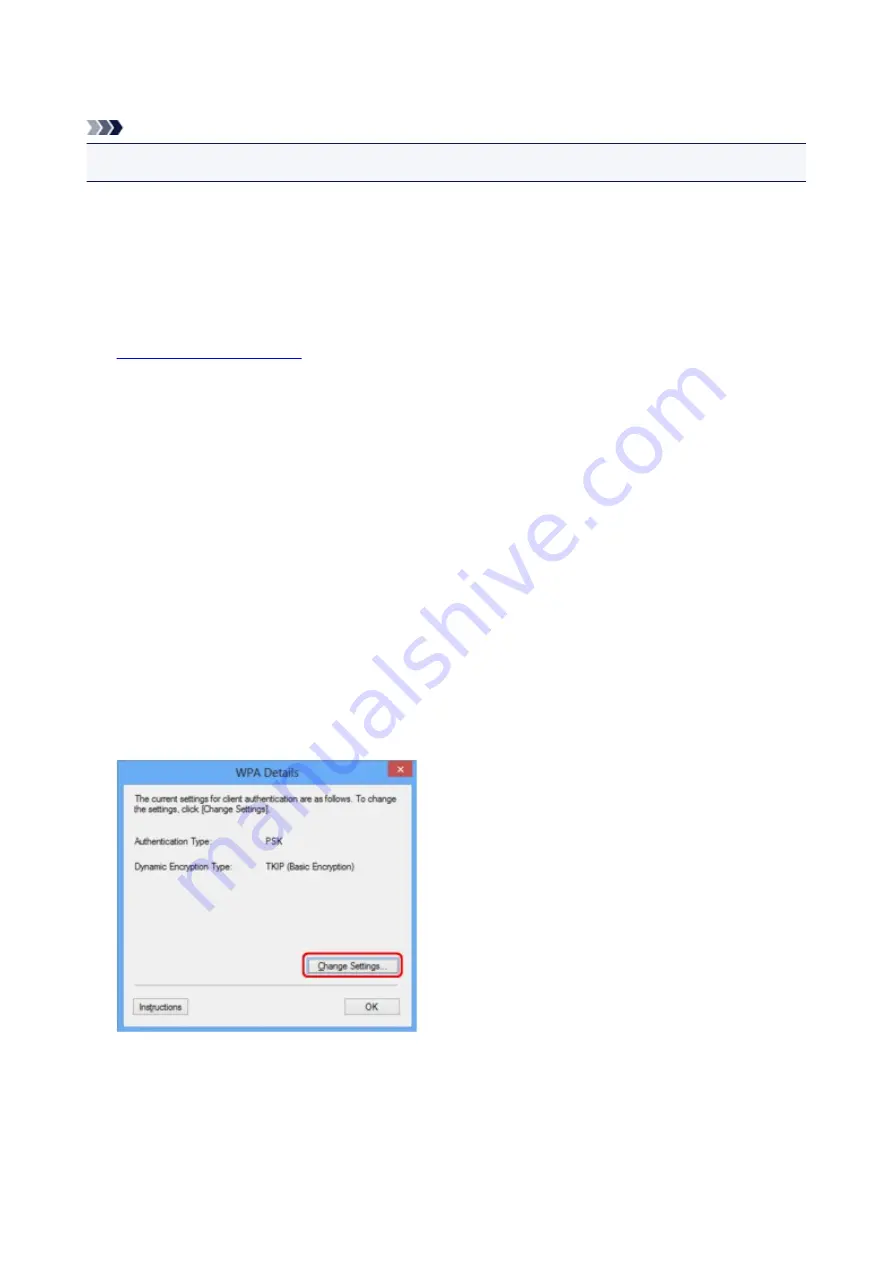
the settings.
The example screenshots in this section refer to the WPA detailed settings.
1.
2. Select the printer in
Printers:
.
When the printer is connected to the computer with a USB cable temporarily, select the printer with
"USBnnn" (where "n" is a number) appearing in the
Port Name
column.
3. Select
Configuration...
from the
Settings
menu.
4. Click the
Wireless LAN
tab.
5. Select
Use WPA
or
Use WPA2
in
Encryption Method:
and click
Configuration...
.
The
WPA Details
screen is displayed (For WPA2, the
WPA2 Details
screen is displayed).
If encryption is not set to the printer, the
Authentication Type Confirmation
screen is displayed. Go to
step 7.
6. Click
Change Settings...
.
7. Check the client authentication type and click
Next>
.
231
Summary of Contents for PIXMA MG5500 Series
Page 69: ...69 ...
Page 89: ...Safety Guide Safety Precautions Regulatory and Safety Information 89 ...
Page 96: ...Main Components Front View Rear View Inside View Operation Panel 96 ...
Page 111: ...Loading Paper Originals Loading Paper Loading Originals 111 ...
Page 143: ...Replacing an Ink Tank Replacing an Ink Tank Checking the Ink Status 143 ...
Page 208: ...Language selection Changes the language for messages and menus on the LCD 208 ...
Page 216: ...Information about Network Connection Useful Information about Network Connection 216 ...
Page 262: ...5 Delete Deletes the selected IP address from the list 262 ...


