Scan Jobs
Do a default scan job
Introduction
When you want to scan an original and you do not make any settings the default templates are
used. You only use the Smart Access to submit your job.
You can see an overview of the template settings that are used in the job settings section of your
job.
Procedure
1.
Feed the original face up and centered on the original feeding table.
2.
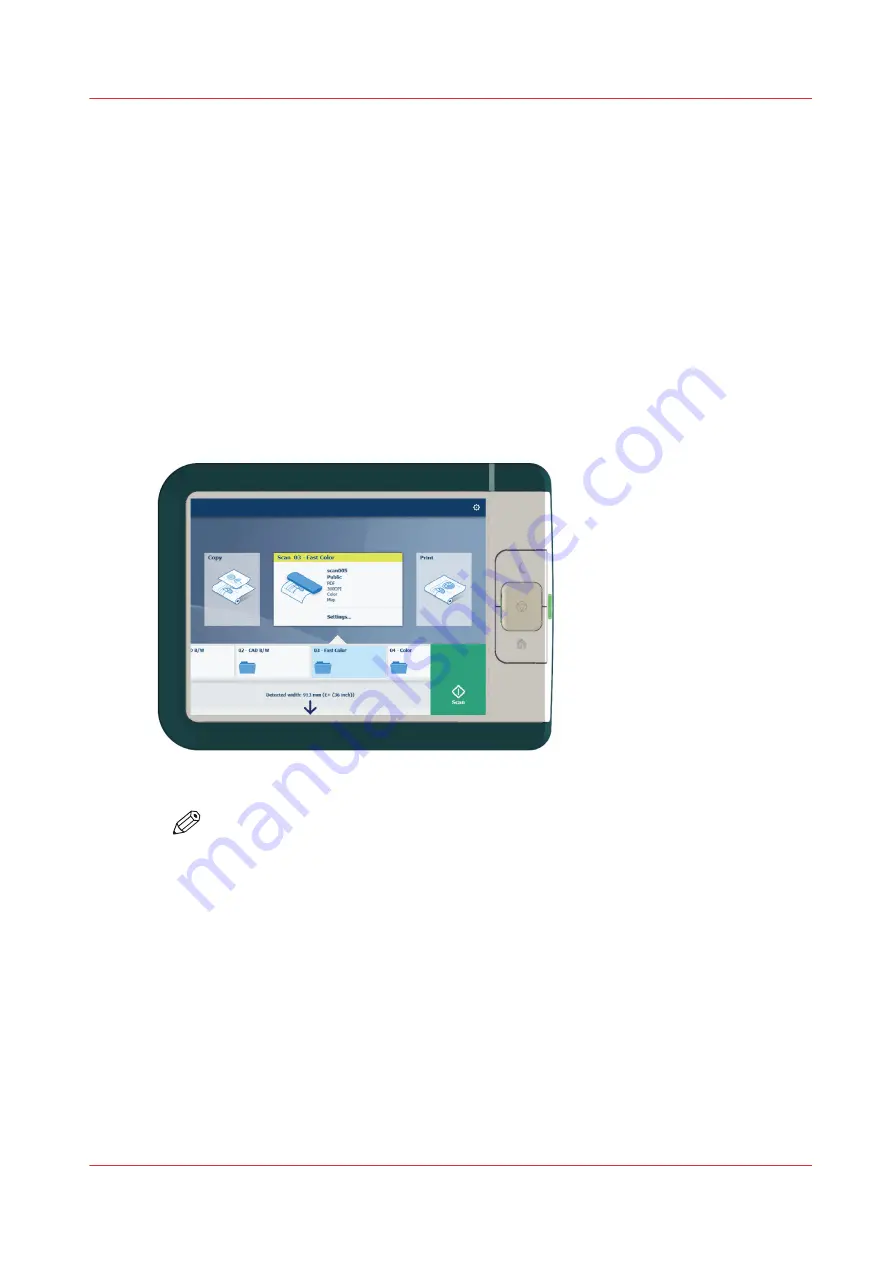
Select the scan tile on the user panel. The scan Smart Access is visible.
3.
Select the preferred template in the Smart Access and tap the green button.
NOTE
Tap on [Release the original] under the Smart Access to release your original from the
scanner.
Result
A scan to file is made, and sent to the location defined in the template.
You can also see the job under [Recent scans] on the user panel. Open it to view or print the file.
Scan Jobs
Chapter 4 - Use the Printing System
195
Summary of Contents for Oce PlotWave 450
Page 1: ...Operation guide Océ PlotWave 450 550 ...
Page 4: ......
Page 10: ...Contents 10 ...
Page 11: ...Chapter 1 Introduction ...
Page 16: ...Available documentation 16 Chapter 1 Introduction ...
Page 17: ...Chapter 2 Get to Know the Printing System ...
Page 43: ...Chapter 3 Define your Workflow with Océ Express WebTools ...
Page 143: ...Chapter 4 Use the Printing System ...
Page 214: ...Clear the system 214 Chapter 4 Use the Printing System ...
Page 215: ...Chapter 5 Use the Folder ...
Page 226: ...Adjust the side guides of the belt 226 Chapter 5 Use the Folder ...
Page 227: ...Chapter 6 Maintain the Printing System ...
Page 245: ...Media types Chapter 6 Maintain the Printing System 245 ...
Page 267: ...Chapter 7 License Management ...
Page 273: ...Chapter 8 Account Management ...
Page 280: ...Workflow on the printer 280 Chapter 8 Account Management ...
Page 281: ...Chapter 9 Solve Problems ...
Page 308: ...Print the print density chart 308 Chapter 9 Solve Problems ...
Page 309: ...Chapter 10 Support ...
Page 317: ...Chapter 11 Contact ...
Page 329: ......


