


Initializing the Network Settings of the Machine
Important
• Note that initialization erases all network settings on the machine, and printing or scanning operation
from a computer over network becomes impossible. To use the machine over network, perform setup
with the Setup CD-ROM or perform setup according to the instructions on our website.
1.
2. Select the printer in
Printers:
.
3. Select
Maintenance...
on the
Settings
menu.
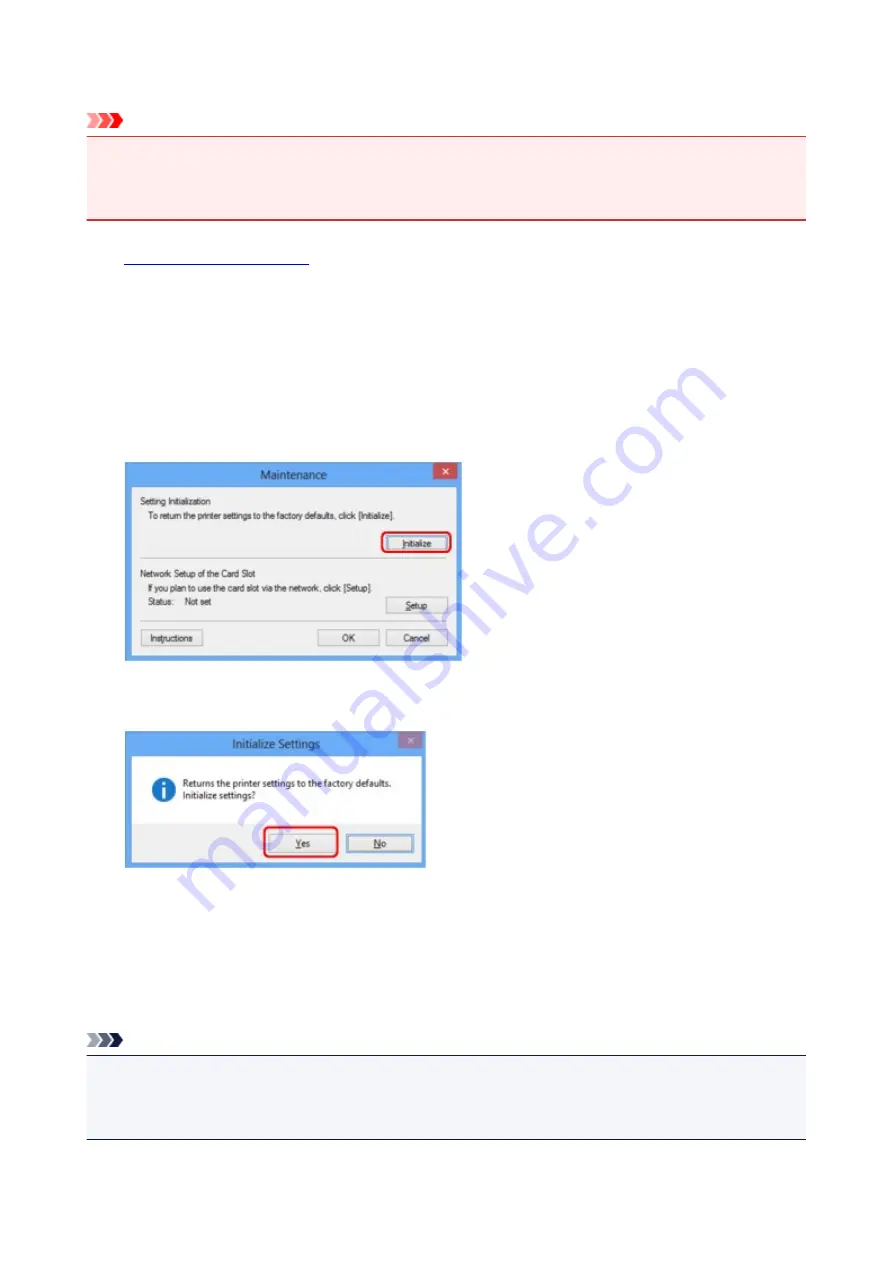
The
Maintenance
screen is displayed.
4. Click
Initialize
.
5. When the confirmation screen is displayed, click
Yes
.
The network settings of the printer are initialized.
Do not turn off the printer during initialization.
Click
OK
when initialization is complete.
Performing initialization when connected over wireless LAN will break the connection, so perform setup
with the Setup CD-ROM or perform setup according to the instructions on our website.
Note
• You can change the network settings of the printer using IJ Network Tool with USB connection after
initializing the LAN settings. To change the network settings using Canon IJ Network Tool, enable
wireless LAN in advance.
247
Summary of Contents for MX490 Series
Page 17: ...6944 997 6945 998 6946 999 9500 1000 B201 1001 B202 1002 B203 1003 B204 1004 ...
Page 69: ...69 ...
Page 101: ...Safety Guide Safety Precautions Regulatory and Safety Information 101 ...
Page 110: ...Main Components Front View Rear View Inside View Operation Panel 110 ...
Page 126: ...Loading Paper Originals Loading Paper Loading Originals 126 ...
Page 155: ... Photo or thick paper 155 ...
Page 156: ...Replacing a FINE Cartridge Replacing a FINE Cartridge Checking the Ink Status 156 ...
Page 224: ...Information about Network Connection Useful Information about Network Connection 224 ...
Page 270: ...5 Delete Deletes the selected IP address from the list 270 ...
Page 307: ...307 ...
Page 317: ...PRO 10S 317 ...
Page 339: ...Note Selecting Scaled changes the printable area of the document 339 ...
Page 368: ...Adjusting Color Balance Adjusting Brightness Adjusting Intensity Adjusting Contrast 368 ...
Page 374: ...Adjusting Intensity Adjusting Contrast 374 ...
Page 475: ...Scanning Scanning from a Computer Scanning from the Operation Panel of the Machine 475 ...
Page 561: ...561 ...
Page 579: ...579 ...
Page 618: ...Adjusting Cropping Frames ScanGear 618 ...
Page 659: ...659 ...
Page 666: ... Scan resolution Select the resolution for scanning Ex 666 ...
Page 673: ...6 Select the application you want to start after scanning in Application Settings 673 ...
Page 775: ...4 When a confirmation message is displayed click Yes 775 ...
Page 881: ...Telephone Problems Cannot Dial Telephone Disconnects During a Call 881 ...
Page 967: ...5B02 Cause Printer error has occurred Action Contact the service center 967 ...
Page 968: ...5B03 Cause Printer error has occurred Action Contact the service center 968 ...
Page 969: ...5B04 Cause Printer error has occurred Action Contact the service center 969 ...
Page 970: ...5B05 Cause Printer error has occurred Action Contact the service center 970 ...
Page 971: ...5B12 Cause Printer error has occurred Action Contact the service center 971 ...
Page 972: ...5B13 Cause Printer error has occurred Action Contact the service center 972 ...
Page 973: ...5B14 Cause Printer error has occurred Action Contact the service center 973 ...
Page 974: ...5B15 Cause Printer error has occurred Action Contact the service center 974 ...


