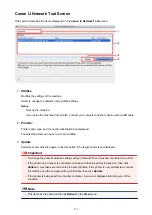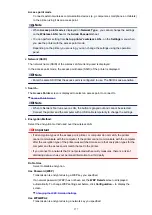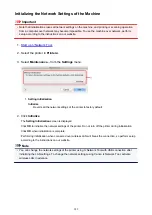
Changing the WEP Detailed Settings
Note
• This screen is not available depending on the printer you are using.
To change the wireless network settings of the printer, connect the printer and the computer with a USB
cable temporarily. If you modify the wireless network settings of the computer over wireless connection
without USB connection, your computer may not be able to communicate with the machine after modifying
the settings.
1.
2. Select the printer in
Printers:
.
When the printer is connected to the computer with a USB cable temporarily, select the printer with
USB
appearing in the
Connected to
column.
3. Click the
Configuration...
button.
4. Click the
Wireless LAN
button.
5. Select
Use Password (WEP)
in
Encryption Method:
and click
Configuration...
.
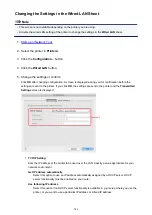
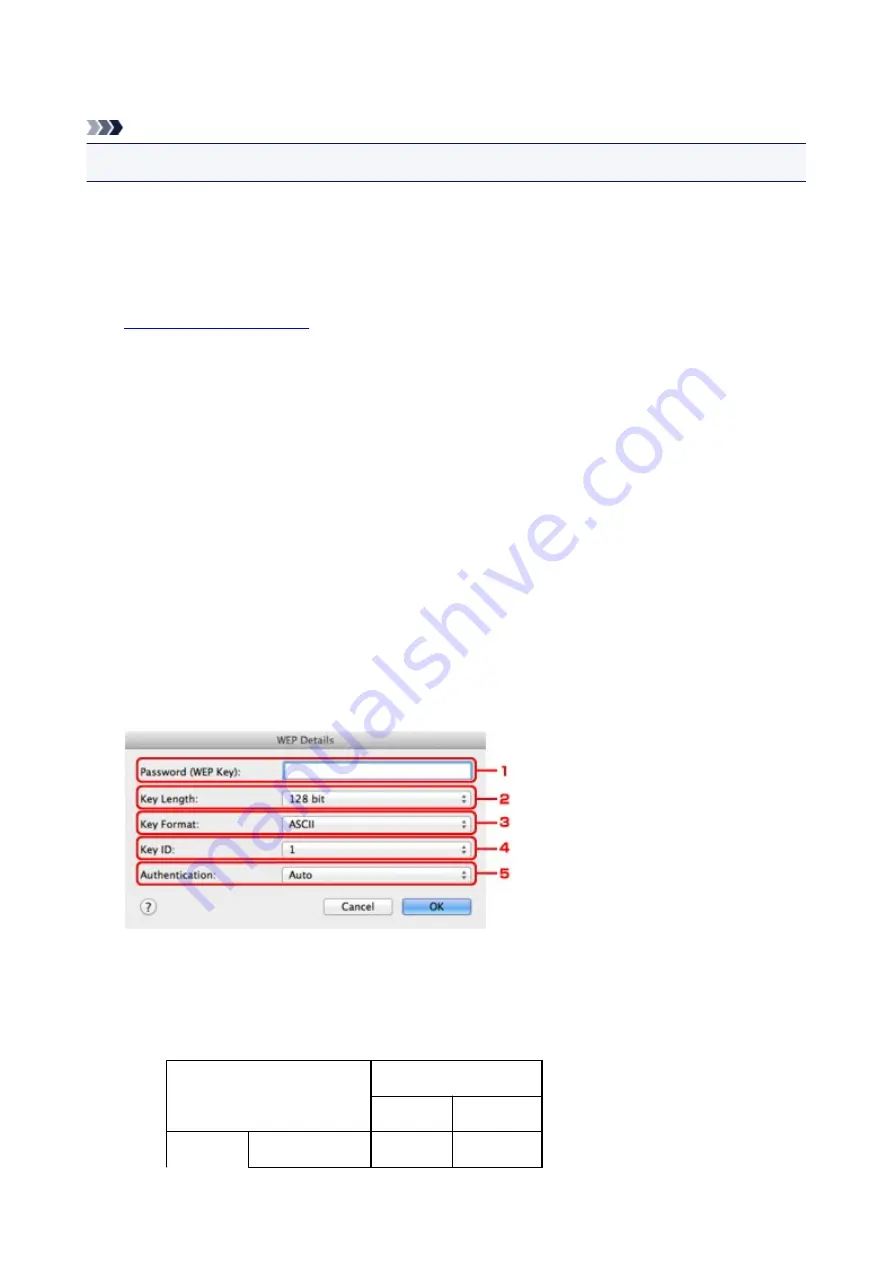
The
WEP Details
screen is displayed.
6. Change the settings or confirm.
When changing the password (WEP key), the same change must be made to the password (WEP key)
of the access point.
1.
Password (WEP Key):
Enter the same key as the one set to the access point.
The number of characters and character type that can be entered differ depending on the
combination of the key length and key format.
Key Length
64 bit
128 bit
Key Format ASCII
5 characters 13 characters
280
Summary of Contents for MG6600 Series
Page 88: ...88...
Page 122: ...Safety Guide Safety Precautions Regulatory and Safety Information 122...
Page 129: ...Main Components Front View Rear View Inside View Operation Panel 129...
Page 146: ...Loading Paper Originals Loading Paper Loading Originals Inserting the Memory Card 146...
Page 163: ...Printing Area Printing Area Other Sizes than Letter Legal Envelopes Letter Legal Envelopes 163...
Page 180: ...Replacing an Ink Tank Replacing an Ink Tank Checking the Ink Status 180...
Page 245: ...Language selection Changes the language for the messages and menus on the touch screen 245...
Page 260: ...Information about Network Connection Useful Information about Network Connection 260...
Page 304: ...Checking the Ink Status with the Ink Lamps 304...
Page 352: ...Adjusting Color Balance Adjusting Brightness Adjusting Intensity Adjusting Contrast 352...
Page 403: ...Using the Slide Show Function Printing Photo While Viewing the Slide Show 403...
Page 446: ...Scanning Scanning from a Computer Scanning from the Operation Panel of the Machine 446...
Page 480: ...Defaults You can restore the settings in the displayed screen to the default settings 480...
Page 490: ...Defaults You can restore the settings in the displayed screen to the default settings 490...
Page 569: ...Cannot Use the Card Slot via Network Cannot Use the Card Slot 569...
Page 598: ...Problems with Printing Quality Print Results Not Satisfactory Ink Is Not Ejected 598...
Page 616: ...Problems with Scanning Problems with Scanning Scan Results Not Satisfactory 616...
Page 673: ...1401 Cause The print head may be damaged Action Contact the service center 673...
Page 674: ...1403 Cause The print head may be damaged Action Contact the service center 674...
Page 675: ...1405 Cause The print head may be damaged Action Contact the service center 675...
Page 682: ...1660 Cause The ink tank is not installed Action Install the ink tank 682...
Page 710: ...5B00 Cause Printer error has occurred Action Contact the service center 710...
Page 711: ...5B01 Cause Printer error has occurred Action Contact the service center 711...
Page 712: ...5B12 Cause Printer error has occurred Action Contact the service center 712...
Page 713: ...5B13 Cause Printer error has occurred Action Contact the service center 713...
Page 714: ...5B14 Cause Printer error has occurred Action Contact the service center 714...
Page 715: ...5B15 Cause Printer error has occurred Action Contact the service center 715...


