If a key is not pressed for a specified period of time, the screen and the settings are initialized to display the default screen (Auto
Reset). Specify the interval at which the Auto Reset is performed. Select <0> to disable the Auto Reset function. The Auto Reset is not
performed in the following cases:
The setting menu is displayed.
The machine is processing data, such as when printing documents or sending or receiving faxes.
An error message is displayed and the Error indicator is blinking (However, Auto Reset is performed when the error does not prevent
the user from continuing to use a function.)
0 (Auto Reset is disabled.)
1 to 2 to 9 (min.)
The screen displayed after the Auto Reset is performed can be selected in <Function After Auto Reset>.
Select whether to return the display to the default screen after the Auto Reset is performed. If <Default Function> is selected, the main
screen of the function selected in <Default Screen after Startup/Restoration> is displayed (
). If <Selected Function> is selected, the display returns to the main screen of the function that was selected.
Default Function
Selected Function
If the machine has not been operated or has had no data to process for a specified period of time, the machine enters sleep mode to
save energy consumption (Auto Sleep). Specify the period of time after which auto sleep is performed. Auto Sleep is not performed when
the setting menu is displayed. We recommend using the factory default settings to save the most power.
MF729Cx / MF728Cdw / MF724Cdw
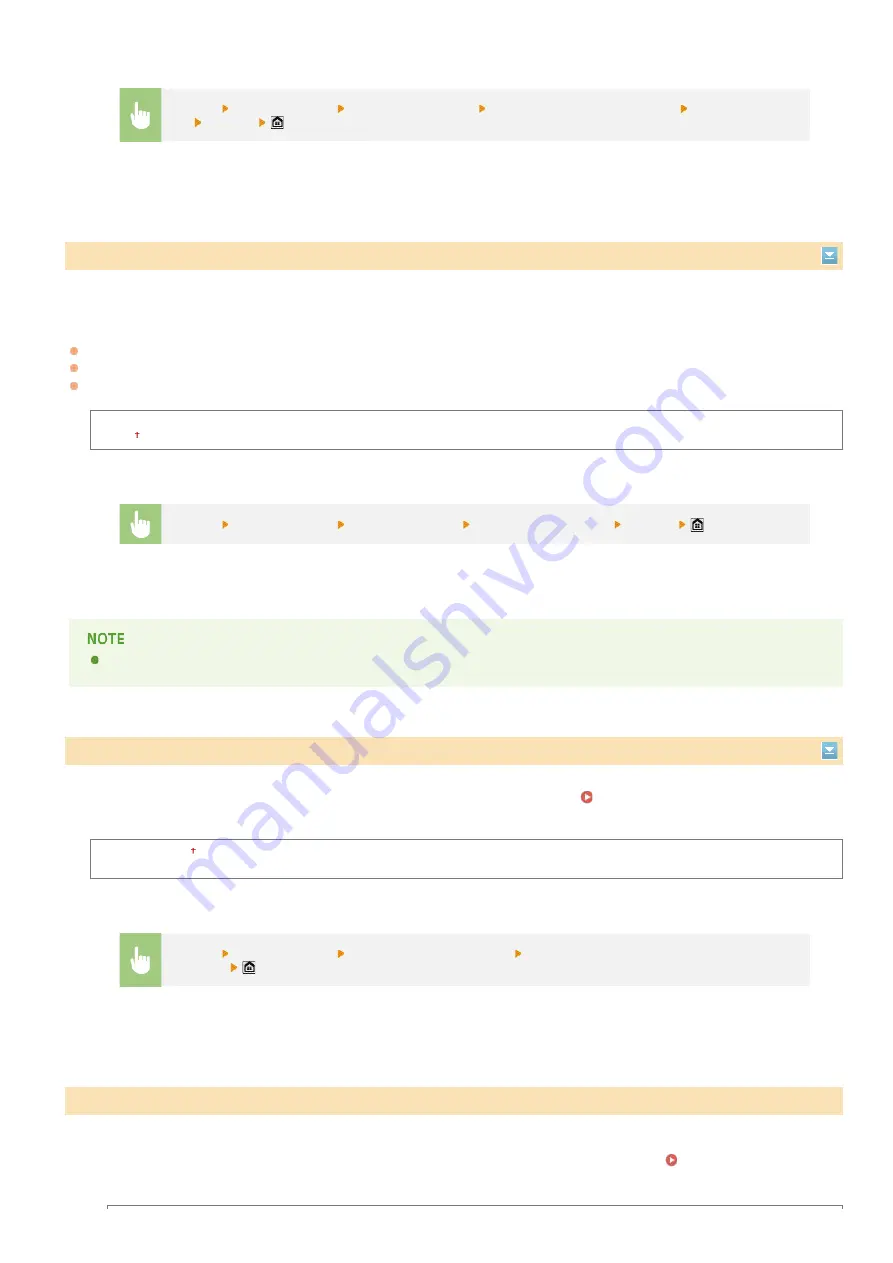
<Menu>
<Timer Settings>
<Date/Time Settings>
<Daylight Saving Time Settings>
Select a month and
day
<Apply>
Auto Reset Time
<Menu>
<Timer Settings>
<Auto Reset Time>
Set the Auto Reset time
<Apply>
Function After Auto Reset
<Menu>
<Timer Settings>
<Function After Auto Reset>
Select <Default Function> or <Selected
Function>
Auto Sleep Time
㻡㻝㻣㻌㻛㻌㻣㻟㻡
Summary of Contents for MF729Cx
Page 35: ...Display 㻟㻡㻌㻛㻌㻣㻟㻡 ...
Page 43: ...LINKS Setting the Department ID Management Setting the System Manager ID 㻠㻟㻌㻛㻌㻣㻟㻡 ...
Page 52: ...LINKS Paper Notify to Check Paper Settings 㻡㻞㻌㻛㻌㻣㻟㻡 ...
Page 89: ...LINKS Basic Copy Operations 㻤㻥㻌㻛㻌㻣㻟㻡 ...
Page 94: ...LINKS Basic Copy Operations Adjusting Color Balance Adjusting Sharpness 㻥㻠㻌㻛㻌㻣㻟㻡 ...
Page 96: ...LINKS Basic Copy Operations Adjusting Density Adjusting Sharpness 㻥㻢㻌㻛㻌㻣㻟㻡 ...
Page 115: ...LINKS Receiving Faxes MF729Cx MF728Cdw MF628Cw 㻝㻝㻡㻌㻛㻌㻣㻟㻡 ...
Page 166: ...5 㻝㻢㻢㻌㻛㻌㻣㻟㻡 ...
Page 191: ...㻝㻥㻝㻌㻛㻌㻣㻟㻡 ...
Page 201: ...LINKS Printing a Document 㻞㻜㻝㻌㻛㻌㻣㻟㻡 ...
Page 208: ...LINKS Printing a Document 㻞㻜㻤㻌㻛㻌㻣㻟㻡 ...
Page 212: ...LINKS Printing a Document Printing Borders Printing Dates and Page Numbers 㻞㻝㻞㻌㻛㻌㻣㻟㻡 ...
Page 263: ...LINKS Configuring Scan Settings in Simple Mode Scanning Using an Application 㻞㻢㻟㻌㻛㻌㻣㻟㻡 ...
Page 308: ...㻟㻜㻤㻌㻛㻌㻣㻟㻡 ...
Page 348: ...LINKS Setting IPv6 Addresses Viewing Network Settings Configuring WINS 㻟㻠㻤㻌㻛㻌㻣㻟㻡 ...
Page 354: ...Configuring DNS 㻟㻡㻠㻌㻛㻌㻣㻟㻡 ...
Page 362: ...LINKS Setting Up Print Server 㻟㻢㻞㻌㻛㻌㻣㻟㻡 ...
Page 483: ...Portal Page main page will be displayed Remote UI Screens 4 㻠㻤㻟㻌㻛㻌㻣㻟㻡 ...
Page 490: ...LINKS Remote UI Screens 㻠㻥㻜㻌㻛㻌㻣㻟㻡 ...
Page 533: ...Initial Settings for Fax Functions MF729Cx MF728Cdw MF628Cw 㻡㻟㻟㻌㻛㻌㻣㻟㻡 ...
Page 707: ...When replacing toner cartridges see How to Replace Toner Cartridges 㻣㻜㻣㻌㻛㻌㻣㻟㻡 ...
Page 717: ...Click Back Exit 6 㻣㻝㻣㻌㻛㻌㻣㻟㻡 ...
Page 736: ...㻝㻌㻛㻌㻠㻣 ...
Page 768: ...㻟㻟㻌㻛㻌㻠㻣 ...


