Aligning the Print Head
If printed images seem distorted, as when parallel lines are not printed parallel, align the print head.
Note
• If ink runs out as the print head alignment sheet is printed, an error message appears on the LCD.
What you will need: one sheet of A4 or Letter-sized plain paper (recycled paper is acceptable)*
* Use white paper that is clean on both sides.
1. Make sure the printer is on.
2. Load a sheet of A4 or Letter-sized plain paper in cassette 1.
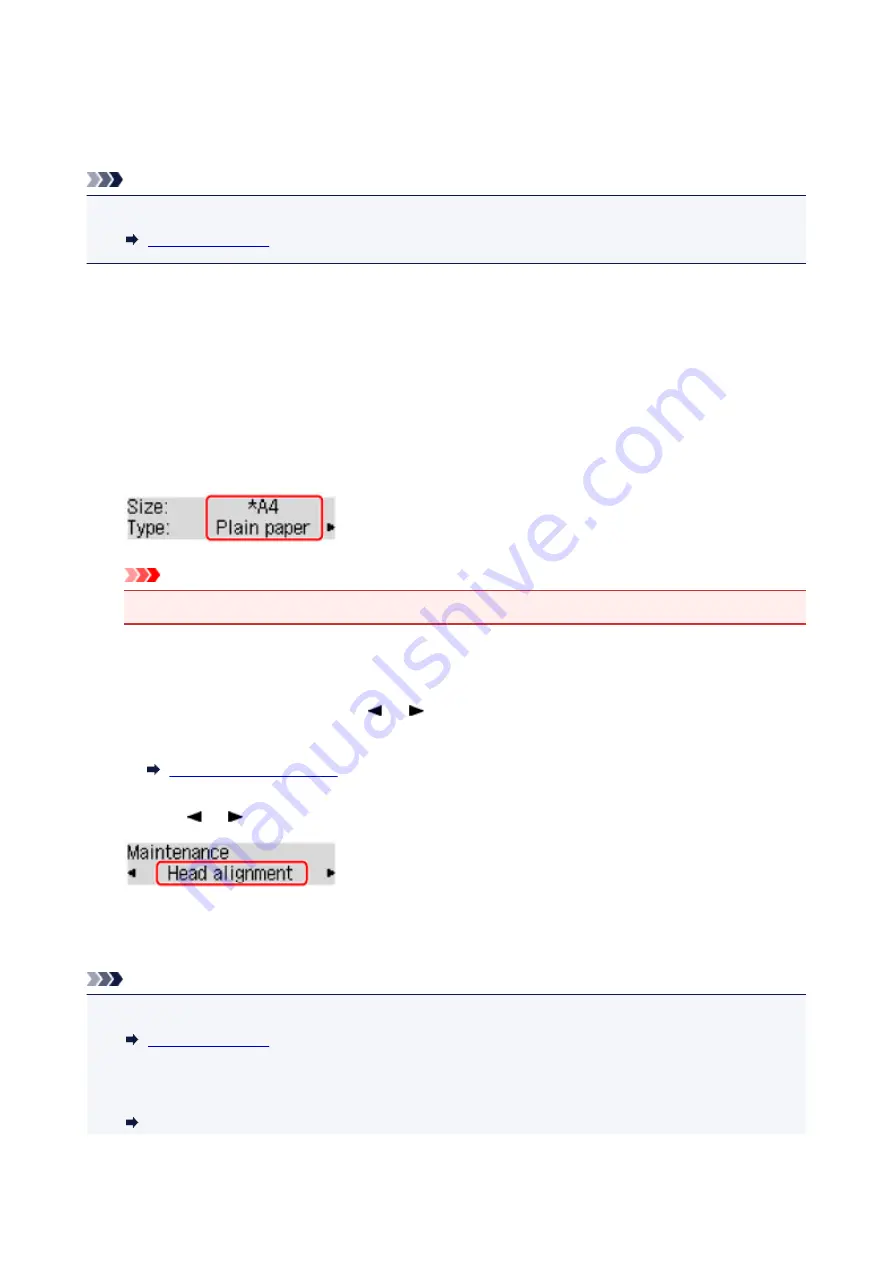
After you insert the cassette, a screen for registering paper information is displayed on the LCD. Select
A4
or
Letter
in
Size:
and
Plain paper
in
Type:
, and then press the
OK
button.
Important
• Print head alignment cannot be performed from cassette 2. Load paper in cassette 1.
3. Pull out the output tray extension and open the paper output support.
4. Press the
Setup
button, use the or button to select
Maintenance
, and then press the
OK
button.
5. Use the or button to select
Head alignment
, and then press the
OK
button.
The print head alignment sheet is printed, and the print head is aligned automatically.
This process takes 3–4 minutes.
Note
• If automatic print head alignment fails, an error message appears.
• If printing is still unsatisfactory after automatic print head alignment, align the print head manually from
a computer.
Aligning the Print Head Position Manually (Windows)
167
Summary of Contents for MAXIFY iB4140
Page 1: ...iB4100 series Online Manual Printer Functions Overview Printing Troubleshooting English ...
Page 102: ...All registered users can register and delete apps freely 102 ...
Page 137: ...Loading Paper Paper Sources Loading Plain Paper Photo Paper Loading Envelopes 137 ...
Page 140: ...140 ...
Page 152: ...Replacing Ink Tanks Replacing Ink Tanks Checking Ink Status on the LCD 152 ...
Page 168: ...Aligning the Print Head Position Manually Mac OS 168 ...
Page 187: ...Safety Safety Precautions Regulatory Information WEEE EU EEA 187 ...
Page 191: ...191 ...
Page 202: ...Main Components and Their Use Main Components Power Supply LCD and Operation Panel 202 ...
Page 203: ...Main Components Front View Rear View Inside View Operation Panel 203 ...
Page 259: ...The resending setting is completed 259 ...
Page 260: ...Network Connection Network Connection Tips 260 ...
Page 297: ...Network Communication Tips Using Card Slot over Network Technical Terms Restrictions 297 ...
Page 327: ...Print Area Print Area Standard Sizes Envelopes 327 ...
Page 332: ...Administrator Settings Sharing the Printer on a Network 332 ...
Page 339: ...Printing Printing from Computer Printing from Smartphone Tablet Paper Settings 339 ...
Page 360: ...Related Topic Changing the Printer Operation Mode 360 ...
Page 374: ...Adjusting Color Balance Adjusting Brightness Adjusting Intensity Adjusting Contrast 374 ...
Page 462: ...Perform setup following the instructions on the screen 462 ...
Page 491: ...Problems while Printing from Smartphone Tablet Cannot Print from Smartphone Tablet 491 ...
Page 538: ...Errors and Messages An Error Occurs Message Appears 538 ...
Page 540: ...To resolve errors that do not have support codes see An Error Occurs 540 ...
Page 571: ...1660 Cause An ink tank is not installed What to Do Install the ink tank 571 ...


