59
Adju
s
ting the Expo
s
ure
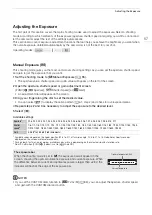
Touch Exposure
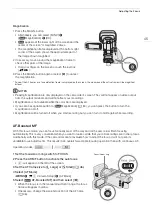
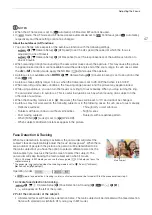
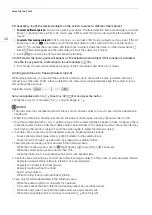
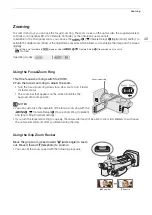
You can touch the screen to optimize the exposure for a specific subject or area. The camcorder will
automatically adjust the exposure for the selected point and lock the exposure settings. You can even touch a
bright area of the image to make that point the 100% brightness level and so try to avoid overexposure (Highlight
AE). This function cannot be used when the shooting mode is set to
n
or [
T
Fireworks].
1 Open the touch expo
s
ure
s
etting
s
s
creen.
[FUNC]
>
[
y
Exposure Comp.]
>
[
i
]
2
S
elect [
Normal] or [
Highlight
s
] and then
s
elect [
L
]
• An adjustment dial will appear on the screen.
• You can select [
] to display the zebra pattern (
A
61, step 2) and check for overexposed areas.
3 Touch the de
s
ired point in
s
ide the expo
s
ure frame to optimize and loc
k
the expo
s
ure.
• The
I
mark will flash and the exposure will be adjusted automatically so the area you touched is correctly
exposed.
• The exposure compensation value ±0 and
will appear on the screen. In addition, the indicator inside the
[
] button will turn orange to indicate that the exposure is locked.
• Select [
] again to release the exposure lock.
4 Drag your finger along the dial to further compen
s
ate the expo
s
ure.
• You can set a compensation value from –3 to +3 in 1/4 EV increments.
5
S
elect [
X
].
• The exposure compensation value and
will appear on the left of the screen. If the exposure was not
locked (compensation only), [AE] and the compensation value will appear instead.
Exposure Lock (AE Lock)
You can lock the current exposure settings and use them even when you reframe the picture. This function
cannot be used when the shooting mode is set to
n
or [
T
Fireworks].
1 Loc
k
the current expo
s
ure.
[FUNC]
>
[
y
Exposure Comp.]
>
[
]
• The exposure compensation value ±0 and
will appear on the screen. In addition, the indicator inside the
[
] button will turn orange to indicate that the exposure is locked.
• Select [
] again to release the exposure lock.
2 If nece
ss
ary, drag your finger along the dial to further compen
s
ate the expo
s
ure.
• You can set a compensation value from –3 to +3 in 1/4 EV increments.
• Depending on the brightness of the image and the exposure locked, some values may not be available and
the available exposure compensation range may differ.
3
S
elect [
X
].
• The exposure compensation value and
will appear on the left of the screen.
Summary of Contents for LEGRIA HF G60
Page 1: ...4K Camcorder PUB DIE 0536 000 Instruction Manual PAL ...
Page 4: ...4 ...
Page 16: ...Names of Parts 16 ...
Page 82: ...Using the Optional GP E2 GPS Receiver 82 ...
Page 94: ...Clip and Photo Operations 94 ...

