


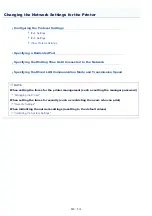


0F40-058
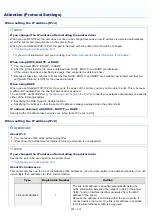
When setting the IP address (IPv4)
NOTE
If you changed the IP address after installing the printer driver
When you use MFNP Port, the port does not have to be changed because a new IP address is detected automatically
when the printer and computer are on the same subnet.
When you use Standard TCP/IP Port, the port to be used with the printer driver should be changed.
"Configuring and Changing the Port"
If you do not know which port you are using, see "
Basic Operations/Various Information for Windows
."
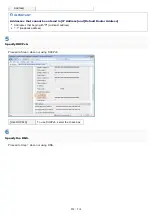
When using DHCP, BOOTP, or RARP
You can select DHCP, BOOTP, or RARP.
After the printer restarts, the values obtained from DHCP, BOOTP, and RARP are displayed.
(If the values have been specified previously, they overwrite the obtained ones.)
Because it takes two minutes to check whether DHCP, BOOTP, and RARP are available, we recommend that you
set [Select Protocol] to [Off] for the unused protocols.
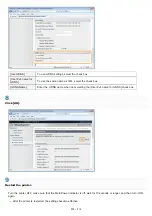
When using DHCP
When you use Standard TCP/IP Port, if you cycle the power of the printer, you may not be able to print. This is because
a different IP address from the one that was used is assigned.
To use DHCP, use MFNP Port ( "
Configuring and Changing the Port
") or consult your network administrator and specify
either of the following settings.
Specifying the DNS Dynamic Update function
Specifying the settings so that the same IP address is always assigned when the printer starts
IP address obtained with DHCP, BOOTP, or RARP
Specifying the IP address takes priority even when [Auto IP] is set to [On].
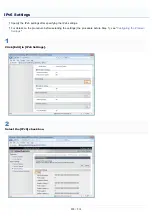
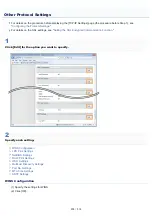
When setting the IP address (IPv6)
IMPORTANT
About IPv6
You cannot use IPv6 alone without using IPv4.
IPsec (Security Architecture for Internet Protocol) encryption is not supported.
NOTE
If you changed the IP address after installing the printer driver
Specify the port to be used again in the printer driver.
"Configuring and Changing the Port"
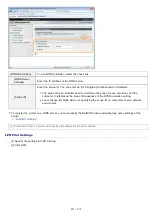
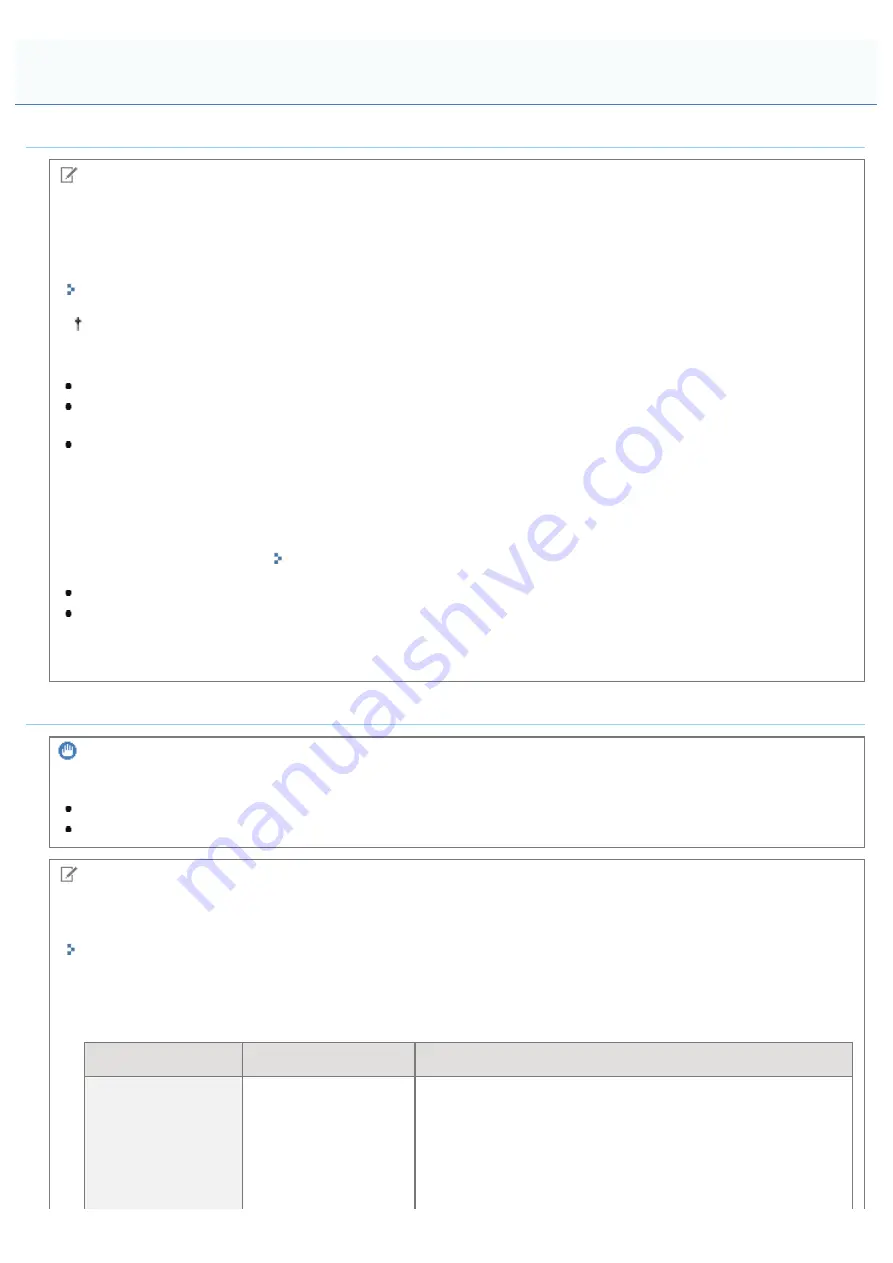
About IPv6 addresses
This printer can have up to nine of the following IPv6 addresses. (You can only register one address manually.) You can
use multiple IPv6 addresses for IPv6 communication.
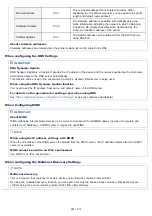
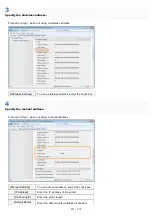
Type
Registrable Number
Outline
Link-Local Address
1
The link-local address is specified automatically using the
prefix (information indicating the network to which it belongs)
"fe80::" and an interface identifier generated from the MAC
address of the printer.
Because the address is valid only within the same prefix, it
cannot traverse the router. One link-local address is specified
for this printer whenever IPv6 is being used.
Attention (Protocol Settings)
㻞㻠㻟㻌㻛㻌㻡㻝㻠
Summary of Contents for LBP7100Cn
Page 1: ......
Page 7: ...For Windows 8 Server 2012 Users 512 For Macintosh Users 513 Office Locations 514...
Page 21: ...7 Click Exit When the following screen appears you can remove the CD ROM...
Page 38: ...If the laser beam should escape and enter your eyes exposure may cause damage to your eyes...
Page 81: ......
Page 83: ...It takes approximately 60 seconds...
Page 88: ......
Page 105: ...0F40 02E Installing the Printer Driver Uninstalling the Printer Driver Driver Installation...
Page 119: ......
Page 121: ...2 Click Next Proceed to the Printer Information Screen...
Page 124: ......
Page 132: ...17 Click Exit When the following screen appears you can remove the CD ROM...
Page 153: ......
Page 174: ...3 Click OK For details on the basic printing procedure see Basic Printing Procedure...
Page 178: ...For details on the basic printing procedure see Basic Printing Procedure...
Page 180: ...Click OK For details on the basic printing procedure see Basic Printing Procedure...
Page 183: ...3 Click OK Then the Page Setup sheet reappears...
Page 187: ...Color 3 Click OK For details on the basic printing procedure see Basic Printing Procedure...
Page 196: ...3 Click OK For details on the basic printing procedure see Basic Printing Procedure...
Page 198: ...4 Click OK For details on the basic printing procedure see Basic Printing Procedure...
Page 204: ...Low...
Page 214: ...changed 4 Confirm the settings then click OK The printer folder reappears...
Page 249: ......
Page 255: ......
Page 277: ...WPA WPA2 PSK Settings Displays the WPA WPA2 PSK setting WEP Settings Displays the WEP setting...
Page 282: ...6 Click Close 7 Click Apply 8 Click OK NOTE...
Page 286: ......
Page 303: ...9 Click Finish...
Page 317: ...2 Click OK...
Page 319: ...4 Change the display language 1 Select a display language 2 Click OK...
Page 323: ......
Page 353: ......
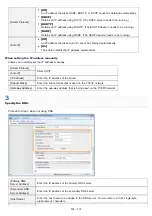
Page 355: ...4 Click Edit 5 Configure the SNMPv1 protocol...
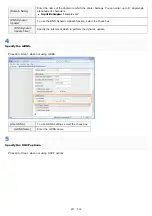
Page 362: ...4 Click Generate Key 5 Specify a key to be created...
Page 366: ...4 Click Register Key and Certificate 5 Click Install...
Page 372: ...8 Click Register...
Page 378: ......
Page 384: ...4 Click Initialize 5 Click OK to initialize the key and certificate CA certificate...
Page 389: ......
Page 392: ...2 Click IEEE 802 1X Settings 4 Click Edit 5 Select the Use IEEE 802 1X check box...
Page 393: ...6 Enter a login name 7 Select the Use TLS check box...
Page 397: ...4 Click Edit 5 Select the Use IEEE 802 1X check box...
Page 401: ......
Page 429: ...3 Click Next 4 Manually specify the port using Port Printer Information Screen...
Page 436: ...7 Disconnect the USB cable from the computer then restart Windows...