


4-11
Pr
inting a Document
4
Specifying the Printing Preferences
Displaying the [Printer Properties] Dialog Box from the [Printers]
Folder
1
From the [Start] menu, select [Settings]
➞
[Printers].
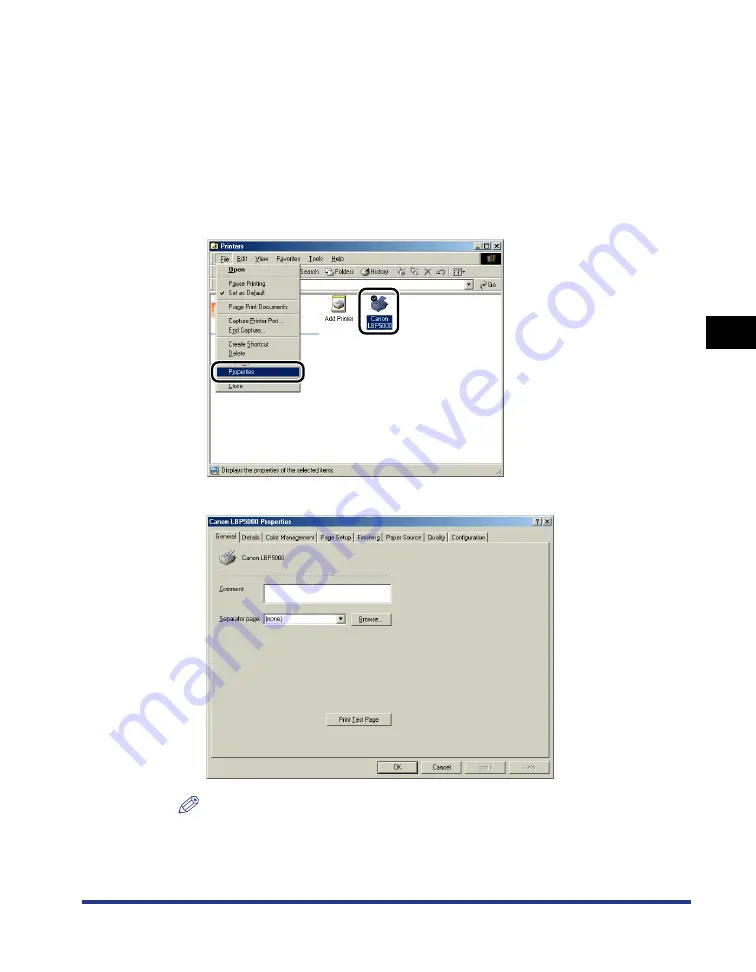
2
Select the icon for this printer, then select [Properties] from
the [File] menu.
The [Printer Properties] dialog box is displayed.
NOTE
The [Printer Properties] dialog box can also be displayed by right-clicking the icon
for this printer and selecting [Properties] from the pop-up menu.
Summary of Contents for Laser Shot LBP5000
Page 2: ...LBP5000 Laser Printer User s Guide ...
Page 25: ...xxii ...
Page 298: ...5 21 Routine Maintenance 5 Calibrating the Printer 4 Click OK ...
Page 391: ...7 44 Troubleshooting 7 Confirming the Printer Features ...
Page 397: ...8 6 Appendix 8 Dimensions of Each Part Paper Feeder Unit PF 92 410 407 125 118 mm ...
Page 417: ...8 26 Appendix 8 Location of the Serial Number ...
Page 418: ...R IE 695AA CANON INC 2005 ...


