
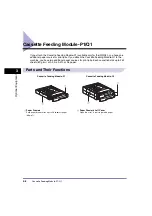


Card Reader-E1
3-19
3
O
p
ti
ona
l E
q
u
ipm
ent
Card Reader-E1
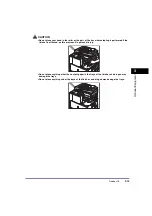
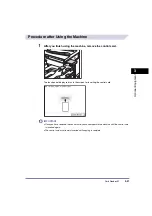
If the Card Reader-E1 is attached to the machine, you must insert a control card to operate it.
The Card Reader-E1 performs Department ID Management automatically.
IMPORTANT
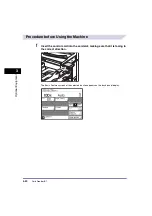
If User ID Management is set to ‘On’, enter your card number in the card ID field. See the Remote UI
Guide for details.
NOTE
•
If the Basic Features screen does not appear on the touch panel display when the control card is
inserted, make sure that:
- The control card is inserted in the correct direction.
- The control card is inserted as far as it can go.
- An unusable control card is not inserted. (For example, cards which are damaged or cards prohibited
from use.)
•
Insert a usable control card correctly.
•
For instructions on turning the power ON, see “Main Power and Control Panel Power,” on p. 1-16.
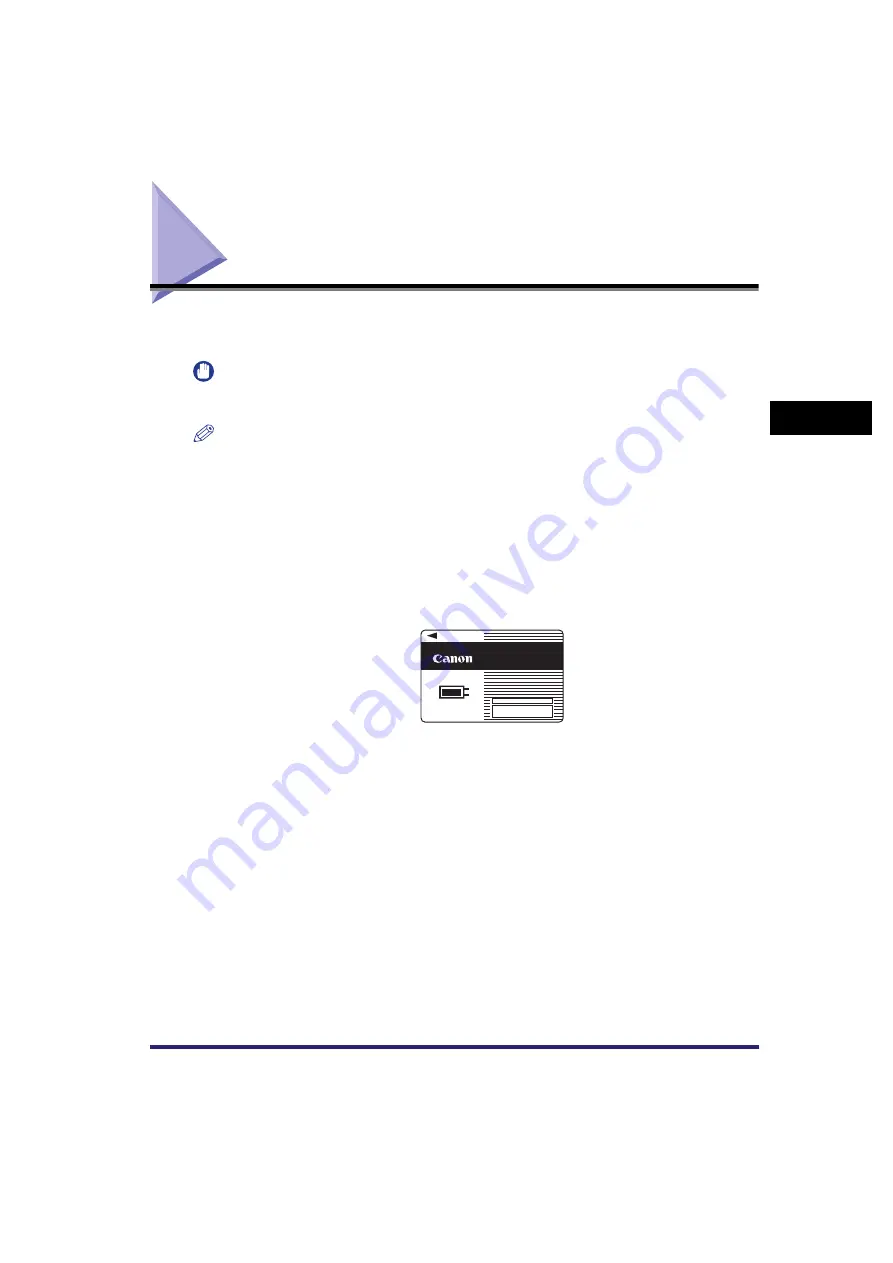
•
If the Card Reader-E1 is attached, the type of card shown below can be used. A magnetic type card can
manage up to 1,000 departments.
CONTROL CARD
1 2 3
Magnetic Type Card
Summary of Contents for iR2018i
Page 2: ...iR2030 iR2025 iR2022i iR2018i Reference Guide 0 Ot ...
Page 115: ...Available Paper Stock 2 58 2 Basic Operations ...
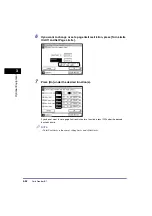
Page 144: ...Card Reader E1 3 29 3 Optional Equipment 11 Press OK ...
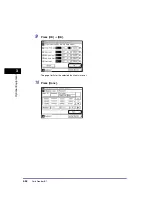
Page 151: ...Card Reader E1 3 36 3 Optional Equipment 4 Press Done 5 Press OK ...
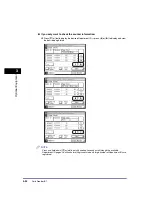
Page 154: ...Card Reader E1 3 39 3 Optional Equipment 5 Press Done 6 Press OK ...
Page 241: ...Cleaning and Adjusting the Machine 4 86 4 Customizing Settings ...
Page 443: ...Index 9 16 9 Appendix ...