


●
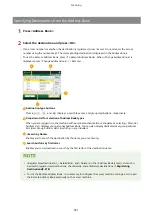
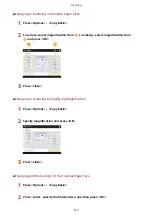
Press
when there are multiple send jobs to display the screen for selecting the send job to cancel. If the
send job you want to cancel is not displayed, press <Check Other Jobs> to display <Send Jobs>. Select the job
that you want to cancel, and press <Cancel>.
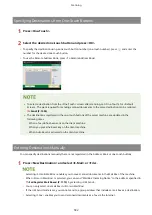
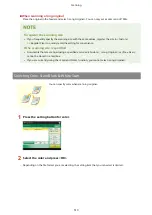
To check the statuses for sent/saved documents
●
On the <Status Monitor> screen, you can check the statuses for sent/saved documents. This screen enables
you to send/save documents again or cancel sending/saving after checking the statuses. Checking Status
and Log for Scanned Documents(P. 517)
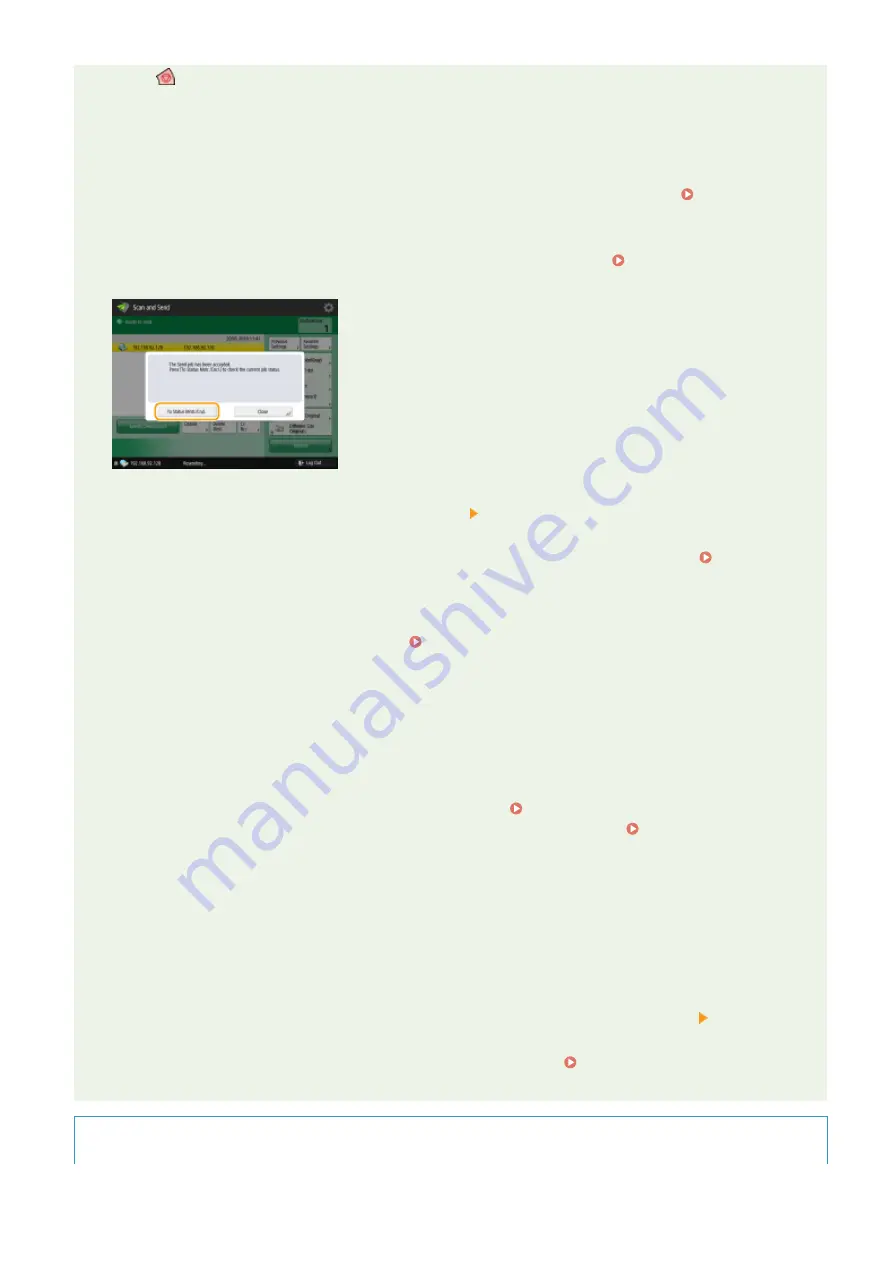
●
When <Display Notification When Job Is Accepted> is set to <On>, the <Status Monitor> screen can be
displayed from the following screen that is shown after a send job is received. <Display Notification
When Job Is Accepted>(P. 1100)
TX ReportTX Report
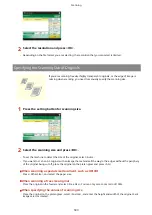
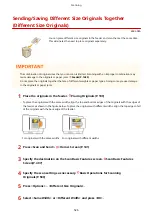
To print the report for the results of sending/saving
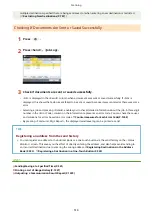
●
On the Scan Basic Features screen, pressing <Options> <TX Report> enables you to set to automatically
print the report listing the results of sending/saving.
●
To set this for each job from <Options>, it is necessary to select <For Error Only> or <Off> in <TX
Report>(P. 1095) , and then set <Allow Printing from Options> to <On>.
File name
When a file is sent/saved, its file name is automatically set based on the following format. You can change the
setting so that a different name can be assigned. Setting a File Name(P. 557)
●
When sending by e-mail
"Job numbers (four digits)_page numbers (three digits).file extension name" format, such as "1042_001.jpg"
●
When saving in a file server
"The year, month, day, hour, minute, and second the file is saved (14 digits).file extension name" format,
such as "20151030133541.jpg"
E-mail subject
●
The subject entered in <Default Subject> is automatically set ( <Default Subject>(P. 1102) ). If you specify
a different subject, change the setting, or specify each time you send an e-mail ( Specifying E-Mail
Settings(P. 559) ).
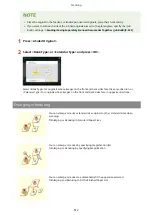
Detect Feeder Multi Sheet Fd.Detect Feeder Multi. Sheet Feed
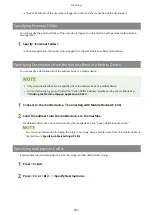
When multiple sheets are fed
●
Scanning is stopped and the message is displayed on the screen. Follow the instructions to clear the jam.
When you have cleared the jam, the resume job screen is displayed. If the machine mistakenly detects
multiple sheet feeding, press <Do Not Detect Multi. Sheet Feed> to resume scanning.
●
To set the machine in advance to not notify you of multiple sheet feeding, perform one of the following
operations.
- Each time you send/save a document, press <Options> on the Scan Basic Features screen select <Detect
Feeder Multi Sheet Fd.> to disable the setting.
Sheet Feed as Default>(P. 1084) ).
TIPS
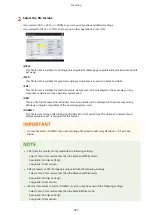
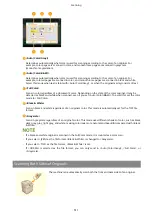
Orig. Content OrientationOrig. Content Orientation
Scanning
515
Summary of Contents for imageRUNNER ADVANCE C5535i III
Page 16: ...Setting Advanced Box to Public 79 Connecting to the Other Devices 84 Setting Up 2 ...
Page 37: ...LINKS Adapting to the Network Environment P 43 Setting Up 23 ...
Page 65: ...4 Press OK 5 Press Yes Setting Up 51 ...
Page 87: ...LINKS Faxing P 384 Options P 1513 Setting Up 73 ...
Page 119: ...Basic Operations 105 ...
Page 176: ...Starting the Remote UI P 784 Basic Operations 162 ...
Page 184: ...LINKS Hardware Specifications P 1485 Basic Operations 170 ...
Page 222: ... If you do not want to register settings select Unassigned Basic Operations 208 ...
Page 229: ...4 Press OK Basic Operations 215 ...
Page 279: ...7 Press Copying starts Copying 265 ...
Page 294: ...8 Press Start Copying Copying starts Copying 280 ...
Page 298: ... Copying starts Copying 284 ...
Page 322: ...8 Press Copying starts LINKS Making Booklets Booklet Copying P 299 Copying 308 ...
Page 337: ... Copying starts LINKS Inserting Sheets and Chapter Pages Insert Sheets P 317 Copying 323 ...
Page 344: ... Maximum number of job blocks that can be scanned 100 Copying 330 ...
Page 359: ...7 Select the number of sheets and press OK 8 Press Copying starts Copying 345 ...
Page 461: ...3 Click General Settings 4 Click Add Destination Faxing 447 ...
Page 513: ...LINKS Registering Destinations P 218 Scanning 499 ...
Page 543: ...Erasing Dark Borders When Scanning Erase Frame P 523 Scanning 529 ...
Page 549: ...Specifying E Mail Settings P 559 Scanning 535 ...
Page 641: ... N on 1 Print Comments Password to Open Doc Skip Blank Pages Using Storage Space 627 ...
Page 665: ...6 Click Fax Fax sending starts Linking with Mobile Devices 651 ...
Page 747: ...LINKS Specifying IP Addresses in Firewall Settings P 729 Managing the Machine 733 ...
Page 752: ...4 Press Apply Set Changes Yes Managing the Machine 738 ...
Page 782: ...LINKS Configuring the Forced Hold Printing Settings P 761 Managing the Machine 768 ...
Page 787: ...Restricting Copying Using a QR Code P 355 Managing the Machine 773 ...
Page 801: ...Settings Registration P 905 Managing the Machine 787 ...
Page 806: ...Starting the Remote UI P 784 Managing the Machine 792 ...
Page 1124: ... The reception speed set in RX Start Speed RX Start Speed P 1117 Settings Registration 1110 ...
Page 1237: ...6 Press OK Maintenance 1223 ...
Page 1453: ...Managing MEAP Applications P 1443 Managing MEAP Application Licenses P 1448 Appendix 1439 ...
Page 1507: ...Appendix 1493 ...
Page 1580: ...5 Close the right cover of the machine Appendix 1566 ...
Page 1595: ... 5 iproute 284 Squid 295 gst plugins base 341 webkit 352 ...
Page 1650: ... 60 libjpeg this software is based in part on the work of the Independent JPEG Group ...
Page 1663: ... 73 MD4 RSA Data Security Inc MD4 Message Digest Algorithm ...
Page 1850: ... 260 This file is distributed without any expressed or implied warranty ...
Page 2019: ...introduced by others ...


