11-9
S
yst
em M
anager S
ettings
Department ID Management
14
14
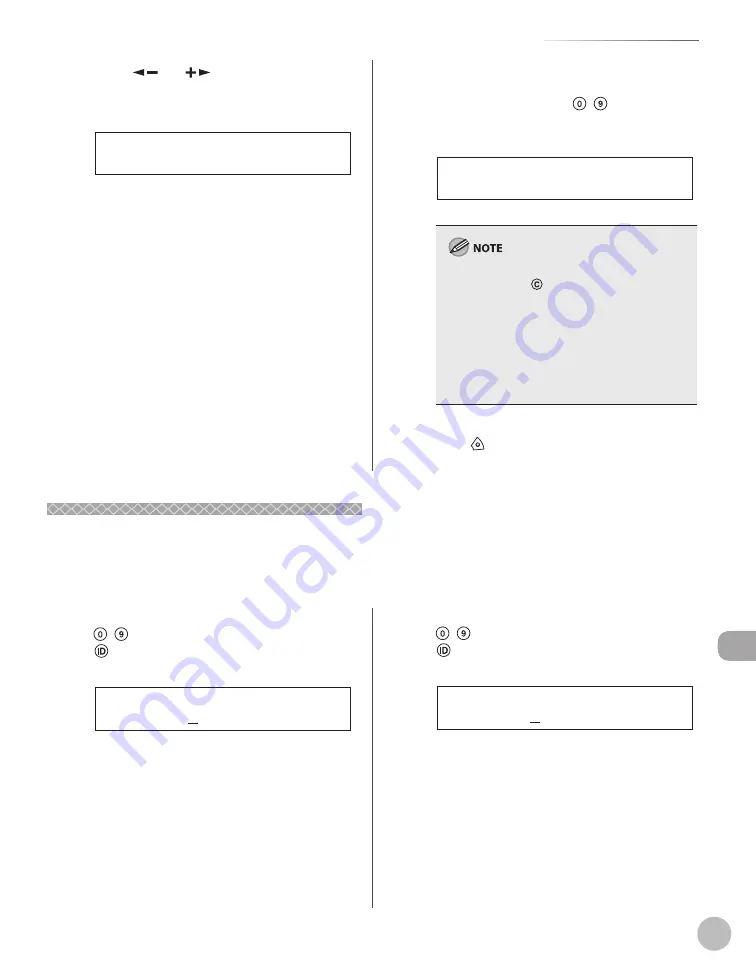
Press
[
] or [
] to select <PAGE
TOTALS> (when <TOTAL PRINT> is
selected), then press [OK].
2 . P A G E T O T A L S
T O T A L P R I N T
The message displayed will vary depending on
which function you selected in step 11.
Example: <COPY LIMIT> appears when <COPY>
is selected.
Procedure before Using the Machine
Procedure before Using the Machine
If <MANAGE DEPT.ID> (Department ID Management) is set to <ON> in <SYSTEM SETTINGS>, you must enter
your department ID and password to be able to operate the machine. For details on Department ID
Management, see “Department ID Management,” on p. 11-7.
15
15
Enter the maximum number of pages
that can be made by the registered
Department ID, using – [numeric
keys], then press [OK].
0 0 5 0 0 0
P A G E T O T A L S
Ex.
If you make a mistake when entering a number,
press and hold
[Clear] to clear the entire
number, then enter the correct number.
You can set the page limit from 0 to 999,999
pages. Once a page limit is reached, copying,
scanning, or printing is not possible.
The page limit refers to the number of printed
surfaces. Therefore, a two-sided print is counted
as two pages.
–
–
–
16
16
Press [Stop] to return to the standby
mode.
1
Enter the Department ID using
– [numeric keys], then press [OK] or
[Log In/Out].
1 2 3 X X X X
E N T E R D E P T . I D
Ex.
2
Enter the password ID using
– [numeric keys], then press [OK] or
[Log In/Out].
1 1 1 X X X X
D E P T . I D P A S S W O R D
Ex.
The standby display appears.
Summary of Contents for imageRUNNER 1025
Page 90: ...Copying 4 3 Overview of Copy Functions p 4 17 p 4 19 p 4 25 ...
Page 93: ...Copying 4 6 Canceling Copy Jobs 5 Press Stop to return to the standby mode ...
Page 118: ...Copying 4 31 Erasing Shadows Lines Platen Glass C D A B A LEFT B RIGHT C TOP D BOTTOM ...
Page 123: ...Copying 4 36 ...
Page 193: ...Fax imageRUNNER 1025iF Only 5 70 ...
Page 196: ...E Mail imageRUNNER 1025iF Only 6 3 Overview of E Mail Functions ...
Page 201: ...E Mail imageRUNNER 1025iF Only 6 8 ...
Page 204: ...Printing 7 3 Overview of the Print Functions p 7 7 p 7 10 p 7 9 ...
Page 216: ...Scanning 8 3 Overview of the Scanner Functions ...
Page 231: ...Settings from a PC 10 6 ...
Page 265: ...12 16 Maintenance ...
Page 315: ...14 32 Machine Settings ...


