


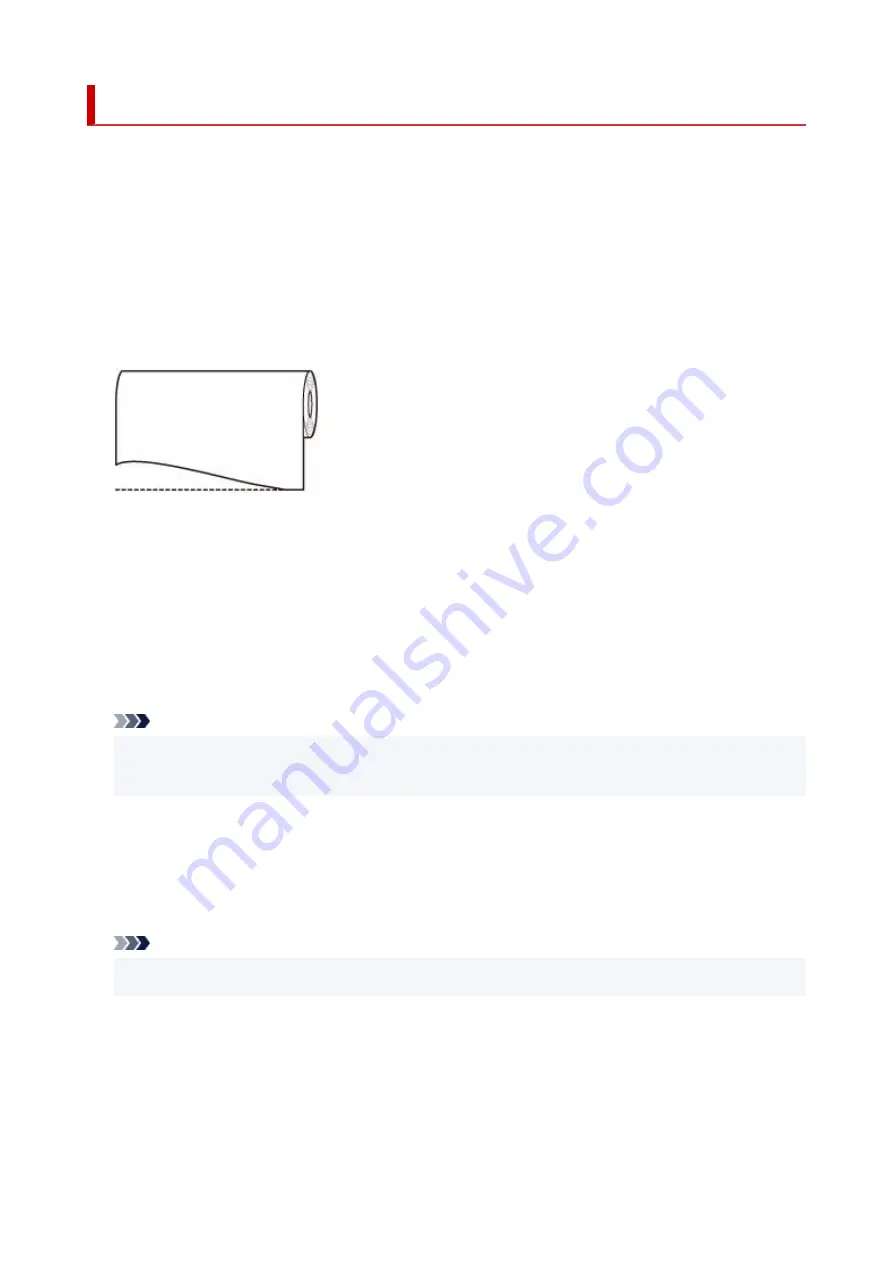
Cutting the Leading Edge of Roll Paper Automatically
If the leading edge of the paper is cut crooked or is not cut straight when roll paper is loaded, it will not print
correctly. If this happens, you can cut the leading edge of the paper straight when loading a paper roll by
using
Trim edge first
in the touch screen menu.
The following settings are available for
Trim edge first
.
•
Auto
•
If the leading edge of the paper is cut crooked and is not cut straight when loading roll paper, cut the
leading edge straight and eject the fragment of paper to prevent printing on the platen and soiling the
printer.
•
On(Preset Length)
•
The amount to cut from the leading edge of the paper varies depending on the media type and is cut to
a prescribed length. For the leading edge precut length, see "Paper Information List".
•
On(Input Length)
•
Specify the amount to cut from the leading edge of paper on the touch screen. The amount to cut from
the leading edge can be specified in the range of lengths that appear on the touch screen. The range of
lengths differs according to the media type.
Note
• The amount to cut from the leading edge of paper cannot be set shorter than the length that
•
appears on the touch screen.
•
Manual
•
The amount to cut from the leading edge of paper can be adjusted by using the touch screen.
To cut the paper after adjusting, tap
Cut paper
and
Yes
.
After cutting the paper, tap
Complete paper loading
.
Note
• If you do not tap
Complete paper loading
after cutting the paper, you cannot print the next job.
•
•
Off
•
The edge is not cut and scraps are not removed.
Follow these steps to change the
Trim edge first
setting.
135
Summary of Contents for ImagePrograf GP-4000
Page 1: ...Online Manual English GP 4000 GP 2000 GP 540 GP 520 ...
Page 41: ...Printer Parts Front Back Top Cover Inside Carriage Ink Tank Cover Inside Operation Panel 41 ...
Page 51: ...Optional accessories Stand Stand Parts Roll Unit Parts of the Roll Unit Roll Holder Set 51 ...
Page 66: ...4 Send the print job 4 Printing in Windows Printing from macOS Start printing 66 ...
Page 73: ...Note The screen may differ slightly depending on the model you are using 73 ...
Page 75: ...Pausing Printing Pausing Printing 75 ...
Page 110: ...3 Check the entered length and tap OK 3 110 ...
Page 138: ...5 Tap Cut dust reduction 5 6 Tap ON 6 138 ...
Page 151: ...151 ...
Page 152: ...Basket Using the Basket Example Basket Configurations Storing the Basket 152 ...
Page 163: ...163 ...
Page 214: ...Preparing to Transfer the Printer 214 ...
Page 273: ...3 Select OK 3 The resending setting is completed 273 ...
Page 309: ... XX represents alphanumeric characters 309 ...
Page 329: ...Adjusting Feed Amount Adjusting Feed Amount Adjusting Vacuum Strength 329 ...
Page 349: ...Performing Color Calibration 349 ...
Page 355: ...Note For instructions on replacing the ink tanks see Replacing Ink Tanks 355 ...
Page 369: ...Note If the ink lamp is not lit reload the tank 7 Close ink tank cover 7 369 ...
Page 376: ...Cleaning the Print Head 376 ...
Page 379: ...Checking for Nozzle Clogging 379 ...
Page 394: ...394 ...
Page 397: ...Cutter Blade Cutter Blade Replacing the Cutter Blade 397 ...
Page 430: ...Specifications Specifications Print Area 430 ...
Page 491: ...Adjusting Color Balance Adjusting Brightness Adjusting Contrast 491 ...
Page 496: ...Related Topic Interpreting the ICC Profile 496 ...
Page 550: ...Printing from Printer Printing Data Saved on USB Flash Drive 550 ...
Page 572: ...Printer Driver Windows Printer Driver macOS Printer Driver 572 ...
Page 589: ...Adjusting Color Balance Adjusting Brightness Adjusting Contrast 589 ...
Page 600: ...Specify Fluorescent Colors and Print 600 ...
Page 623: ...3 Select Save in Job Box in Output Method 3 623 ...
Page 624: ...624 ...
Page 636: ...5 In the list select the target job 5 6 Select Edit 6 7 Select Delete 7 8 Select Yes 8 636 ...
Page 670: ...4 Lift up the release lever 4 670 ...
Page 672: ...8 Turn on the power to the printer 8 Turning the Printer On and Off 672 ...
Page 698: ...4913 698 ...
Page 709: ...Cleaning the Printer Exterior 709 ...
Page 711: ...Move the printer to a different environment or let the paper dry before rolling it 711 ...
Page 773: ... A000 to ZZZZ B20A B510 773 ...
Page 801: ...1201 Cause The ink tank cover is open What to Do Close the ink tank cover 801 ...
Page 802: ...1210 Cause The ink tank cover is open What to Do Close the ink tank cover 802 ...
Page 834: ...1500 Cause The ink in the ink tank is running low What to Do Prepare a new ink tank 834 ...


