Loading Sheets in the Printer
Follow these steps to load sheets in the printer.
Important
• One sheet of paper can be loaded in the feed slot at a time. Do not load more than one sheet at a time.
•
This may cause paper jams.
• Before feeding paper or printing, make sure the sheet is flat against the roll paper cover. The sheet may
•
jam if it curls before feeding or printing and the trailing edge drops toward the front.
• Paper that is wrinkled or warped may jam. If necessary, straighten the paper and reload it.
•
• Load the paper straight. Loading paper askew will cause an error. (See "
•
Note
• Before loading cut sheets, check whether or not the inside of the top cover or the output guide is
•
soiled. If these areas are dirty, we recommend cleaning them in advance. (See "
• Store unused paper in the original package, away from high temperature, humidity, and direct sunlight.
•
1.
Select sheets as the paper source.
1.
•
If a print job was received
•
Sheets are automatically selected, and the media type and size specified by the print job are
shown on the operation panel.
Tap
OK
and
Load paper
.
•
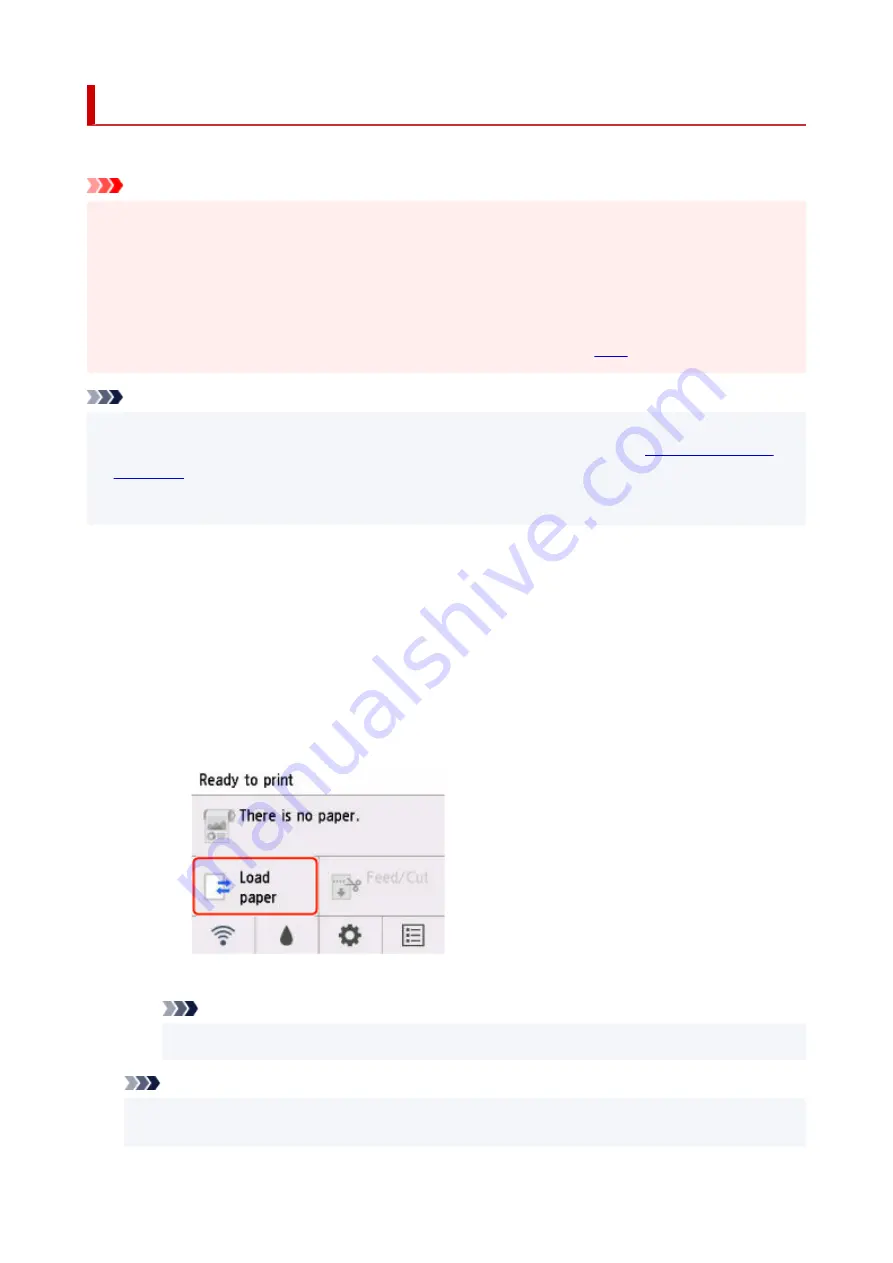
If no print job was received
•
1. Tap
Load paper
or
Replace paper
.
1.
2. Tap
Load cut sheet
or
Replace cut sheet
.
2.
Note
• If the Home screen does not appear, press the
HOME
button.
•
Note
• If any paper has been advanced that will not be used, a message is shown requesting you to
•
remove it.
120
Summary of Contents for imagePROGRAF GP-300
Page 1: ...GP 300 GP 200 GP 5300 GP 5200 Online Manual English ...
Page 17: ...B510 840 ...
Page 50: ...Optional accessories Stand Roll Holder Set 50 ...
Page 59: ...Start printing Important Do not move the release lever during printing 59 ...
Page 68: ...Note The screen may differ slightly depending on the model you are using 68 ...
Page 70: ...Pausing Printing Pausing Printing 70 ...
Page 86: ...86 ...
Page 117: ...5 Tap ON 5 117 ...
Page 127: ...127 ...
Page 128: ...Basket Using the Basket 128 ...
Page 192: ...Data on the hard disk are erased 192 ...
Page 222: ...3 Select OK 3 The resending setting is completed 222 ...
Page 282: ...Adjusting Feed Amount Adjusting Feed Amount Adjusting Vacuum Strength 282 ...
Page 298: ...Note For instructions on replacing the ink tanks see Replacing Ink Tanks 298 ...
Page 306: ...306 ...
Page 330: ...Cutter Blade Cutter Blade Replacing the Cutter Blade 330 ...
Page 346: ...346 ...
Page 357: ...Specifications Specifications Print Area 357 ...
Page 404: ...Adjusting Color Balance Adjusting Brightness Adjusting Contrast 404 ...
Page 460: ...Printing from Printer Printing Data Saved on USB Flash Drive 460 ...
Page 482: ...Printer Driver Windows Printer Driver macOS Printer Driver 482 ...
Page 499: ...Adjusting Color Balance Adjusting Brightness Adjusting Contrast 499 ...
Page 530: ...3 Select Save in Job Box in Output Method 3 530 ...
Page 531: ...531 ...
Page 543: ...5 In the list select the target job 5 6 Select Edit 6 7 Select Delete 7 8 Select Yes 8 543 ...
Page 558: ...Media Type Selection does not Match Loaded Media Type 558 ...
Page 583: ...583 ...
Page 618: ...Cleaning the Printer Exterior 618 ...
Page 620: ...Move the printer to a different environment or let the paper dry before rolling it 620 ...
Page 691: ...1201 Cause The ink tank cover is open What to Do Close the ink tank cover 691 ...
Page 692: ...1210 Cause The ink tank cover is open What to Do Close the ink tank cover 692 ...
Page 718: ...1500 Cause The ink in the ink tank is running low What to Do Prepare a new ink tank 718 ...
Page 791: ...Contact your Canon dealer for assistance 791 ...


