4
4
4-199
4-199
Parts Replacement and Cleaning > Periodic Replacing Parts, Durable Parts, Cleaning Parts > Installing the drum cleaning blade > When replacing the blade with a new one
Parts Replacement and Cleaning > Periodic Replacing Parts, Durable Parts, Cleaning Parts > Installing the drum cleaning blade > When replacing the blade with a new one
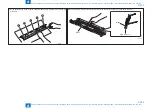
Installing the drum cleaning blade
■
When replacing the blade with a new one
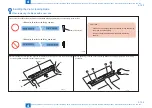
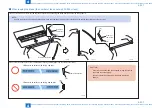
1) Check that the surface side of the blade to be installed is facing upward (judge it by the stamp of the lot No.).
D81208125
D81208125
D81208125
D81208125
Stamp of the lot No.
<Blade with its surface side facing upward.>
<Blade with its surface side facing downward.>
F-4-405
CAUTION:
• If the surface and back sides are mistaken, image failure may
occur due to toner slipping.
• Be sure to install the blade with its surface side facing
upward.
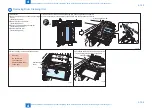
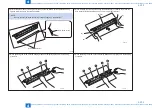
2) When installing the cleaning blade, align the both sides [A] of cleaning cover with the both sides [B]
of cleaning blade, and push it to rear [C] part to install.
[A]
[A]
[B]
[B]
[C] part
F-4-406
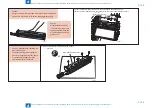
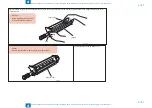
3) When tightening the screw, hold the cleaning blade and temporary tighten it in the following
procedure.
F-4-407
Summary of Contents for imagePRESS 1110
Page 242: ...3 3 Periodical Service Periodical Service Periodical service item ...
Page 655: ...5 5 Adjustment Adjustment Overview When replacing parts Major adjustment ...
Page 944: ...8 8 Service Mode Service Mode Overview COPIER FEEDER SORTER BOARD Situation Mode ...
Page 1555: ... Service Tools General Circuit Diagram General Timing Chart Operator Maintenance Appendix ...


