Fax
5-25
Sending Fax Documents
1
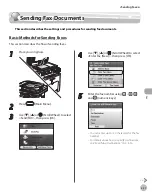
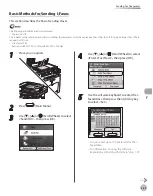
Place your originals.
2
Press
(Main Menu).
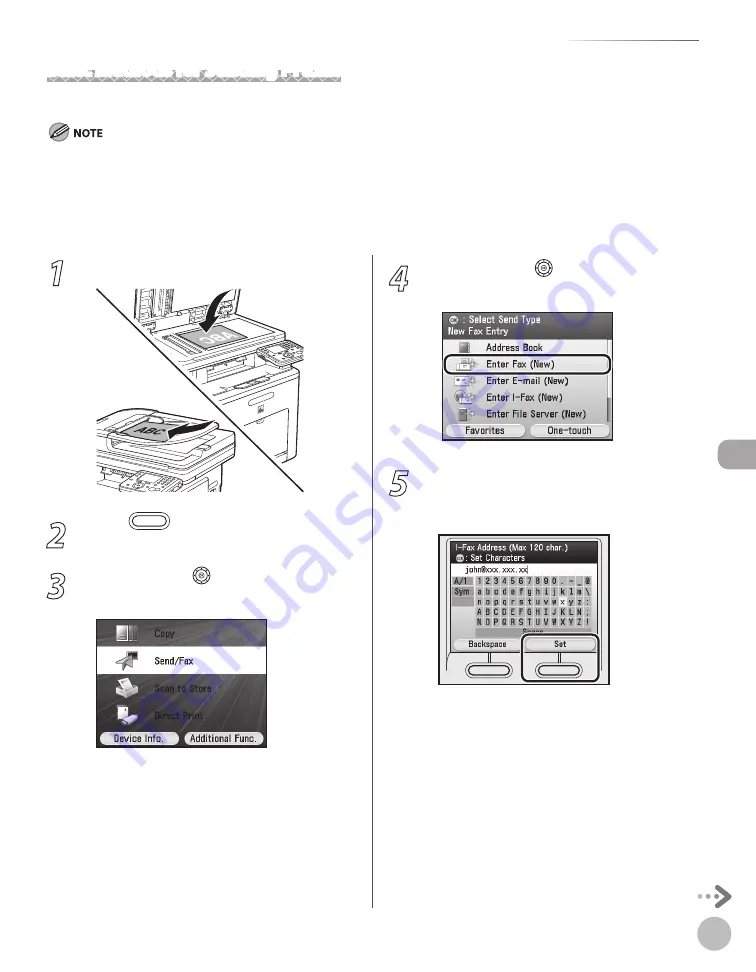
3
Use [
▼
], [
▲
] or (Scroll Wheel) to select
<Send/FAX>, then press [OK].
4
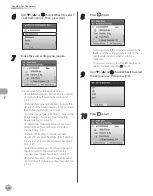
Use [
▼
], [
▲
] or (Scroll Wheel) to select
<Enter I-Fax (New)>, then press [OK].
5
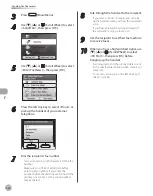
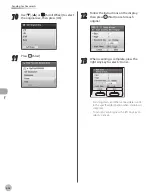
Use the software keyboard to enter the I-
fax address, then press the right Any key
to select <Set>.
You can enter up to 120 characters for the I-
fax address.
For information on using the software
keyboard, see “Entering Characters,” on p. 1-19.
–
–
Basic Methods for Sending I-Faxes
This section describes the flow of sending I-faxes.
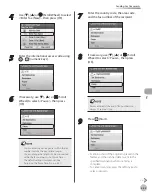
The following conditions are always selected:
Paper Size: LTR
This is because the sender does not know whether the recipient’s machine can receive sizes other than LTR. Originals larger than LTR are
reduced to LTR size.
File Format: TIFF
Resolution: B&W 200 × 100 dpi or B&W 200 × 200 dpi
–
–
–
Summary of Contents for imageCLASS MF8450c
Page 53: ...Before Using the Machine 1 28 Timer Settings ...
Page 129: ...3 52 Storing Editing One Touch Storing Editing Address Book ...
Page 132: ...Copying 4 3 Overview of Copy Functions p 4 22 p 4 30 p 4 36 ...
Page 201: ...Copying 4 72 Confirming and Canceling Copy Jobs Confirming Copy Logs ...
Page 204: ...Fax 5 3 Overview of Fax Functions p 5 30 p 5 47 p 5 54 p 5 49 p 5 112 p 5 104 ...
Page 346: ...E mail 6 3 Overview of E Mail Functions ...
Page 354: ...Printing 7 3 Overview of Print Functions p 7 9 p 7 10 p 7 7 ...
Page 381: ...Printing 7 30 Checking and Canceling Print Jobs Checking Print Logs ...
Page 384: ...Scanning 8 3 Overview of Scanner Functions ...
Page 391: ...Scanning 8 10 Basic Scanning Operations ...


