background image

Windows Vista  

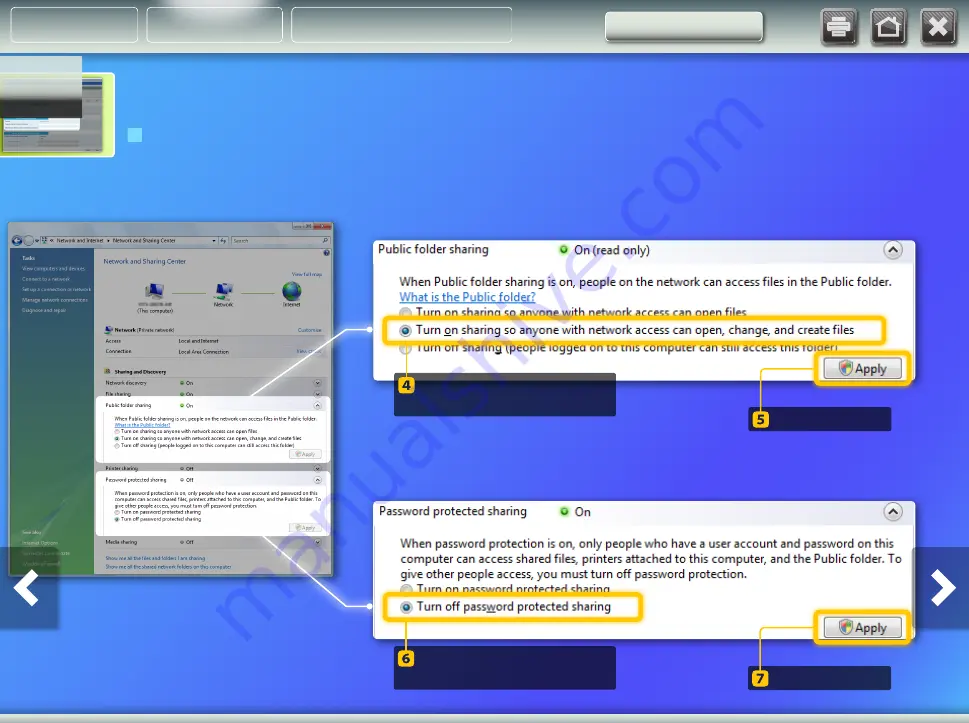
Setting up file sharing

  Creating a shared folder

Select the lower option.

Select the middle option.

Click [Apply].

Click [Apply].

Storing documents

About Buttons

Outline

Setting Up

Summary of Contents for imageCLASS MF5850dn

Page 1: ...erly by sending an e mail or storing a document in a shared folder Print Home Close ATTENTION Before you start make sure that the machine is connected to the network and is detected by the Send Functi...

Page 2: ...mation shown in the screenshots such as the e mail address and SMTP server address are for illustrative purposes only The actual screenshots you see on your computer may differ from the ones shown her...

Page 3: ...ayed See Use Send Function Setting Tool in the Starter Guide to start the Send Function Setting Tool If an error screen is displayed when you press the button Follow the instructions on the screen to...

Page 4: ...The one touch key number that you selected in step corresponds to the key on the operation panel Enter the e mail address of the person who will receive the scanned image E mail address registration...

Page 5: ...to check the SMTP server s address and its authentication method and how to enter the confirmed information in the Tool window What is SMTP If selected If not selected Click Properties NOTE For Window...

Page 6: ...rver settings are complete Proceed to the next section Enter your SMTP server name or address into the SMTP Server field NOTE You do not have to change the SMTP server settings here if they have alrea...

Page 7: ...selected Enter your SMTP server name or address into the SMTP Server field If the upper option is selected If the lower option is selected NOTE You do not have to change the SMTP server settings here...

Page 8: ...assword fields SMTP server settings are complete Proceed to the next section NOTE You cannot copy and paste the password Consult your network administrator for your password Checking SMTP server infor...

Page 9: ...and Password fields SMTP server settings are complete Proceed to the next section Checking SMTP server information NOTE You cannot copy and paste the password Consult your network administrator for y...

Page 10: ...hat the settings are correct Close the Send Function Setting Tool This section explains how to register the Send to E mail settings When this screen is displayed the settings are complete NOTE The inf...

Page 11: ...COLOR Confirm that the scanned image is sent to the destination e mail address Open your e mail software to check if the e mail was delivered Press Start When you place the documents on the platen gla...

Page 12: ...er with access restrictions see File Sharing with Access Restriction in the e Manual About the screenshots The information shown in the screenshots such as the computer name and shared folder name are...

Page 13: ...See Use Send Function Setting Tool in the Starter Guide to start the Send Function Setting Tool If an error screen is displayed when you press the button Follow the instructions on the screen to solv...

Page 14: ...touch key number 1 to 20 The numbers for one touch keys that have already been registered are not displayed The name you entered in step appears on the display when the one touch key is pressed 0 1 C...

Page 15: ...Windows Vista users For Windows 7 users For Windows 2000 Server 2003 Server 2008 users If you want to set up a shared folder without access restrictions in computers running Windows 2000 Server 2003 S...

Page 16: ...Properties Click the Computer Name tab Click Change Enter your computer name into the Computer Name of Store Destination field Windows XP Setting up file sharing Confirming the computer name What is t...

Page 17: ...tings select the Use simple file sharing Recommended check box 5 Click OK to close the Folder Options dialog box share Create a new folder on your desktop and enter a name for example share for the fo...

Page 18: ...sharing setup is complete Proceed to the next section These windows are only displayed the first time you open the dialog box If you are opening the dialog box for the second or subsequent time proce...

Page 19: ...t right click Computer then click Properties Click Change settings Enter the name of your computer into the Computer Name of Store Destination field Click Change Confirming the computer name What is t...

Page 20: ...ins how to set up file sharing using the Public folder On the Windows taskbar click the Start icon then select Control Panel Under Network and Internet click Set up file sharing Under Sharing and Disc...

Page 21: ...WindowsVista Setting up file sharing Creating a shared folder Select the lower option Select the middle option Click Apply Click Apply 02 Storing documents About Buttons Outline Setting Up...

Page 22: ...t Computer Open the hard disk drive where Windows Vista is installed usually C Drive WindowsVista Setting up file sharing Open the Users folder Open the Public folder Creating a shared folder 02 Stori...

Page 23: ...for example share share Enter public followed by the folder name you just created into the Shared Folder Name on Store Destination Computer field in this example public share File sharing setup is com...

Page 24: ...right click Computer then click Properties Click Change settings Click Change Enter the name of your computer into the Computer Name of Store Destination field Confirming the computer name What is the...

Page 25: ...d sharing settings On the Windows taskbar click the Start icon then select Control Panel Creating a shared folder This section explains how to set up file sharing using the Public folder Under Network...

Page 26: ...file sharing Under Public folder sharing select the upper option Click Save changes Creating a shared folder Under Password protected sharing select the lower option 02 Storing documents About Button...

Page 27: ...hard disk drive where Windows 7 is installed usually C Drive Open the Users folder Open the Public folder On the Windows taskbar click Start then select Computer Creating a shared folder 02 Storing d...

Page 28: ...r example share Enter users public followed by the folder name you just created into the Shared Folder Name on Store Destination Computer field in this example users public share File sharing setup is...

Page 29: ...on Make sure that the settings are correct Close the Send Function Setting Tool NOTE The information shown in the screenshots such as the computer name and shared folder name are for illustrative purp...

Page 30: ...Confirm that the document is stored in the shared folder Open the shared folder you created and check if the scanned document is saved Press Start When you place the documents on the platen glass pre...

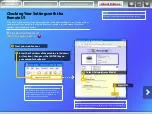
Page 31: ...er Enter the IP address of the machine in Address or Location then press the ENTER key on your computer keyboard NOTE Screenshots from Windows XP are used in this section CheckingYour Settings with th...

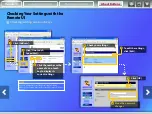
Page 32: ...lick Edit Click One touch Speed Dial NOTE If you are prompted to enter the password after clicking Address see Setting a Password for the Address Book in the e Manual CheckingYour Settings with the Re...

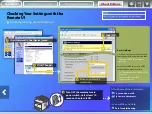
Page 33: ...Click Network in the Device menu Click Change Click OK Turn OFF the machine s main power switch wait at least 10 seconds then turn it ON After the machine is restarted Try to send an e mail Try to sto...

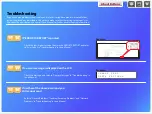
Page 34: ...Messages in Troubleshooting in the e Manual Refer to General Problems Sending Receiving Problems and Network Problems in Troubleshooting in the e Manual C H E C K S E T T I N G S C A N N O T S E N D...

Reviews: