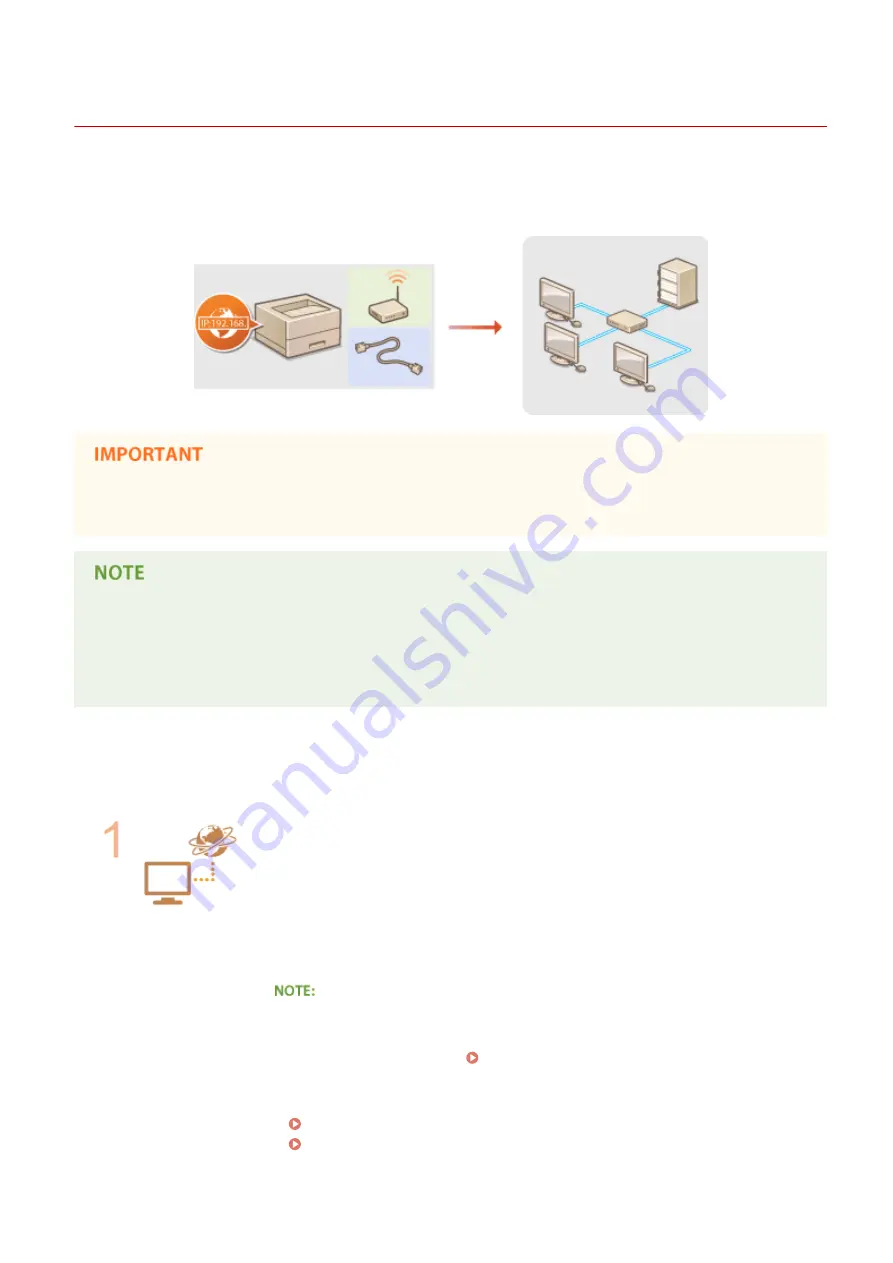
Connecting to a Network
0W20-02S
When connecting the machine to a wired or wireless local area network (LAN), you need to set an IP address unique to
the selected network. Select "wired" or "wireless" depending on your communication environment and networking
devices. For specific IP address settings, contact your Internet service provider or Network Administrator.
●
If the machine is connected to an unsecured network, your personal information might be leaked to a third
party.
●
The machine cannot connect to both wired and wireless LANs at the same time.
●
The machine does not come with a LAN cable or router. Have them ready as necessary.
●
For more information about your networking devices, see the instruction manuals for the devices or contact
your manufacturer.
◼
Before You Start
Follow these steps to connect the machine to a network.
Check your computer settings.
●
Make sure that the computer is correctly connected to the network. For more
information, see the instruction manuals for the devices you are using, or contact the
device manufacturers.
●
Make sure that the network settings have been completed on the computer. If the
network has not been set up properly, you will not be able to use the machine on the
network, even if you perform the rest of the procedure below.
●
Depending on the network, you may need to change settings for the
communication method (half-duplex/full-duplex) or the Ethernet type (10BASE-T/
100BASE-TX/1000BASE-T) ( Configuring Ethernet Settings(P. 177) ). For more
information, contact your Internet service provider or Network Administrator.
●
To check the MAC address of the machine.
Network
132
Summary of Contents for imageclass LBP251dw
Page 1: ...LBP252dw LBP251dw User s Guide USRMA 0786 00 2016 06 en Copyright CANON INC 2015 ...
Page 35: ...LINKS Using the Operation Panel P 30 Basic Operations 29 ...
Page 69: ...Exiting Sleep Mode Press any key on the operation panel Basic Operations 63 ...
Page 75: ...Printing 69 ...
Page 83: ...LINKS Basic Printing Operations P 70 Checking the Printing Status and Log P 78 Printing 77 ...
Page 117: ...LINKS Printing via Secure Print P 112 Printing 111 ...
Page 122: ...Checking the Printing Status and Log P 78 Printing 116 ...
Page 178: ...3 Click OK 4 Click Close LINKS Setting Up Print Server P 173 Network 172 ...
Page 233: ...LINKS Configuring Printer Ports P 168 Security 227 ...
Page 316: ...0 Auto Shutdown is disabled 1 to 4 to 8 hr Setting Menu List 310 ...
Page 355: ...Troubleshooting 349 ...
Page 470: ...Appendix 464 ...
Page 478: ...Manual Display Settings 0W20 08J Appendix 472 ...


