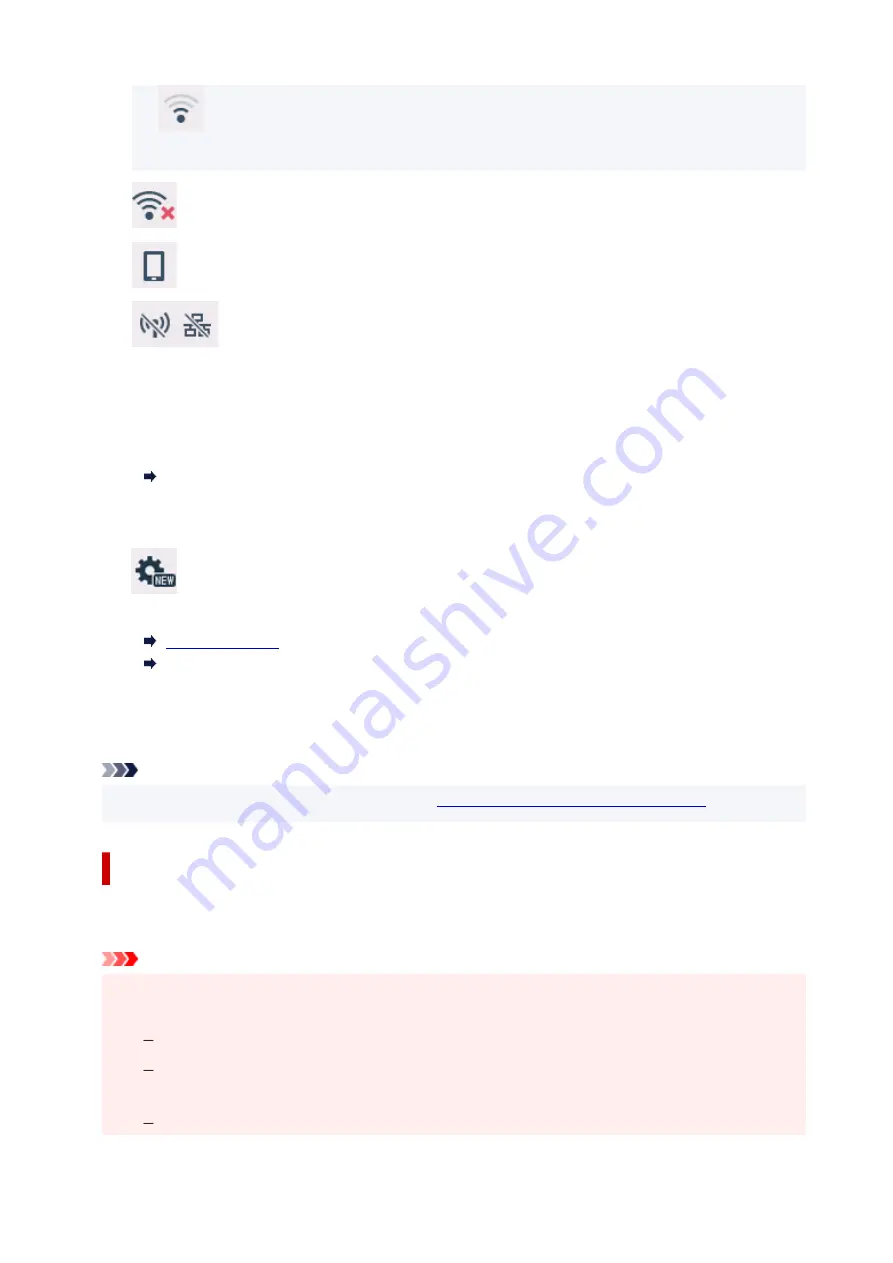
(Signal strength: 50 % or less): The problem such as the printer cannot print may occur.
Place the printer near the wireless router.
Wi-Fi is enabled but the printer is not connected to the wireless router.
Wireless Direct is enabled.
Network is disabled.
C: Wireless connect
Select to connect the printer to a smartphone/tablet over Wi-Fi through Easy wireless connect.
Tap this button to display a confirmation screen for starting a connection. Touch and hold this button
to switch to the standby mode for Easy wireless connect.
Easy wireless connect
D: Setup
Displays the printer's setting menus or the maintenance menus.
(NEW) appears when there is an update notification or information from PIXMA/MAXIFY
Cloud Link.
Using PIXMA/MAXIFY Cloud Link
E: Hint
Displays quick guides about such procedures as loading paper and troubleshooting and such
information as estimated ink level and system information.
Note
• For details on how to change settings, refer to
Changing Settings from Operation Panel
Basic Operation of the touch screen
Touch the touch screen lightly with your finger tip or move your finger to access various functions or
settings.
Important
• When operating the touch screen, make sure to avoid the followings, which may cause the printer to
malfunction or damage the printer.
Strongly pressing the touch screen.
Pressing the touch screen with other than your finger (especially with sharpened tips, such as
on ballpoint pens, pencils, or nails).
Touching the touch screen with wet or dirty hands.
176
Summary of Contents for GX6040
Page 1: ...GX6000 series Online Manual English ...
Page 85: ...Inserting a USB Flash Drive Inserting a USB Flash Drive Removing a USB Flash Drive 85 ...
Page 88: ...Refilling Ink Tanks Refilling Ink Tanks Checking Ink Level Ink Tips 88 ...
Page 100: ... For macOS Adjusting Print Head Position 100 ...
Page 113: ...14 When confirmation message appears select OK 113 ...
Page 129: ...129 ...
Page 132: ...Safety Safety Precautions Regulatory Information WEEE EU EEA 132 ...
Page 157: ...157 ...
Page 160: ...Main Components and Their Use Main Components Power Supply Using Touch Screen 160 ...
Page 161: ...Main Components Front View Rear View Inside View Operation Panel 161 ...
Page 178: ...Use to view lists of items or move sliders 178 ...
Page 185: ...For more on setting items on the operation panel Setting Items on Operation Panel 185 ...
Page 241: ...Printing Using Canon Application Software Easy PhotoPrint Editor Guide 241 ...
Page 266: ...Note To set the applications to integrate with see Settings Dialog 266 ...
Page 268: ...Scanning Multiple Documents at One Time from the ADF Auto Document Feeder 268 ...
Page 270: ...Scanning Tips Positioning Originals Scanning from Computer 270 ...
Page 291: ...If the problem is not resolved click here and redo setup 291 ...
Page 302: ...Other Network Problems Checking Network Information Restoring to Factory Defaults 302 ...
Page 334: ...Scanning Problems macOS Scanning Problems 334 ...
Page 335: ...Scanning Problems Scanner Does Not Work Scanner Driver Does Not Start 335 ...
Page 348: ...Errors and Messages When Error Occurred Message Support Code Appears 348 ...
Page 371: ...5 Attach rear cover Push in the rear cover until it is closed completely 371 ...


