


Transporting Your Printer
When relocating the printer, make sure of the following.
Important
• You cannot take ink out of ink tanks.
• Check if the tank cap is completely inserted. If the ink tank cover is not completely closed, insert the
tank cap properly.
• With the cartridge left installed in the printer, press the
ON
button to turn off the power. This allows the
printer to automatically cap the print head, thus preventing it from drying.
• Do not remove the cartridge. Ink may leak.
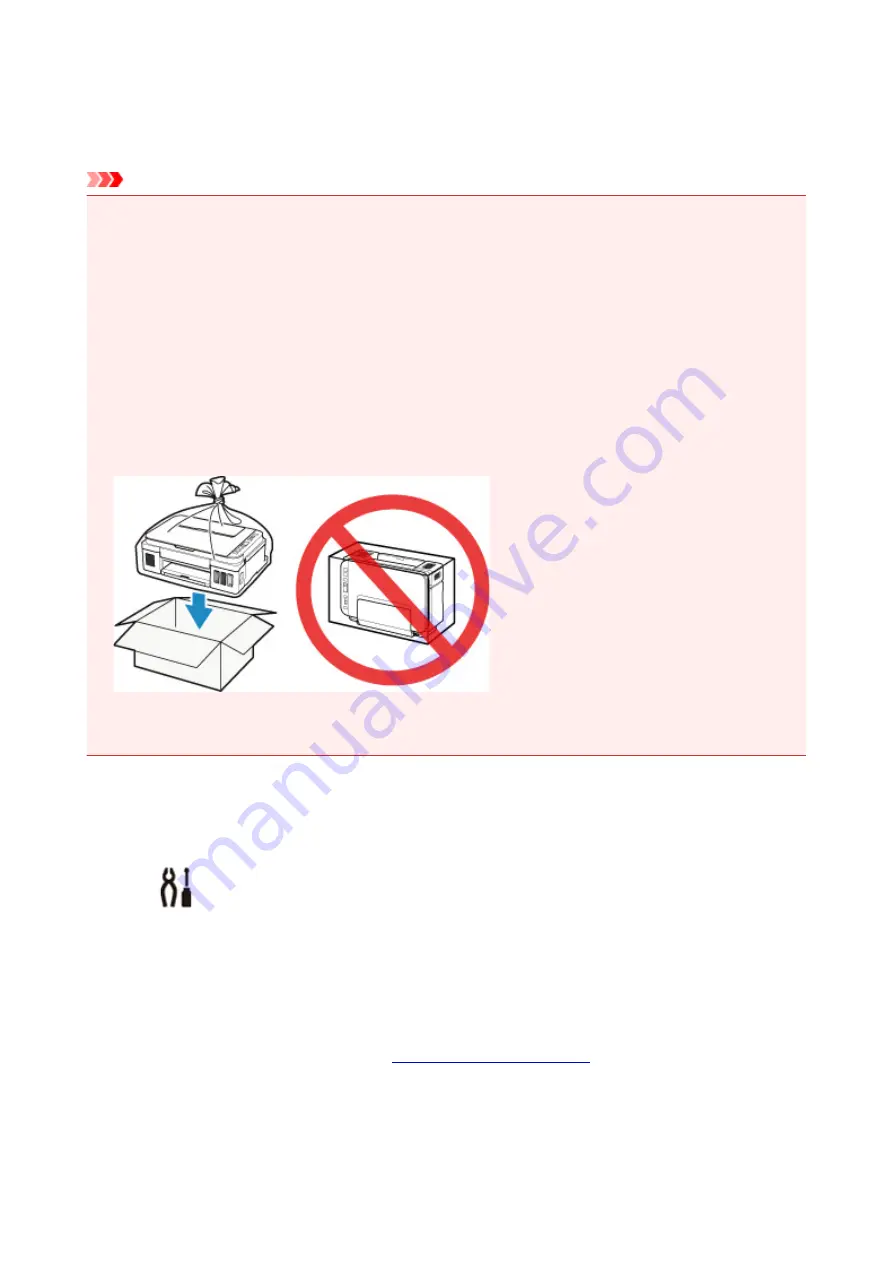
• When transporting the printer, pack the printer in a plastic bag so that ink does not leak.
• Pack the printer in a sturdy box so that it is placed with its bottom facing down, using sufficient
protective material to ensure safe transport.
• Do not tilt the printer. Ink may leak.
• When a shipping agent is handling transport of the printer, have its box marked "THIS SIDE UP" to
keep the printer with its bottom facing down. Mark also with "FRAGILE" or "HANDLE WITH CARE".
• Please handle with care and ensure the box remains flat and NOT turned upside down or on its side, as
the printer may be damaged and ink in the printer may leak.
1. Make sure that the power is turned on.
2. Press the
Setup
button.
The
(
Setup
) icon and "1" appear on the LCD.
3. Press the
+
button until "4" appears on the LCD.
4. Press the
Black
button or the
Color
button.
5. Confirm that the
ON
.
105
Summary of Contents for G3411
Page 8: ...5012 352 5100 353 5200 354 5B00 355 6000 356 ...
Page 49: ...Handling Paper Originals Ink Tanks etc Loading Paper Loading Originals Refilling Ink Tanks 49 ...
Page 50: ...Loading Paper Loading Plain Paper Photo Paper Loading Envelopes 50 ...
Page 58: ...Loading Originals Loading Originals on the Platen Glass Supported Originals 58 ...
Page 62: ...Refilling Ink Tanks Refilling Ink Tanks Checking Ink Level Ink Tips 62 ...
Page 89: ...Safety Safety Precautions Regulatory Information WEEE EU EEA 89 ...
Page 109: ...Main Components and Their Use Main Components Power Supply Indication of LCD 109 ...
Page 110: ...Main Components Front View Rear View Inside View Operation Panel 110 ...
Page 148: ...Printing Printing from Computer Printing from Smartphone Tablet 148 ...
Page 163: ...Note Selecting Scaled changes the printable area of the document 163 ...
Page 179: ...In such cases take the appropriate action as described 179 ...
Page 217: ...Scanning Scanning from Computer Windows Scanning Using Smartphone Tablet 217 ...
Page 221: ...Note To set the applications to integrate with see Settings Dialog Box 221 ...
Page 231: ...ScanGear Scanner Driver Screens Basic Mode Tab Advanced Mode Tab 231 ...
Page 283: ...Other Network Problems Checking Network Information Restoring to Factory Defaults 283 ...
Page 306: ...Scanning Problems Windows Scanning Problems 306 ...
Page 307: ...Scanning Problems Scanner Does Not Work ScanGear Scanner Driver Does Not Start 307 ...
Page 319: ...Errors and Messages An Error Occurs Message Support Code Appears 319 ...
Page 331: ...For paper jam support codes see also List of Support Code for Error Paper Jams 331 ...


