


Note
Note the following if you are not using the built-in flash.
Under low light where camera shake tends to occur, the viewfinder's shutter speed
display will blink. Hold the camera steady or use a tripod. When using a zoom lens,
you can reduce the blur caused by camera shake by setting the lens to the wide-
angle end.
When shooting portraits under low light, tell subjects to stay still until you have
finished shooting. Any movement as you shoot will make the person look blurry in
the picture.
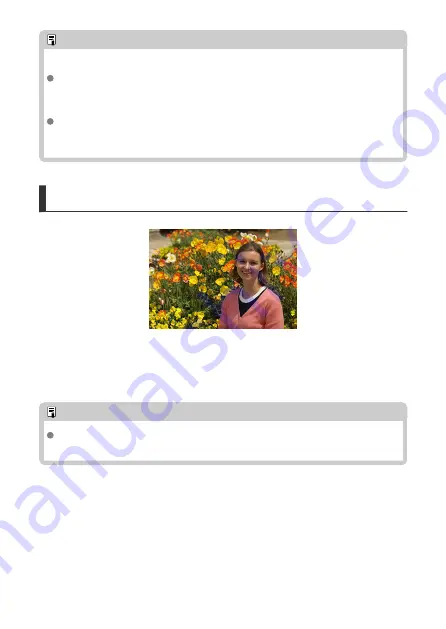
Recomposing the Shots
Depending on the scene, positioning the subject toward the left or right to include a
balanced background will result in a picture with better perspective.
Pressing the shutter button halfway to focus on a still subject will lock the focus on that
subject. Recompose the shot while keeping the shutter button pressed halfway, and then
press the shutter button completely to take the picture. This is called “focus lock.”
Note
In Live View shooting, the camera continues to focus on any faces initially detected
and focused on, even if you recompose the shot.
111
Summary of Contents for EOS REBEL T8i
Page 1: ...Advanced User Guide E CT2 D027 A CANON INC 2020 ...
Page 26: ... 19 18 20 21 22 25 26 24 23 10 11 17 1 9 8 7 6 4 5 2 3 1 15 16 14 13 12 26 ...
Page 29: ... 10 9 11 13 12 14 15 3 2 1 5 4 7 6 8 29 ...
Page 70: ...In Live View shooting 70 ...
Page 98: ...Dragging Sample screen Menu screen Slide your finger while touching the screen 98 ...
Page 172: ...Selecting the AF Point or Zone Manually 1 Press the or button 172 ...
Page 212: ...2 Select an option 212 ...
Page 250: ... All and A B 250 ...
Page 258: ...Shooting 2 1 Retain Creative Assist data 2 Live View shoot 3 AF assist beam firing 258 ...
Page 317: ...Dust Delete Data Acquisition 1 Select Dust Delete Data 317 ...
Page 396: ... AF Point Display Resuming from Previous Playback HDMI HDR Output 396 ...
Page 399: ...Playback 4 1 Histogram disp 2 AF point disp 3 View from last seen 4 HDMI HDR output 399 ...
Page 404: ...404 ...
Page 407: ...Note You can also magnify display by double tapping with one finger 407 ...
Page 433: ...4 Erase the image Press the button then press OK 433 ...
Page 435: ...4 Erase the images Select OK 435 ...
Page 523: ...4 Set Size to send 5 Take the picture 523 ...
Page 526: ... 2 Sending multiple selected images 1 Press 2 Select Send selected 526 ...
Page 531: ... 4 Sending all images on the card 1 Press 2 Select Send all card 531 ...
Page 548: ...Steps on the camera 3 10 Establish a Wi Fi connection Select OK 548 ...
Page 572: ...Steps on the camera 2 9 Add image canon as a destination Select image canon is now added 572 ...
Page 579: ...Sending all images on the card 1 Press 2 Select Send all card 579 ...
Page 595: ...4 Select OK 595 ...
Page 634: ...In Basic Zone modes the following screen is displayed for 5 1 Manual software URL 634 ...
Page 636: ...3 Select OK 636 ...
Page 656: ...Note Auto power off time may be extended while the Date Time Zone screen is displayed 656 ...
Page 657: ...Language 1 Select Language 2 Set the desired language 657 ...


