282
Using the GPS Receiver GP-E2 (sold separately) or a Bluetooth-
compatible smartphone, you can append location information to
images.
1
Attach the GP-E2 to the camera.
Attach the GP-E2 to the camera’s hot
shoe (p.28) and turn it on. For details,
refer to the GP-E2 Instruction
Manual.
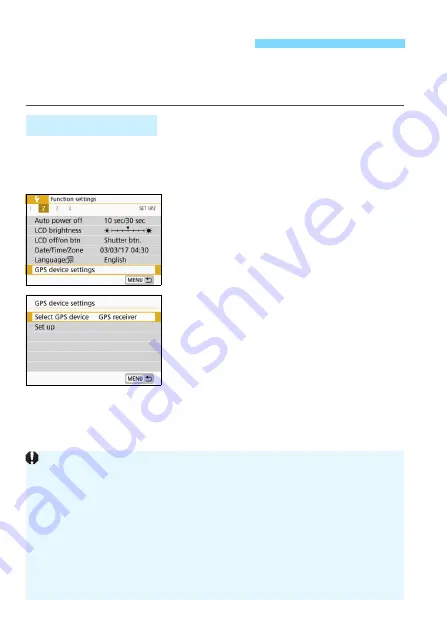
2
Select [GPS device settings].
Under the [
5
2
] tab, select [
GPS
device settings
].
3
Select [GPS receiver].
Select [
GPS receiver
] in [
Select GPS
device
].
4
Take the picture.
The location information acquired
with the GP-E2 will be appended to
the images.
For the details of [
Set up
], refer to the
GP-E2 Instruction Manual.
3
Geotagging Images
When Using GP-E2
Cautions for Using GP-E2
At first, check the countries and regions where the use of GPS is
allowed, and follow their legal restrictions.
Update the GP-E2 firmware to Version 2.0.0 or later. When updating the
firmware, the interface cable (sold separately, p.401) is required. For how
to update the GP-E2 firmware, refer to the Canon Web site.
The GP-E2 cannot be connected to the camera with the cable that
comes with the GP-E2.
Note that the digital compass cannot be used with this camera. (Shooting
direction will not be recorded.)
Summary of Contents for EOS Rebel SL2 EOS 200D
Page 112: ...112 ...
Page 160: ...160 ...
Page 232: ...232 ...
Page 280: ...280 ...
Page 308: ...308 ...
Page 354: ...354 ...
Page 378: ...378 ...
Page 457: ......


