25
U
s
ing the Menu
s
3 Select [OK].
• The menu setting you registered will now appear under the currently selected My Menu set.
Rearranging Menu Settings
1 Select
>
[
¥
My Menu] > Desired menu page > [Edit] > [Move].
2 Select the menu setting you want to move.
• The
]
icon will appear next to the setting you selected to move.
3 Move the menu setting to the desired position and press SET.
Removing Menu Settings
1 Select
>
[
¥
My Menu] > Desired menu page > [Edit] > [Delete].
2 Select the menu setting you want to remove and then select [OK].
Resetting All the My Menu Sets
Reset all the menu settings registered to the currently selected My Menu set.
Select
>
[
¥
My Menu] > Desired menu page > [Edit] > [Reset All] and then select [OK].
Renaming My Menu Sets
You can give each of the 5 My Menu sets a more descriptive name to make them easier to identify.
1 Select
>
[
¥
My Menu] > Desired menu page > [Edit] > [Rename].
2 Enter the desired name (8 characters long) using the keyboard screen (see the following sidebar).
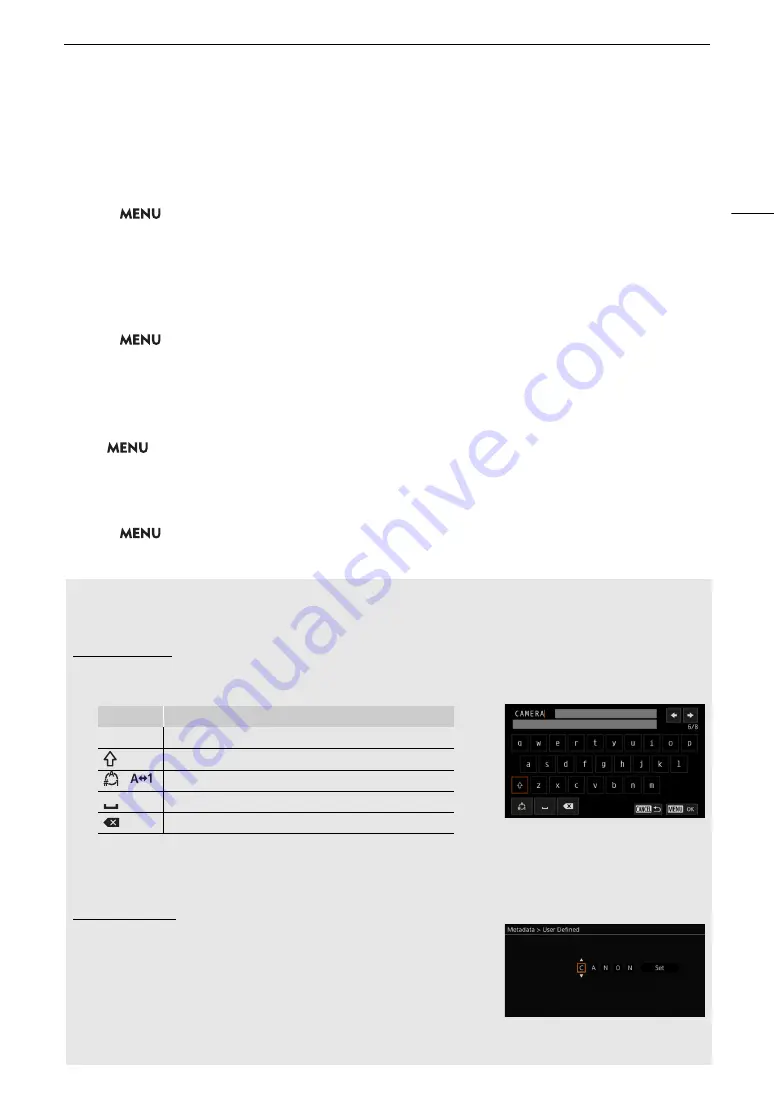
Entering text and number
s
There are two types of screens used to enter text and numbers – the keyboard screen, and the data entry
screen. Which screen is used, as well as the available characters will depend on the menu setting.
Keyboard screen
1 Touch the character you wish to enter.
• The characters you entered will appear in the input area at the top of the screen.
• You can also move the cursor with the SELECT dial or the joystick, and select the desired character by
pressing SET.
2 After entering the desired text, touch [OK] to confirm.
Data entry screen
Use the SELECT dial or the joystick to select characters.
1 Select a character and then press SET to confirm.
• The cursor will move to the next field.
• You can also push the joystick left/right to move between the fields.
• Change the rest of the characters in the same way.
2 Select [Set] to confirm the text or value.
• Press CANCEL to stop entering text.
Key
Function
/
Moves the cursor in the input area.
Shift key
/
Switches between letters, numbers and special characters.
Space key
Backspace key
Summary of Contents for EOS C70
Page 1: ...Digital Cinema Camera Instruction Manual PUB DIE 0551 000 ...
Page 4: ...4 ...
Page 8: ...8 ...
Page 118: ...Saving and Loading Menu Settings 118 ...


