Recording Audio
86
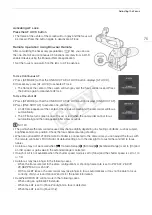
When the Handle Unit is Not Attached
You can use an external microphone connected to the MIC terminal without attaching the handle unit. In such
case, adjust the microphone's audio recording level using the menu.
1 Open the [MIC Mode] submenu.
[
¡
Audio Setup]
>
[Audio Input]
>
[MIC Mode]
2 Select [Automatic] or [Manual] and then press the joystick.
• If you selected [Automatic], you do not need to perform the rest of the
procedure. If you selected [Manual], continue the procedure to set the
microphone’s audio recording level.
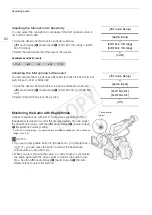
3 Open the [MIC Level] screen.
[
¡
Audio Setup]
>
[Audio Input]
>
[MIC Level]
4 Push the joystick up/down to set the audio recording level and then
press the joystick.
• For reference, 0 corresponds to -
G
, 50 corresponds to 0 dB, and
99 corresponds to +18 dB.
NOTES
• We recommend using headphones when adjusting the audio level. If
the input level is too high, audio may become distorted even if the audio
level indicator shows an appropriate level.
• If you set an assignable button to [Audio Level] (
A
107), you can press
the button to turn the onscreen audio level indicator on and off.
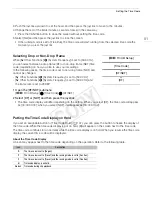
Configuring the Low-Cut Filter
Perform the procedure below to activate the low-cut filter for the built-in
microphone or external microphone connected to the MIC terminal.
1 Open the [Int. Mic Low Cut] or [MIC Low Cut] submenu.
[
¡
Audio Setup]
>
[Audio Input]
>
[Int. Mic Low Cut] or [MIC Low
Cut]
2 Select the desired option and then press the joystick.
Options
* Only for [Int. Mic Low Cut].
** Only for [MIC Low Cut].
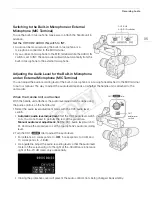
Selecting the Built-in Microphone’s Sensitivity
1 Open the [Int. Mic Sensitivity] submenu.
[
¡
Audio Setup]
>
[Audio Input]
>
[Int. Mic Sensitivity]
2 Select the desired option and then press the joystick.
Options
[Off]:
For recording audio under usual conditions.
[LC1]*:
For recording mainly people’s voices.
[LC2]*, [On]**: For reducing the background sound of wind when recording outdoors in windy surroundings (for
example, on a beach or close to buildings). Note that when you use this setting some low-frequency
sounds may be suppressed along with the sound of wind.
[Normal]:
For recording audio under usual conditions.
[High]:
For recording audio at a higher volume (+6 dB).
[
¡
Audio Setup]
[Audio Input]
[MIC Mode]
[Automatic]
[
¡
Audio
Setup]
[Audio Input]
[MIC Level]
[50]
[
¡
Audio Setup]
[
Audio Input]
[
Int. Mic Low Cut]
[
MIC Low Cut]
[Off]
[
¡
Audio Setup]
[
Audio Input]
[
Int. Mic Sensitivity]
[Normal]
COP
Y
Summary of Contents for EOS C100 Mark II
Page 1: ...Instruction Manual HD Camcorder PUB DIE 0463 000 COPY ...
Page 12: ...12 COPY ...
Page 46: ...Adjusting the Black Balance 46 COPY ...
Page 106: ...Using Accessories 106 COPY ...
Page 124: ...Saving and Loading Camera Settings 124 COPY ...
Page 144: ...Saving Clips to a Computer 144 COPY ...
Page 162: ...Playback via Browser 162 COPY ...
Page 168: ...Photo Operations 168 COPY ...


