111
Custom Picture Settings
Selecting Custom Picture Files
Select a custom picture file to apply its settings to your
recordings or to edit, rename, protect, or transfer it. When
[
~
Camera Setup]
>
[
/
CINEMA Locked] is set to [On],
the custom picture menu cannot be accessed and custom
picture files cannot be used.
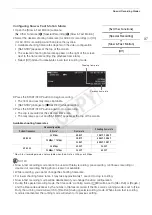
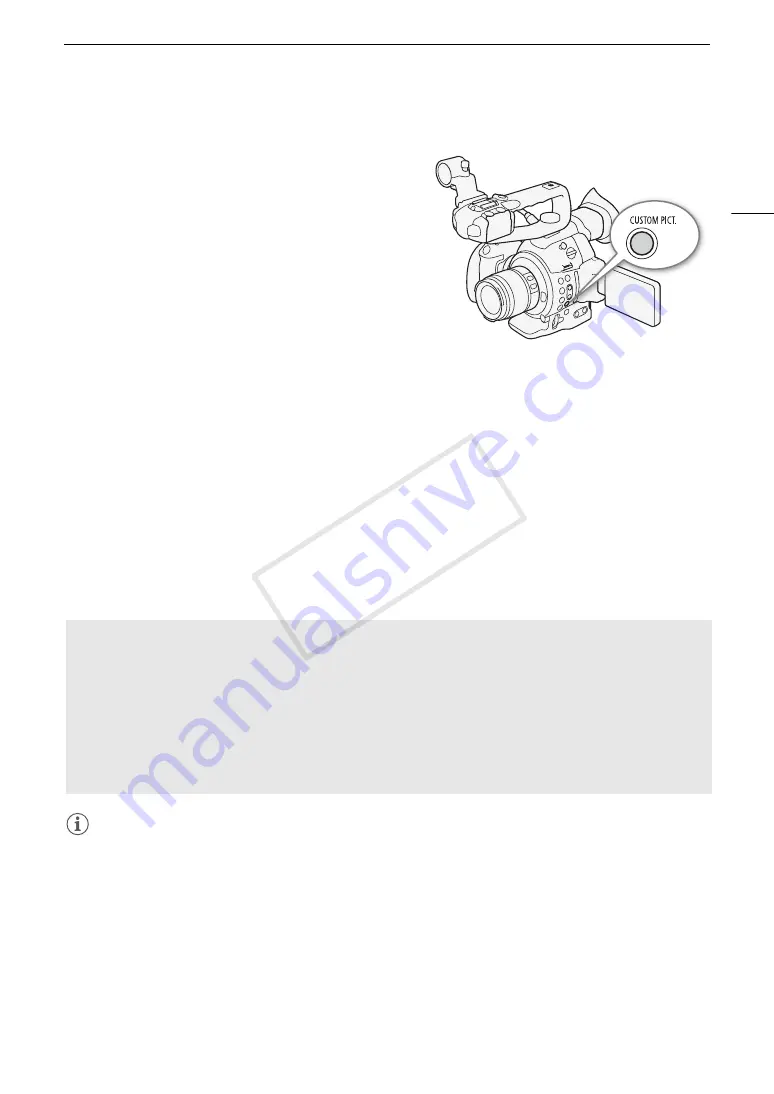
1 Press the CUSTOM PICT. button.
• The custom picture menu appears. The currently selected
file appears next to the
-
icon or [Off] if no file is selected.
• When an optional RC-V100 Remote Controller is
connected to the camcorder, you can also press the
remote controller's CUSTOM PICT. button to open the
custom picture submenu.
2 Select [
-
/
Select File] and then press the joystick.
• The default custom picture file is [Off]. A list of custom picture files in the camcorder and SD card appears.
Files in the camcorder begin with [C1] to [C9]; those on SD card A begin with [A1] to [A20] and those on SD
card B begin with [B1] to [B20].
3 Select the desired file and then press the joystick.
• Select [Camera] for a file in the camcorder or [
8
A] or [
8
B] for a file in the respective SD card.
• Select [Off] to record without applying any custom picture settings.
• To apply the custom picture settings of the selected file, continue to step 4. To perform other operations on
the selected file (edit settings, copy, protect, etc.), continue instead with the one of the procedures in the
following pages.
4 Press the CUSTOM PICT. button to exit the menu.
• The selected custom picture file’s settings will be applied.
/
(camcorder) or
.
(SD card) and the custom
picture file’s number will appear on the left of the screen.
NOTES
• About changing custom picture related settings using the optional RC-V100 Remote Controller
- If a protected custom picture file or no custom picture file is selected on the camcorder ([
-
/
Select File]
is set to [Off]) custom picture related settings cannot be changed using the remote controller.
- While the remote controller is connected to the camcorder, custom picture files on an SD card cannot be
used. If you connect the remote controller while a custom picture file on an SD card was selected, the
custom picture file will change automatically to [Off] (recording without custom picture settings). To use the
settings of a custom picture file saved on an SD card, copy the file in advance from the SD card to an open
file slot in the camcorder (
A
113).
- Adjusting custom picture related settings using the remote controller will change the settings registered
under the currently selected custom picture file. If you want to keep an important custom picture file, copy it
in advance to an SD card or select in advance a custom picture file you do not mind changing.
Preset Custom Picture Files
By default, the custom picture files in the camcorder in file slots [C7] to [C9] are protected. Remove the
protection (
A
112) to edit the file. The following describes when to use the preset files.
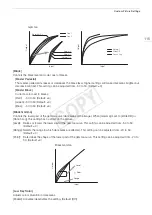
[C7: EOS Std.]: Reproduces the image quality and look (vivid, sharp and crisp) of an EOS digital SLR camera
with its picture style set to [Standard].
[C8: Wide DR]: Applies a gamma curve with a very wide dynamic range and an appropriate color matrix that
nevertheless do not require post-production processing.
[C9: CINEMA]: Uses the Canon Log gamma and color matrix for an outstanding dynamic range and an
image suitable for processing in post-production.
COP
Y
Summary of Contents for EOS C100 Mark II
Page 1: ...Instruction Manual HD Camcorder PUB DIE 0463 000 COPY ...
Page 12: ...12 COPY ...
Page 46: ...Adjusting the Black Balance 46 COPY ...
Page 106: ...Using Accessories 106 COPY ...
Page 124: ...Saving and Loading Camera Settings 124 COPY ...
Page 144: ...Saving Clips to a Computer 144 COPY ...
Page 162: ...Playback via Browser 162 COPY ...
Page 168: ...Photo Operations 168 COPY ...

